Today I just finished the first of a series of e-books focused on my adventures in color knitting. It has been a real challenge as well as a great joy to put together. My hope is that someone will get something out of it. If not, then perhaps some member of my family will be able to “pick” grandma’s brain when I’m gone.
The 26 page book I am uploading for you is mostly focused on Intarsia, although I do have a section on knitting and purling with both hands. The information and illustrations in it are from my experience in developing my designer pillow patterns, which are intense color knitting; thus the title“Intarsiamania.” The book has two sections. The first deals with Intarsia basics; the second, focuses on yarn management.
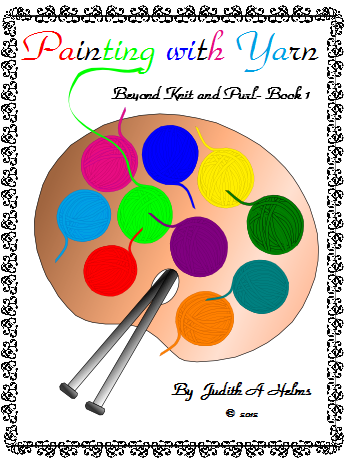
Painting with Yarn – Intarsiamania
I hope you enjoy the book. I hope that some of the techniques will be helpful on your next color knitting project.
Happy knitting- KT