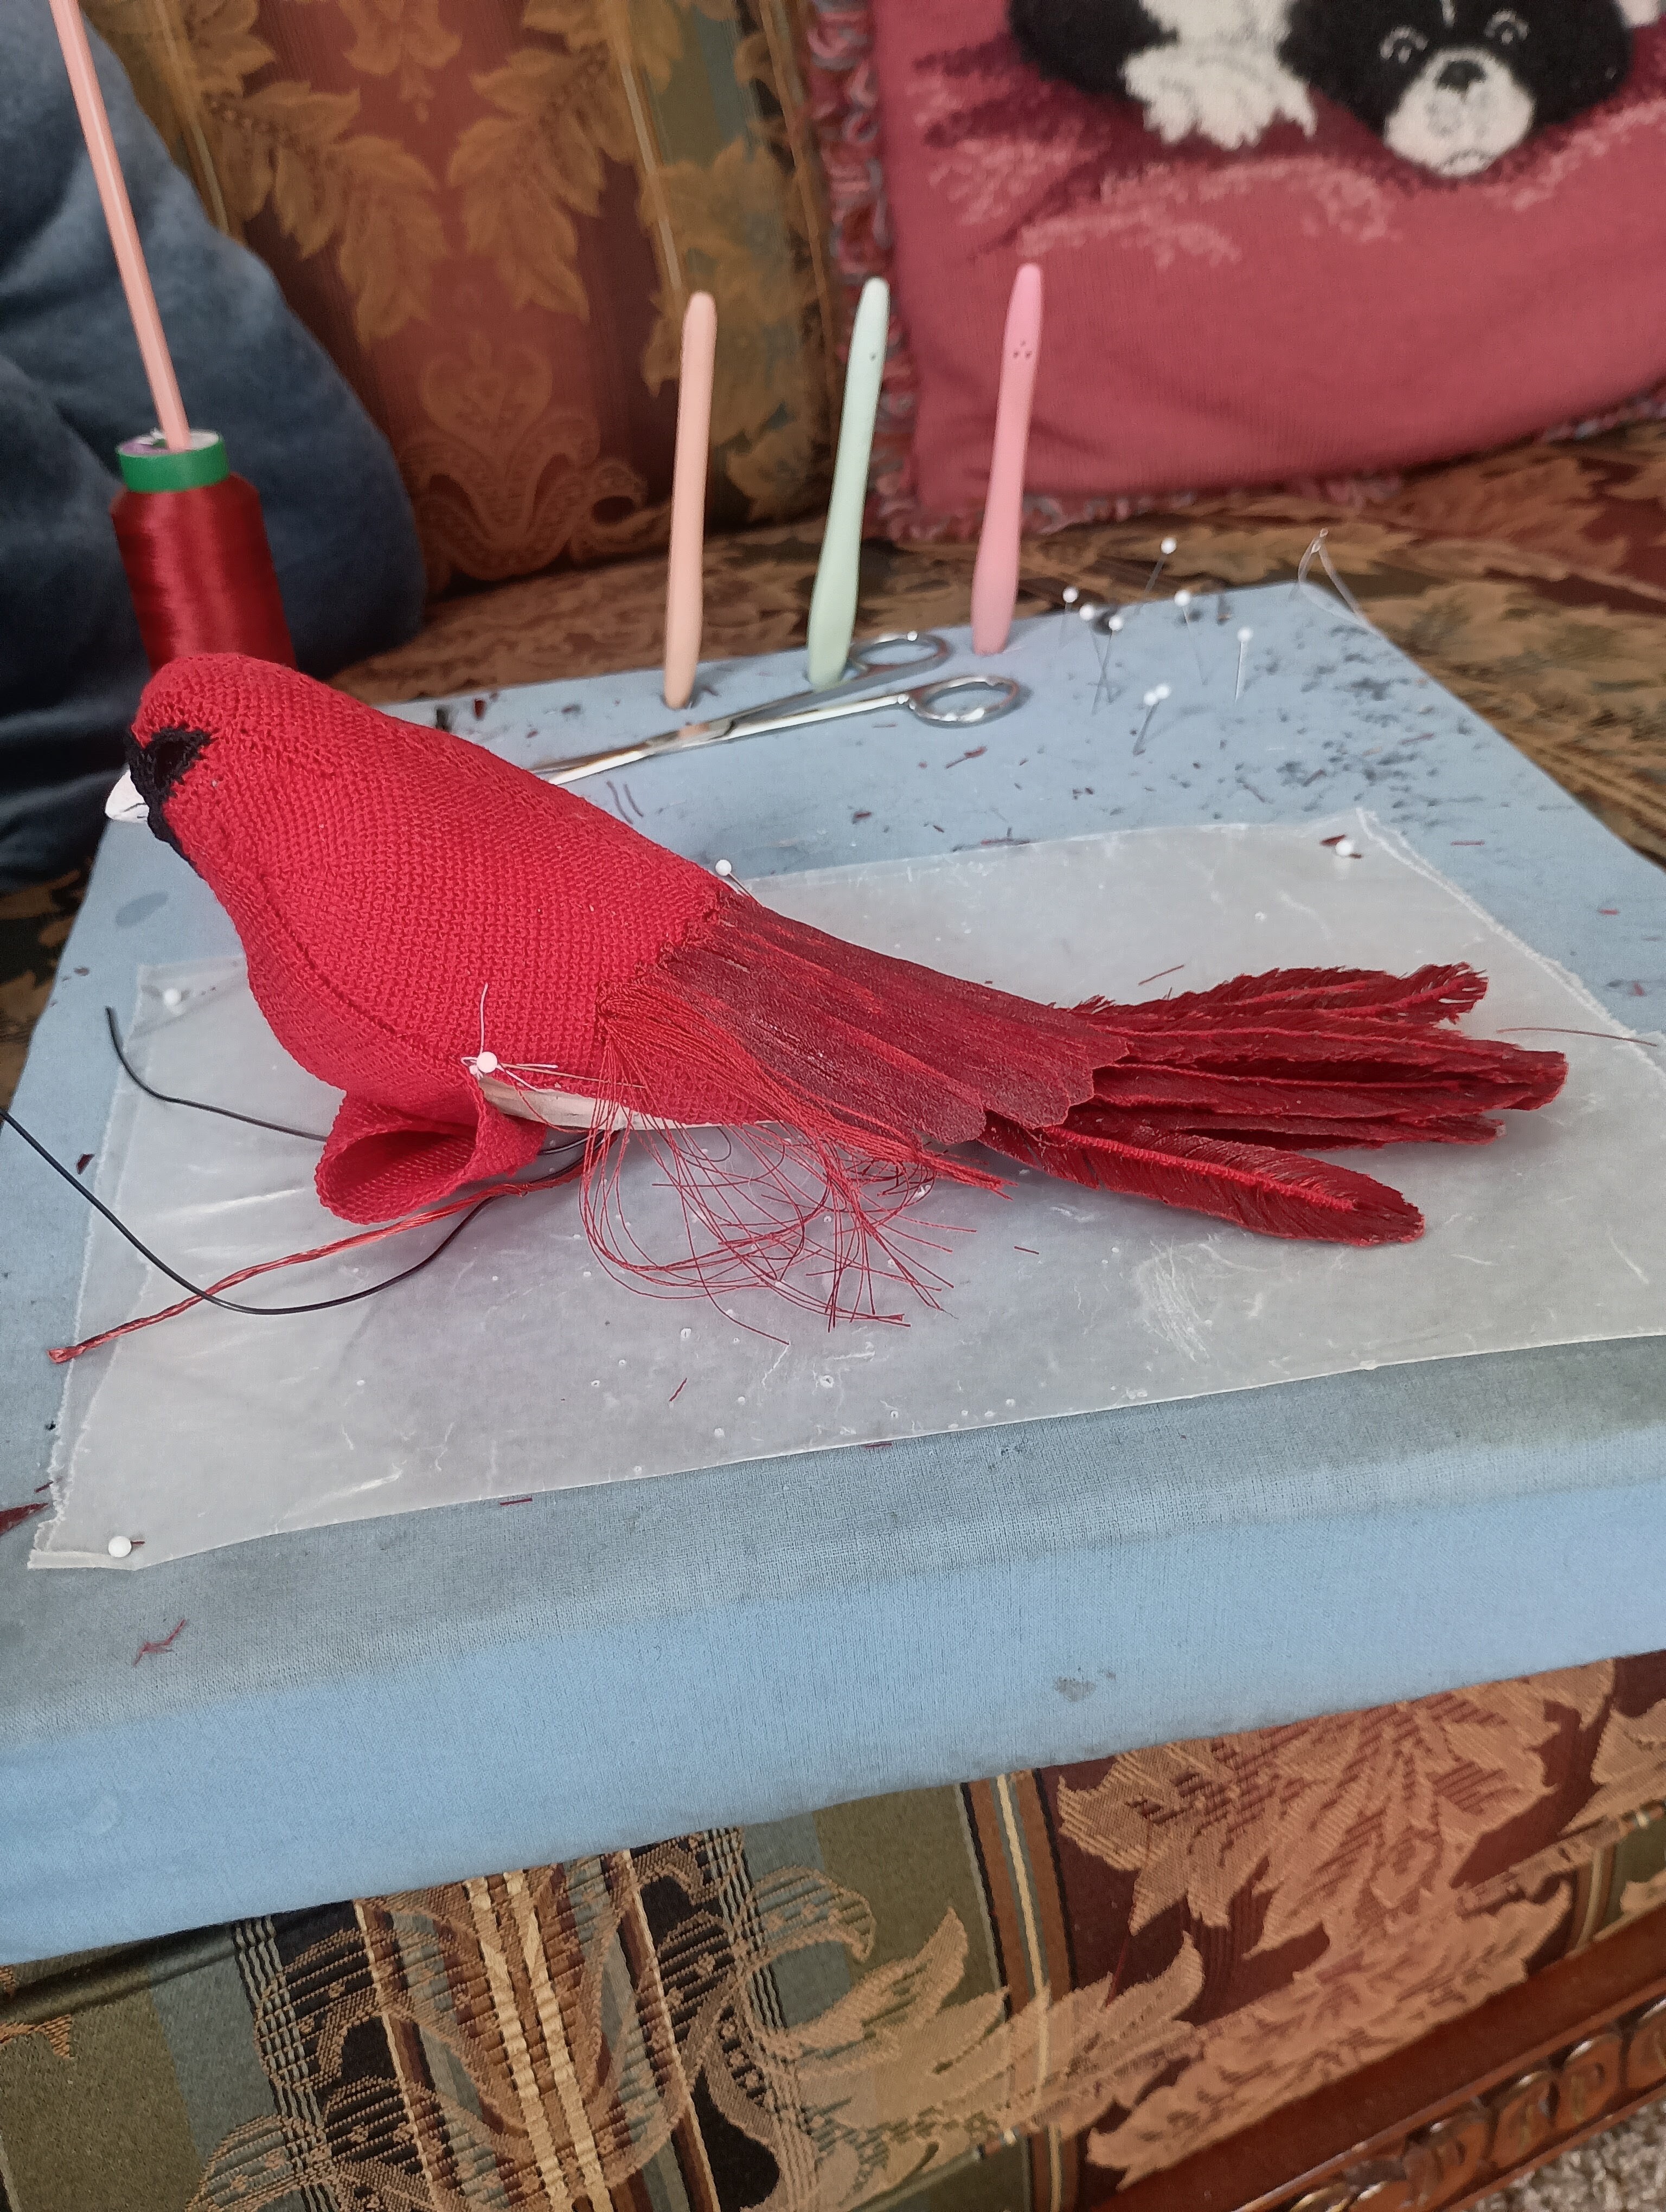
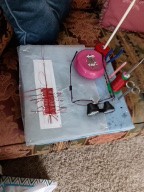
I thought I would share some recent photos of my progress. I am so thankful that I decided to use my “basketweave, or Burlap” stitch for the base. As you can see in the photo, it allowed me to use the flat posts to insert the silk threads for creating the “contour” feathers of the Cardinal.
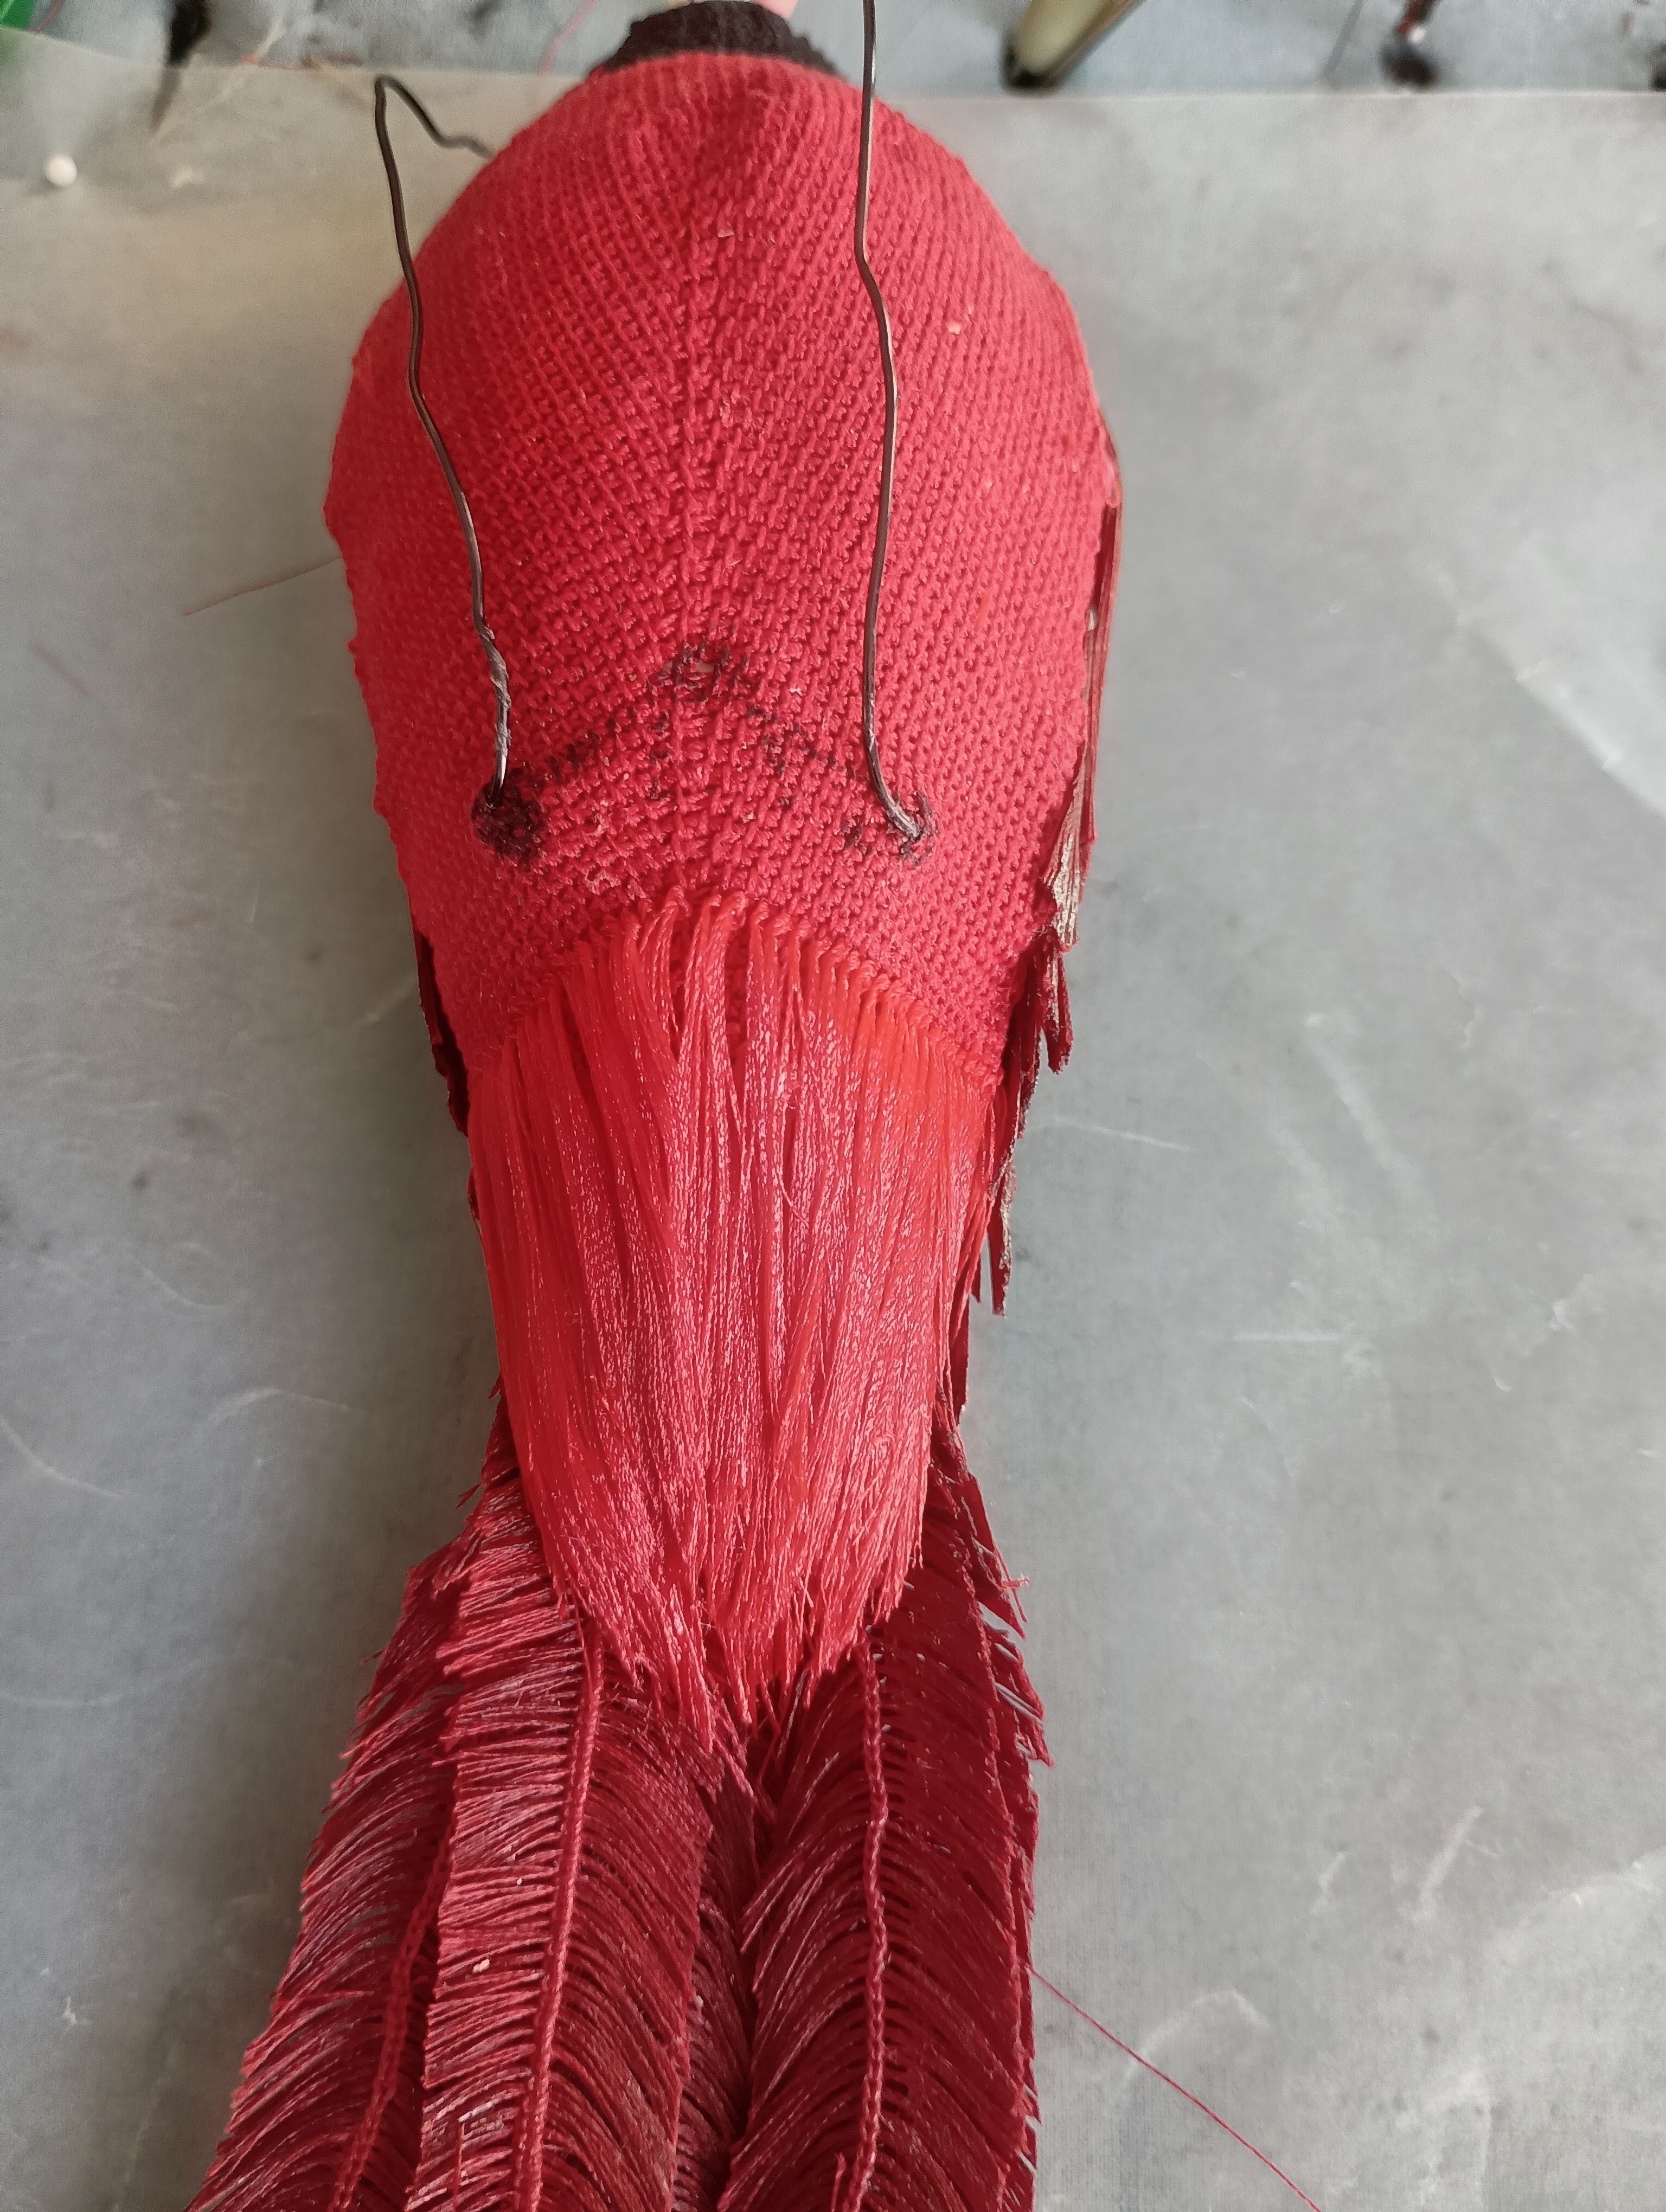
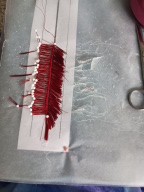
The next photo give you a peek at the contour feather on the back.
I have been blessed with a taxidermist in the family, so he is my go-to guy for reality checks.
I see a year investment in this project, but I want it to be as real as possible. Hopefully , I will be able to make one for each of my kids, if God sees fit to keep around long enough.
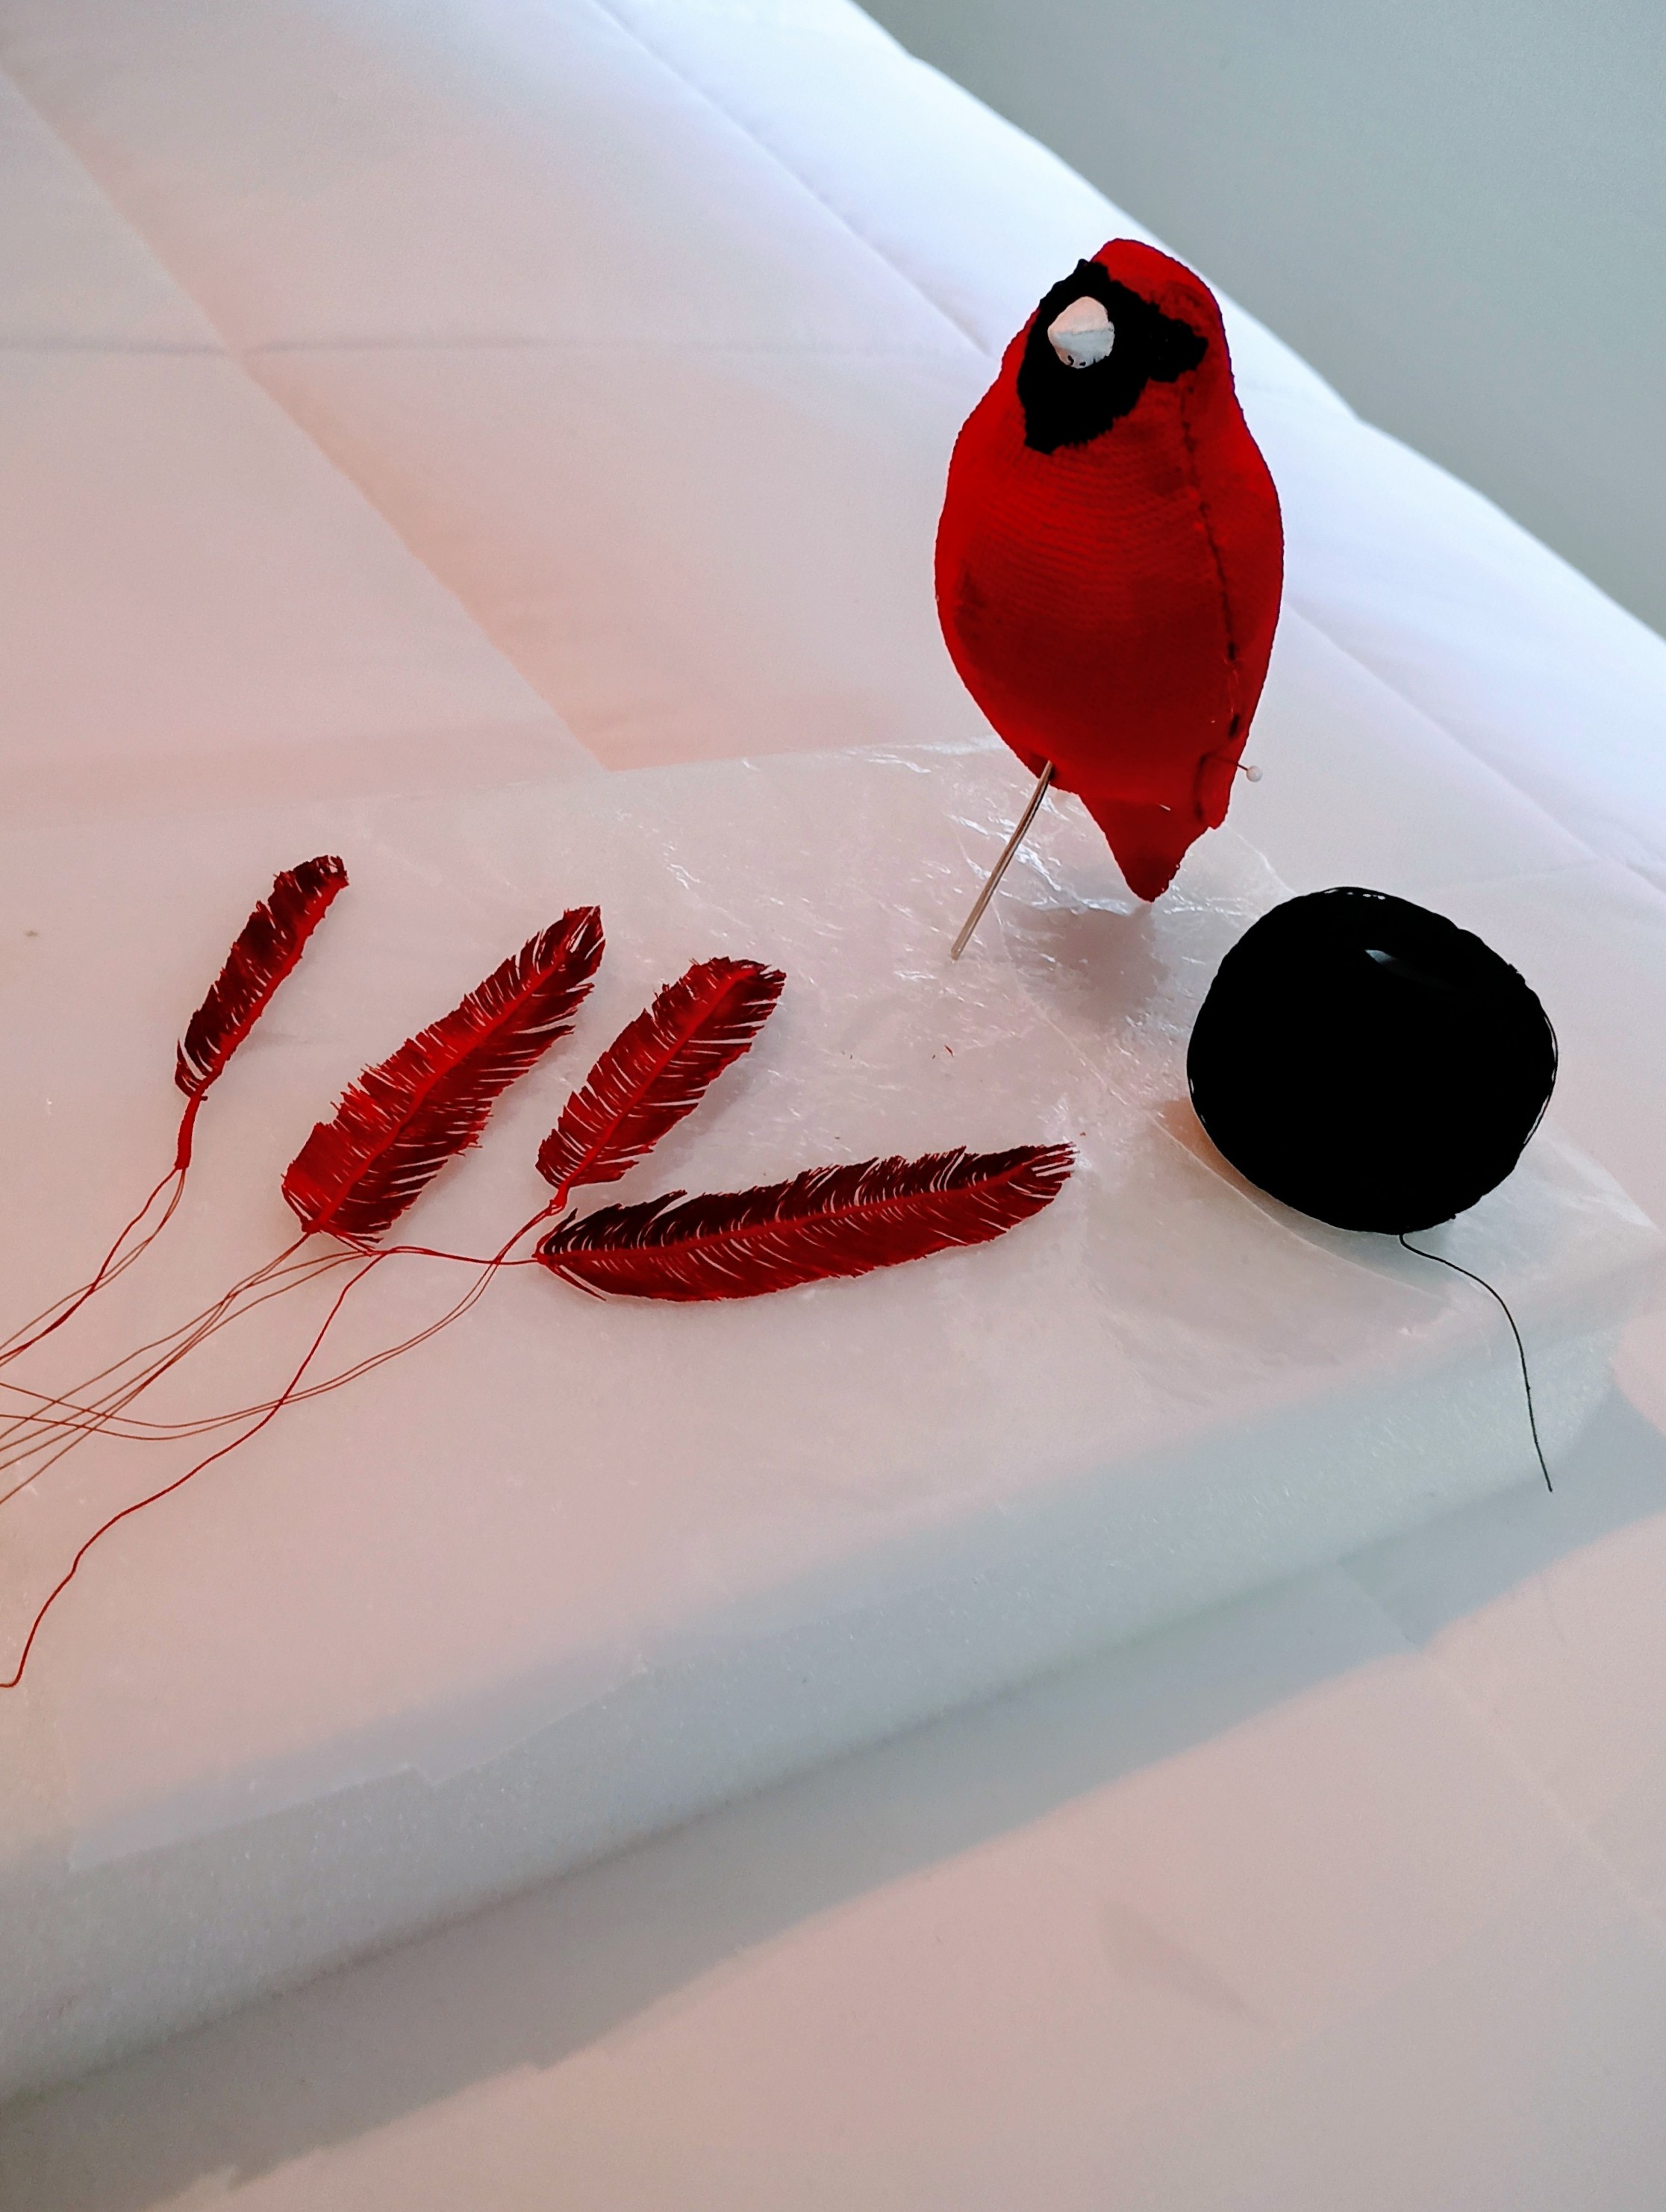
Figuring out how to make these feathers was a bit of a challenge but determination paid off.
The set up is simple. I made a template (in white) with a center line and two outside lines that give me a guide for my pins. Over that is placed a large sheet of waxed paper, this keeps my form base clean and collects the fine thread that will be trimmed at the end of the process, so I can just gather it up and depose of it.
Using a .6 crochet hook, with size 80 thread in red I measure out a 24 inch strand of 32 gauge red wire, and bend it in half (12 inch). Beginning at the bend, I work a sc down the wire for the desirede length of the feather (at 24 st to the inch) This foundation chain of sc will be the anchor for all the threads inserted to make the feather. Next, I measure out 3 strands of Isachord thread from Germany, arms length, fold it in half and thread my sewing needle.
After tying the ends, the thread is brought through the “v” formed by the sc over the wire, pulling the thread through smoothly ( I make sure the knot of the thread is about 1/2 in past the outside “Pin” line). Working back and forth, I pull the threads through each “v'” working down the foundation chain, placing a pin at each turn, using the “pin ” line as a guide. It is a slow process but worth it.
As the foundation chain determines the length of the feather, and you start at the bent end, extra stitches can be added as needed. When I run out of thread, I just pull is smooth and take my clear fingernail polish and glue it to the wax paper at a point 1/2 in beyond the pin line.
Once done, the process just involves, carefully removing the pins on one side, clipping the loops, and stroking them with the fingernail polish, while shaping them upward with a pin, and my finger. Once one side it ready and dried I move to the other side and repeat the process.
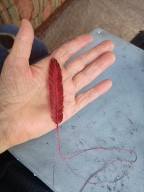
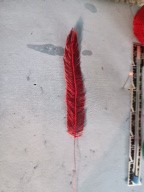
When everything is dry, I remove the feather and turn it over to the right side, give it a quick coat of polish, and lastly, trim it to size or the shape I want.
I know, this looks crazy, but I am having fun, and at 84, what the heck!
Happy crafting- KT
By the way, my Cardinal was created using my Basketweave st. The contour feathers, (on the body) will be made using 6 strands, via a hooked rug st. This background is flat and provides all the squares I need, just like a hooked rug foundation.
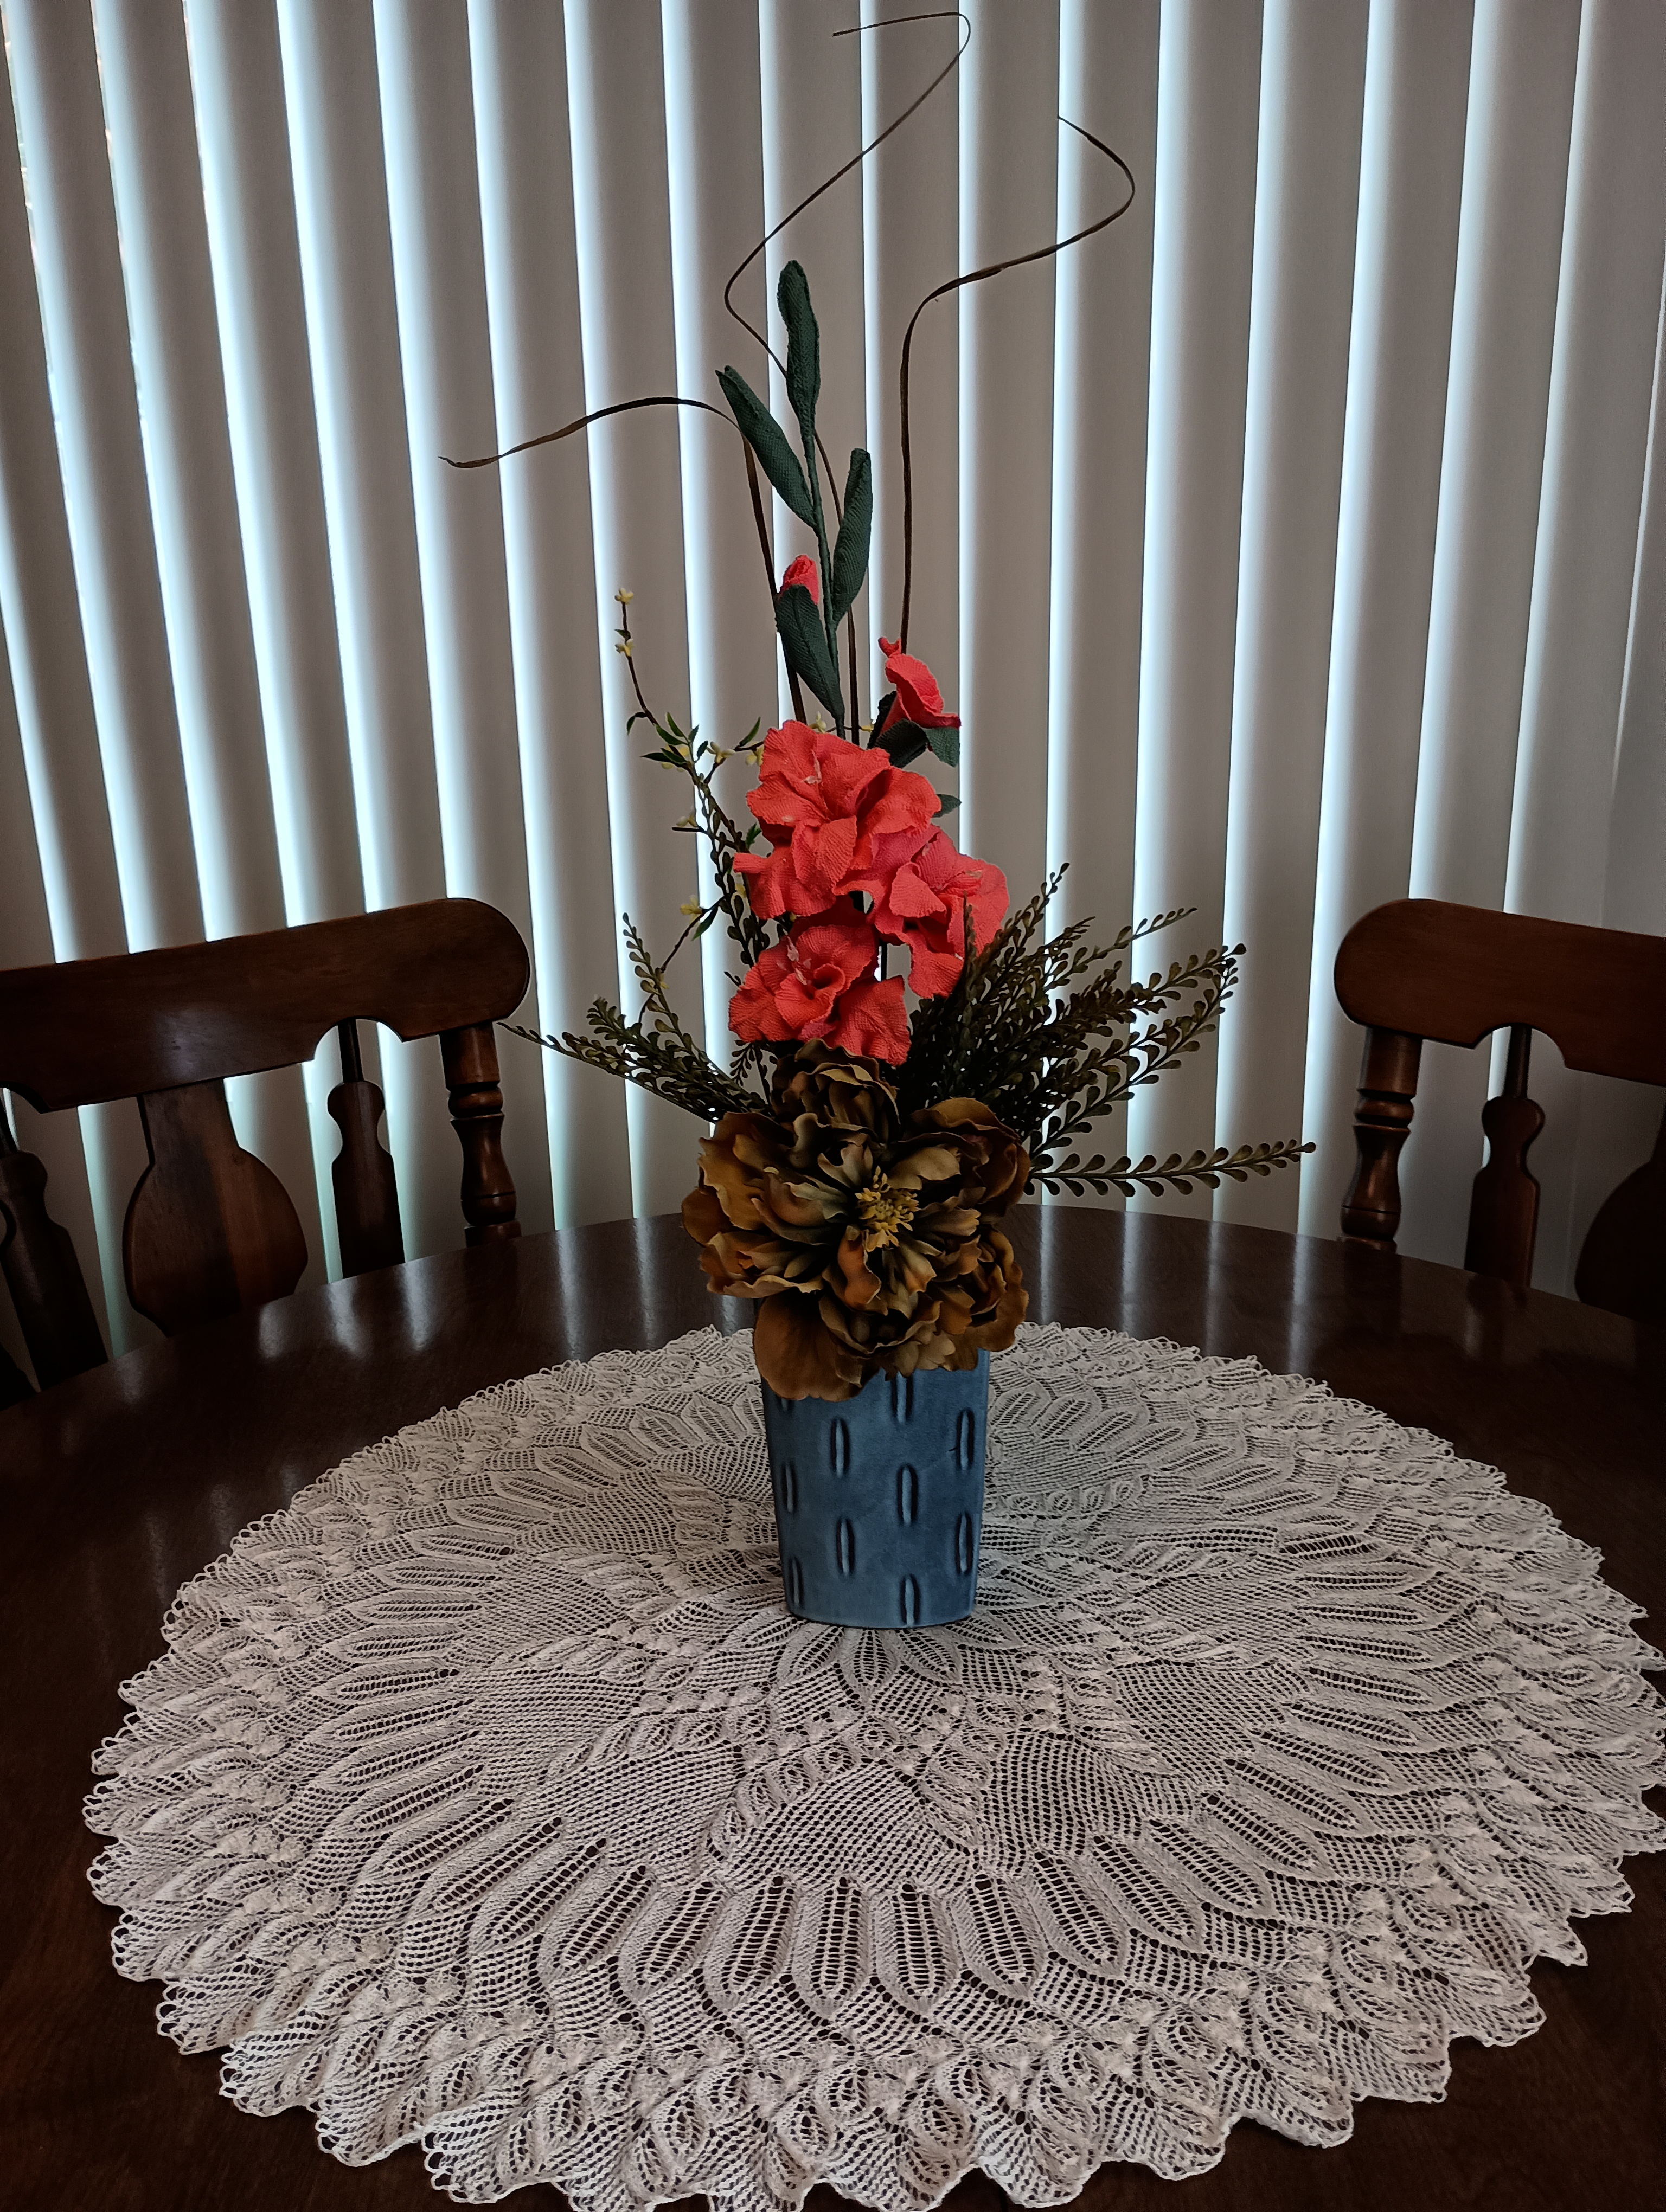
This is the first part of my Basketweave Stitch Gladiola Project. I have placed it in with another arrangement, just to have a place to put it while I work on the tall leaves. I will be using the same method I discussed in the previous post. Once you learn this stitch it will open up as many applications as you can dream up.
I hope you explore the possibilities, and take up the challenge.
I recently began making the “bracks” for my Gladiola Project and thought I might share with you how I eliminate the necessity of bending the wire into to create the tip of leaves, etc.
These bracks are created with the “basketweave” stitch, which resembles burlap. They are made with one single wire down the center. There is a single vein one each side (back and front).
The secret is cutting the wire about 3/8 inch long, Then applying glue and gently pulling it down into the foundation chain (which is sc over wire) of the leaf.
It’s just that simple.
I will upload the pattern for these leaves shortly. In the mean time you can check out my post on the Basketweave stitch if you are interested in creating something similar.
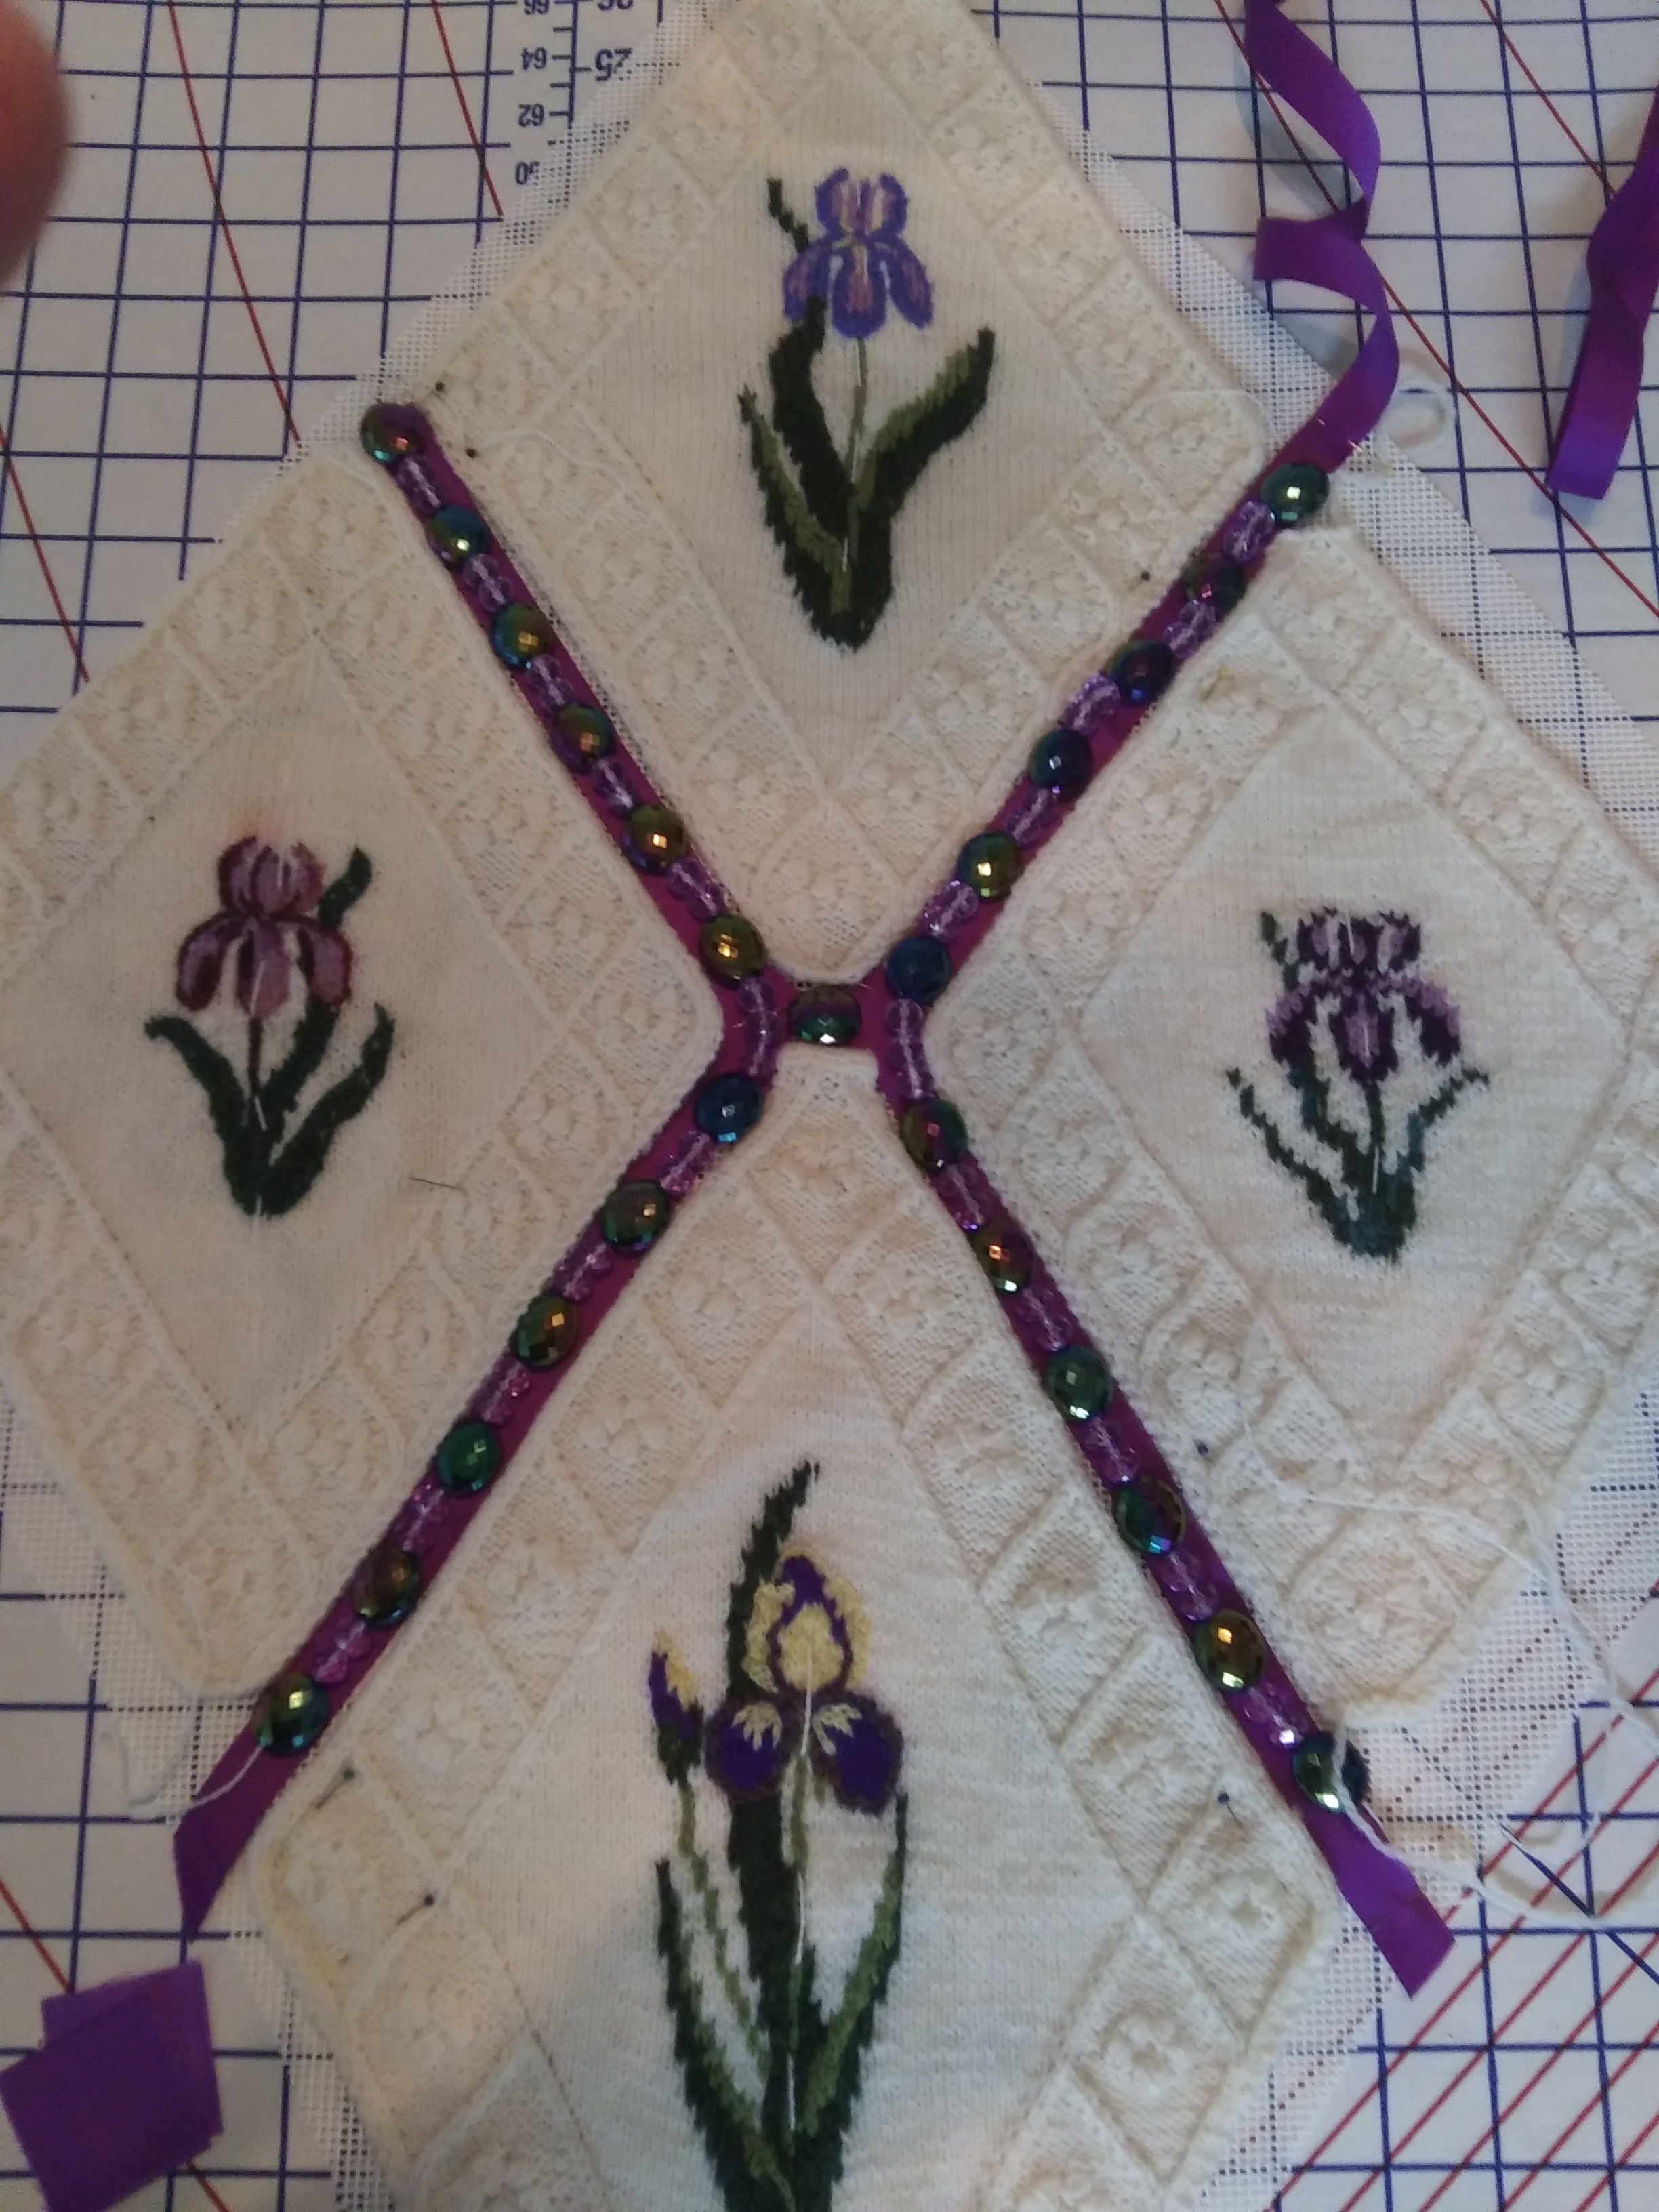
When my grand-daughter visited me this last year, we went through some of the things I had stuck back in my craft boxes. Among the fines were these swatches I had made while learning to design and create knitted pictures. The one on the right was the first Iris I tried my hand at, using my friends cross-stitch design. The left one, was my first upgrade, as I added edging with lace yarn. The top was an attempt at more detail, and the center bottom was the realistic version.
Of course, she wanted them. The problem was how to put them together in an attractive collage she could hang on the wall.
The Solution
I purchased plastic netting, ribbon, and beads. The plan is to attach the ribbon, add the beads, then secure the blocks to the netting. When finished, I will trim the plastic back and crochet the edges together. I might even add a decorative edging if I feel it necessary. I will insert a ring in the top when crocheting the edge.
I will post the finished work, so you can see the results. The first pic above is just a layout, now the work begins.
One of my favorite flowers is the Sword Lily, or Gladiolus. Their stunning colors and beauty are without peer. That said, I have been working on a design for creating one stem of flowers to be coupled with one of my butterflies. Below is just the beginning.
Just to get to what you see, has taken me weeks. Each bloom has 6 petals, two smaller ones, two more rounded ones for the top and bottom, and two more pointed ones at the sides. The construction of the stamens was a combination of fine wire, and a glue gun. Then fingernail polish is used to color the tips as desired.
Here is a better view.
This project is done with the Basketweave stitch, and basic single crochet (SC). The entire petal is worked on a single wire, with sc covering the wire. During process of crocheting the petal, the wire is allowed to extend beyond the top of the petal ( making it easy to hang on to). When the petal is complete, the”single” wire is then retracted, to within about a quart to half inch in from the tip of each petal and secured with super glue. This method works great, no corner to turn or cover, no bulk.
When I am finished I will upload some basic instructions and guide for those brave souls who want to make something like this. This petal design can be incorporated into the creation of Iris, Orchids, Hibiscus, anything with a fluted edge.
My next step is to engineer the construction of the central stem, so it is strong enough to handle the four large blooms, and three buds I have planned to make. It’s on the drawing board. We see how that works out.
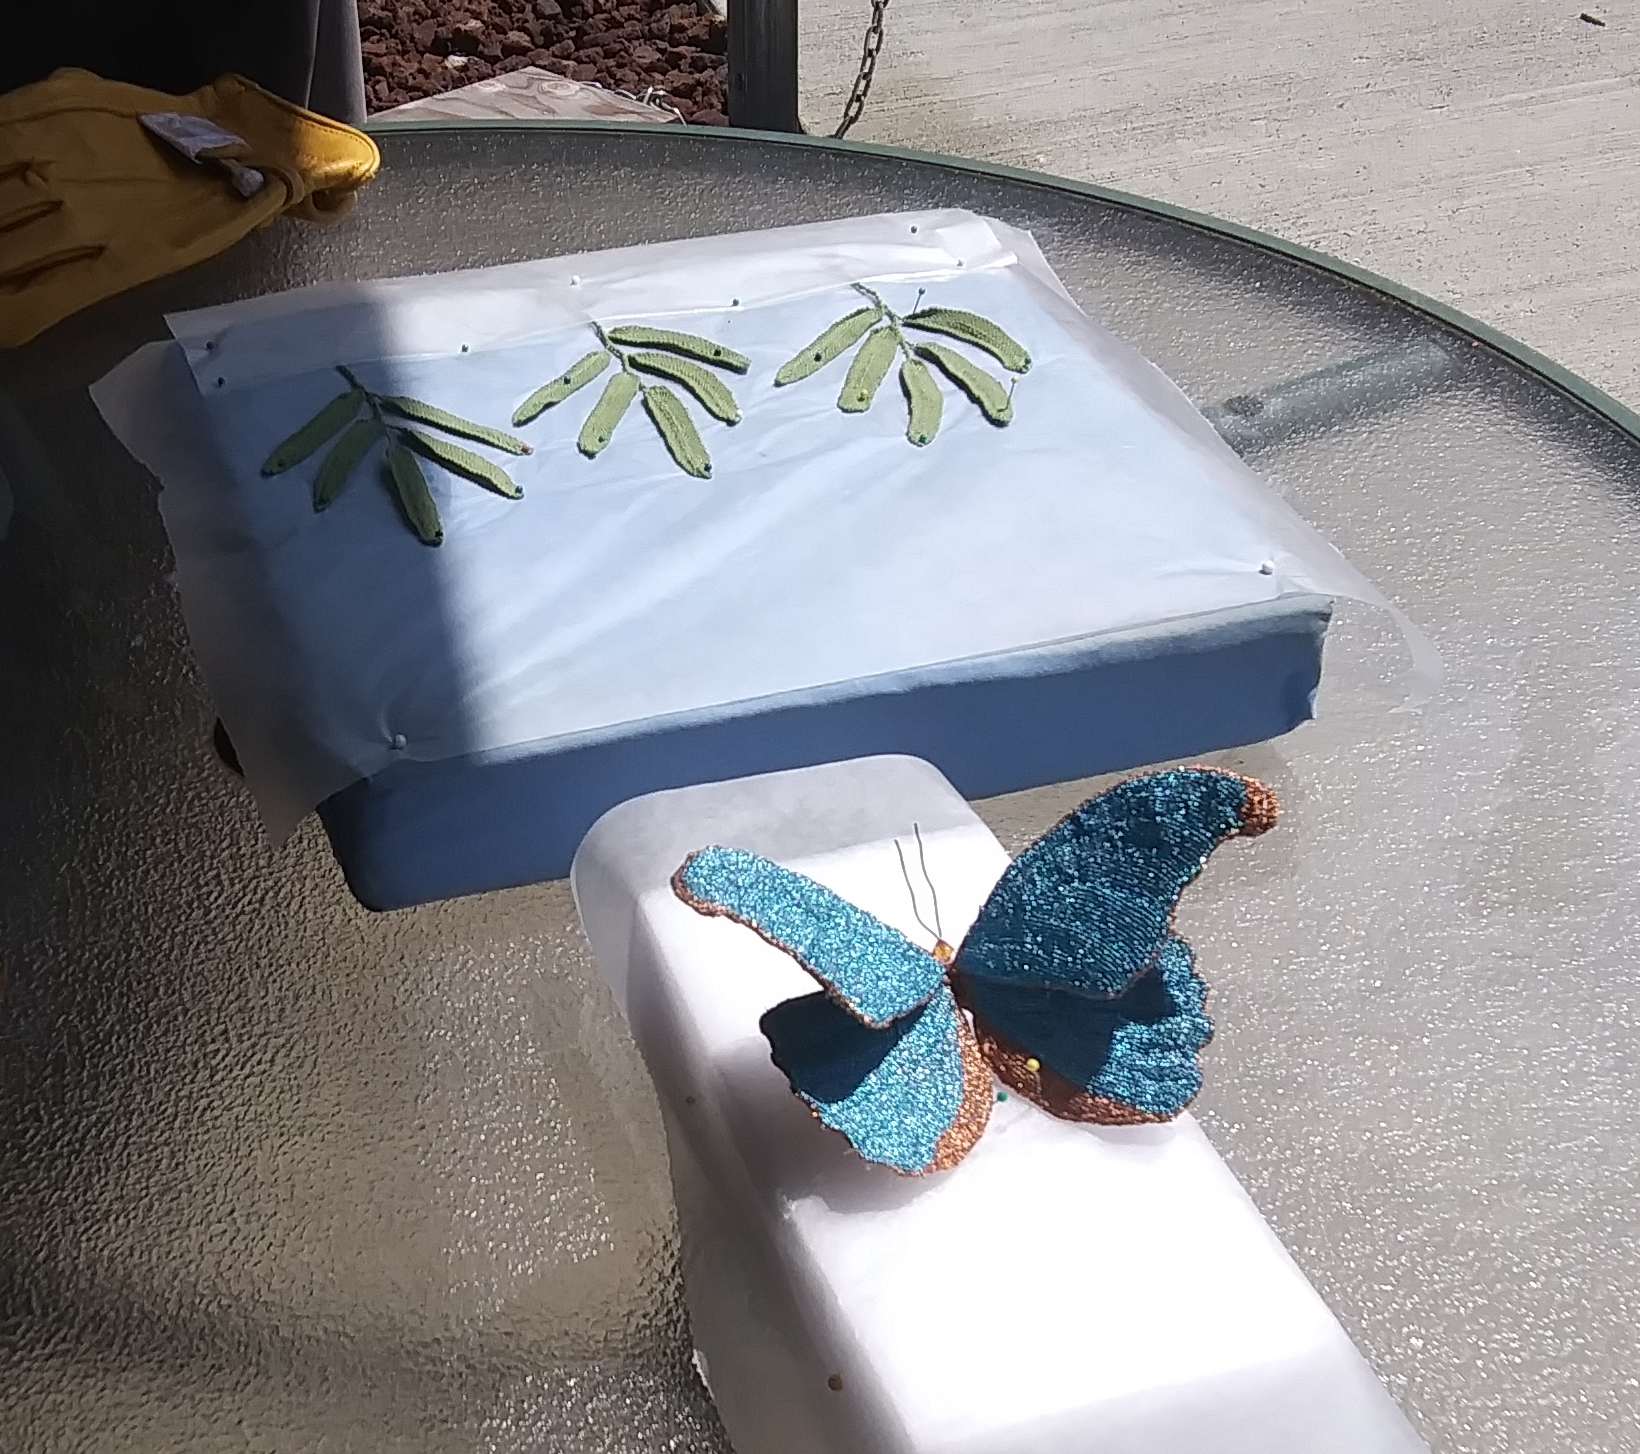
I finally completed this project and thought I would share.
One of the first things I had to determine was if I wanted to just display it, or did I want it to look as it would in nature. To that end, I decided to position it “in flight.” The photo above shows it drying in position after I used finish spray on it. My willow leaves are also drying on the upper foam block.
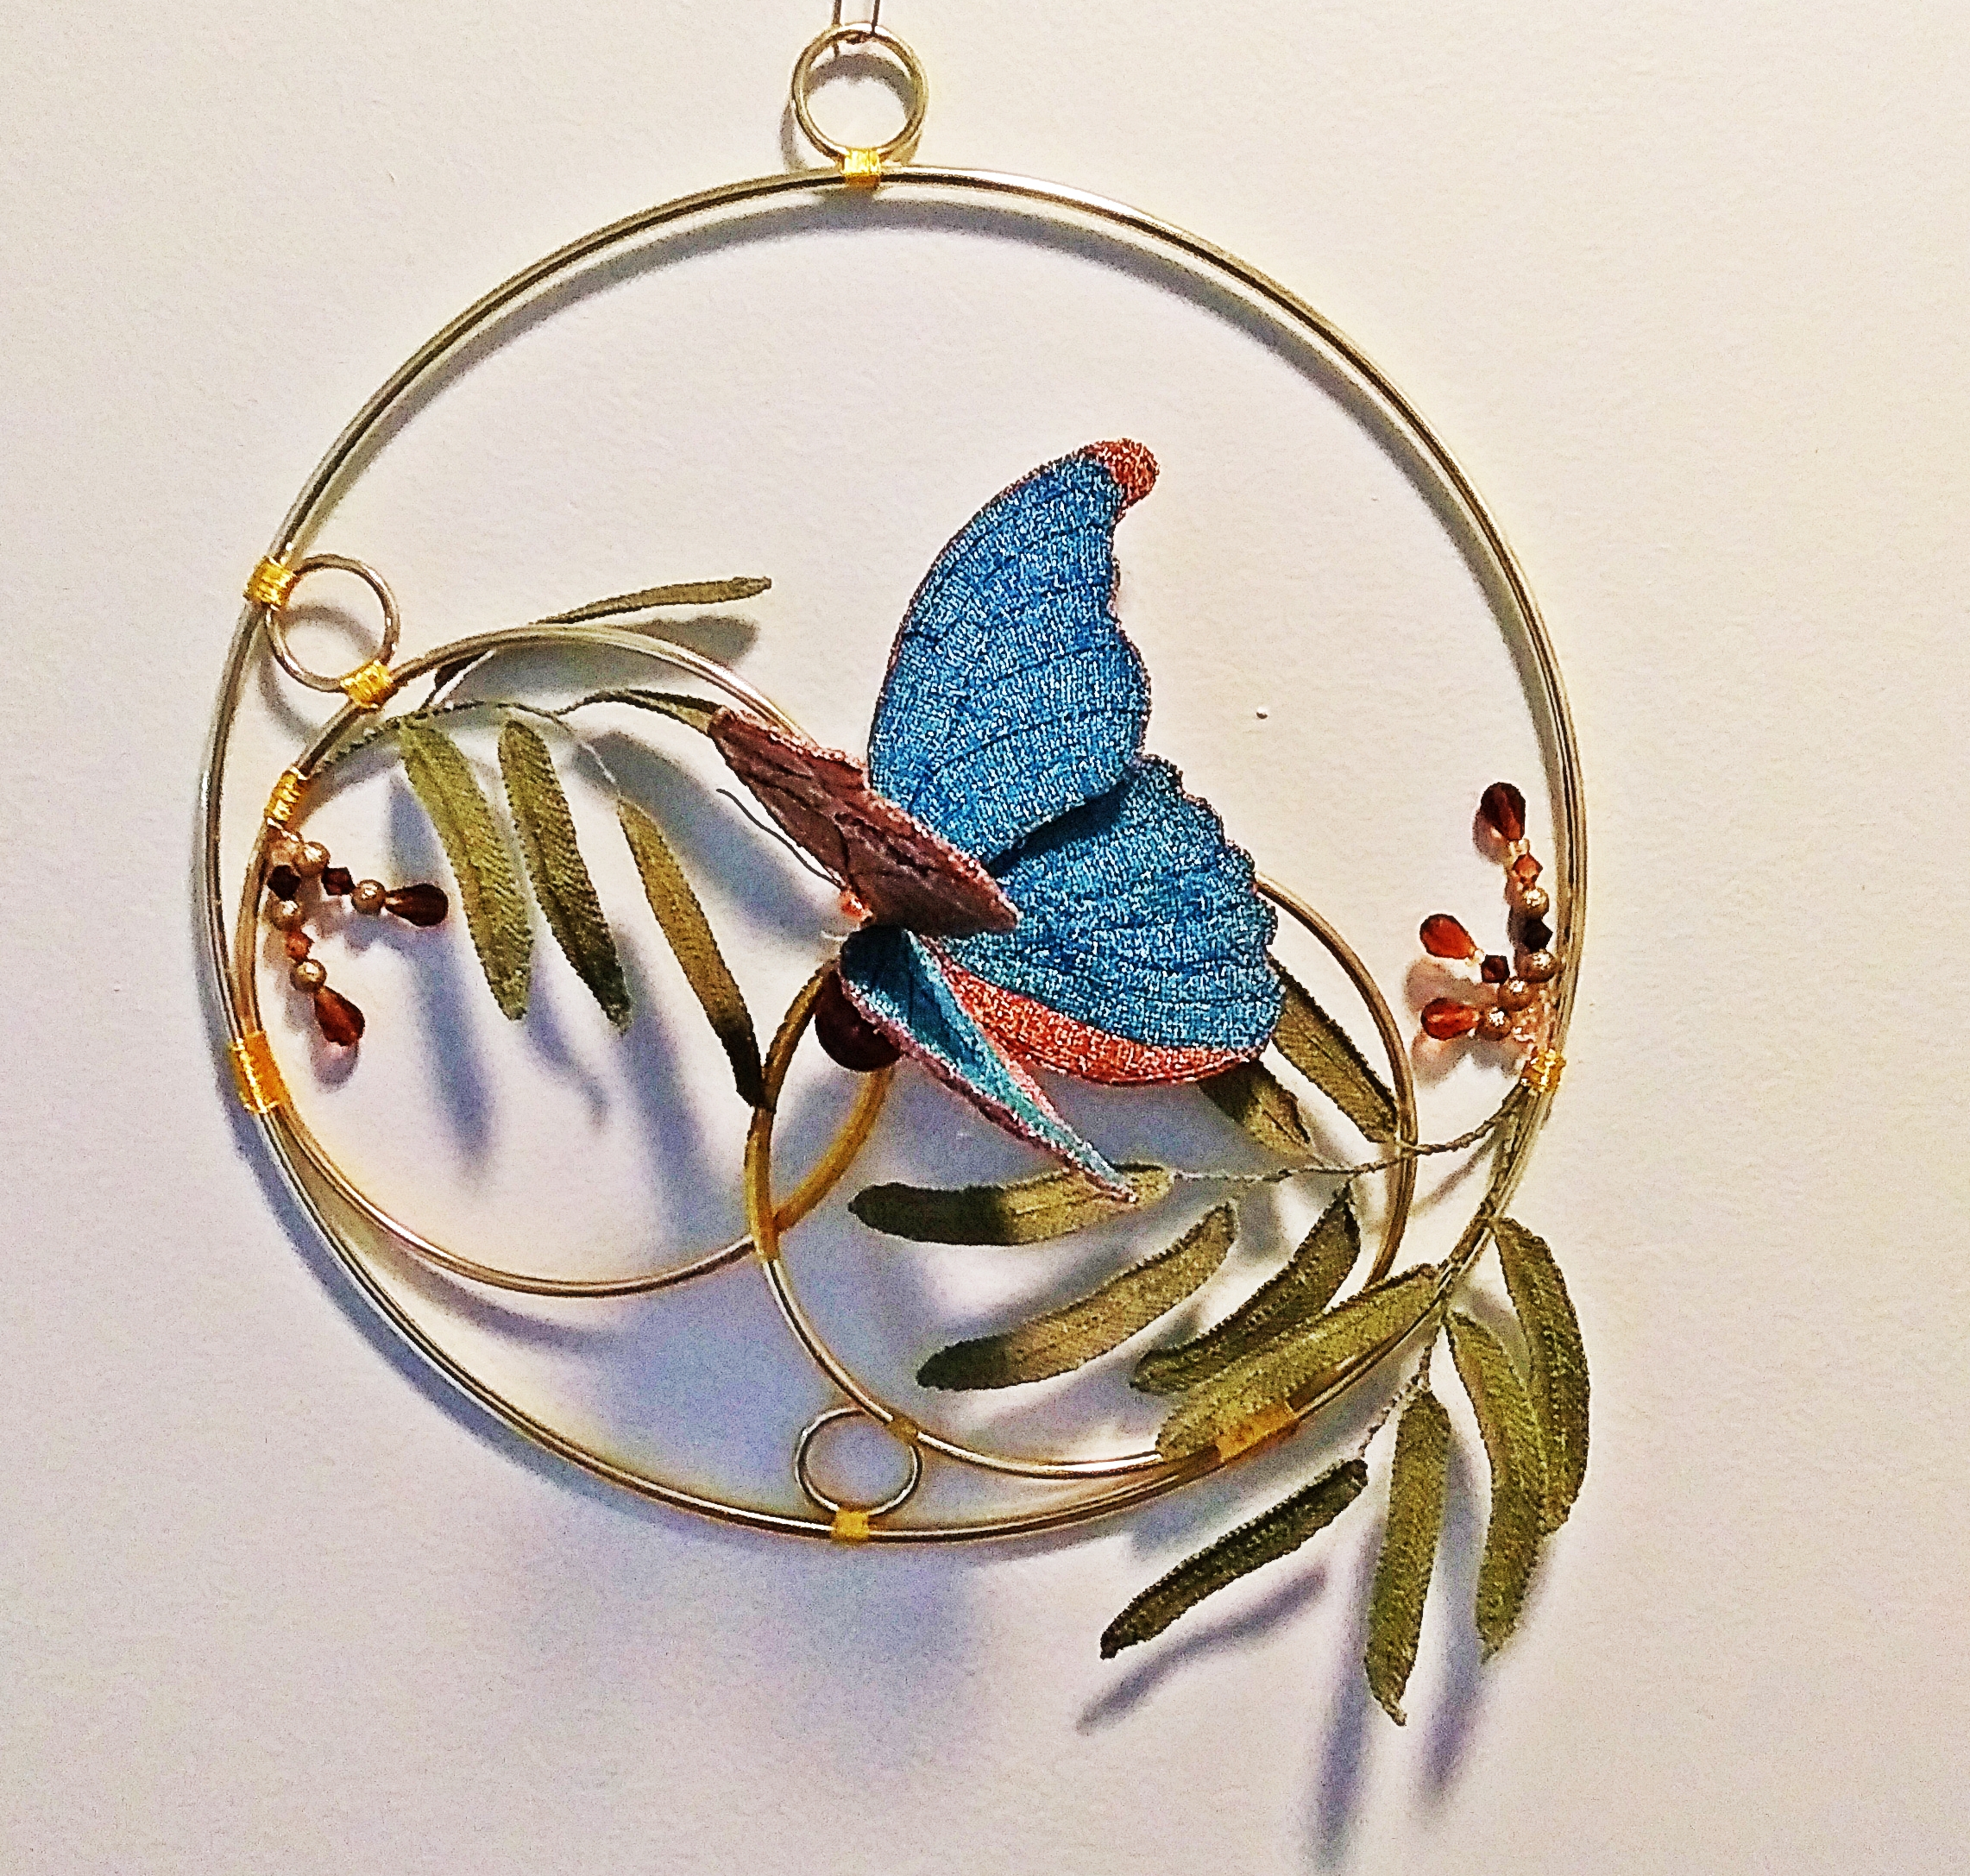
Here you can see the front view.
Here he is in all his glory. I love the fact that his has two completely different patterns on his wings.
This has been quite an undertaking, but well worth the time. Be sides, my daughter loves it. It will be hanging in her kitchen window soon.
This whole project was accomplished using my “Basketweave Stitch. I find it one of the most versatile stitches for these intricate creations.
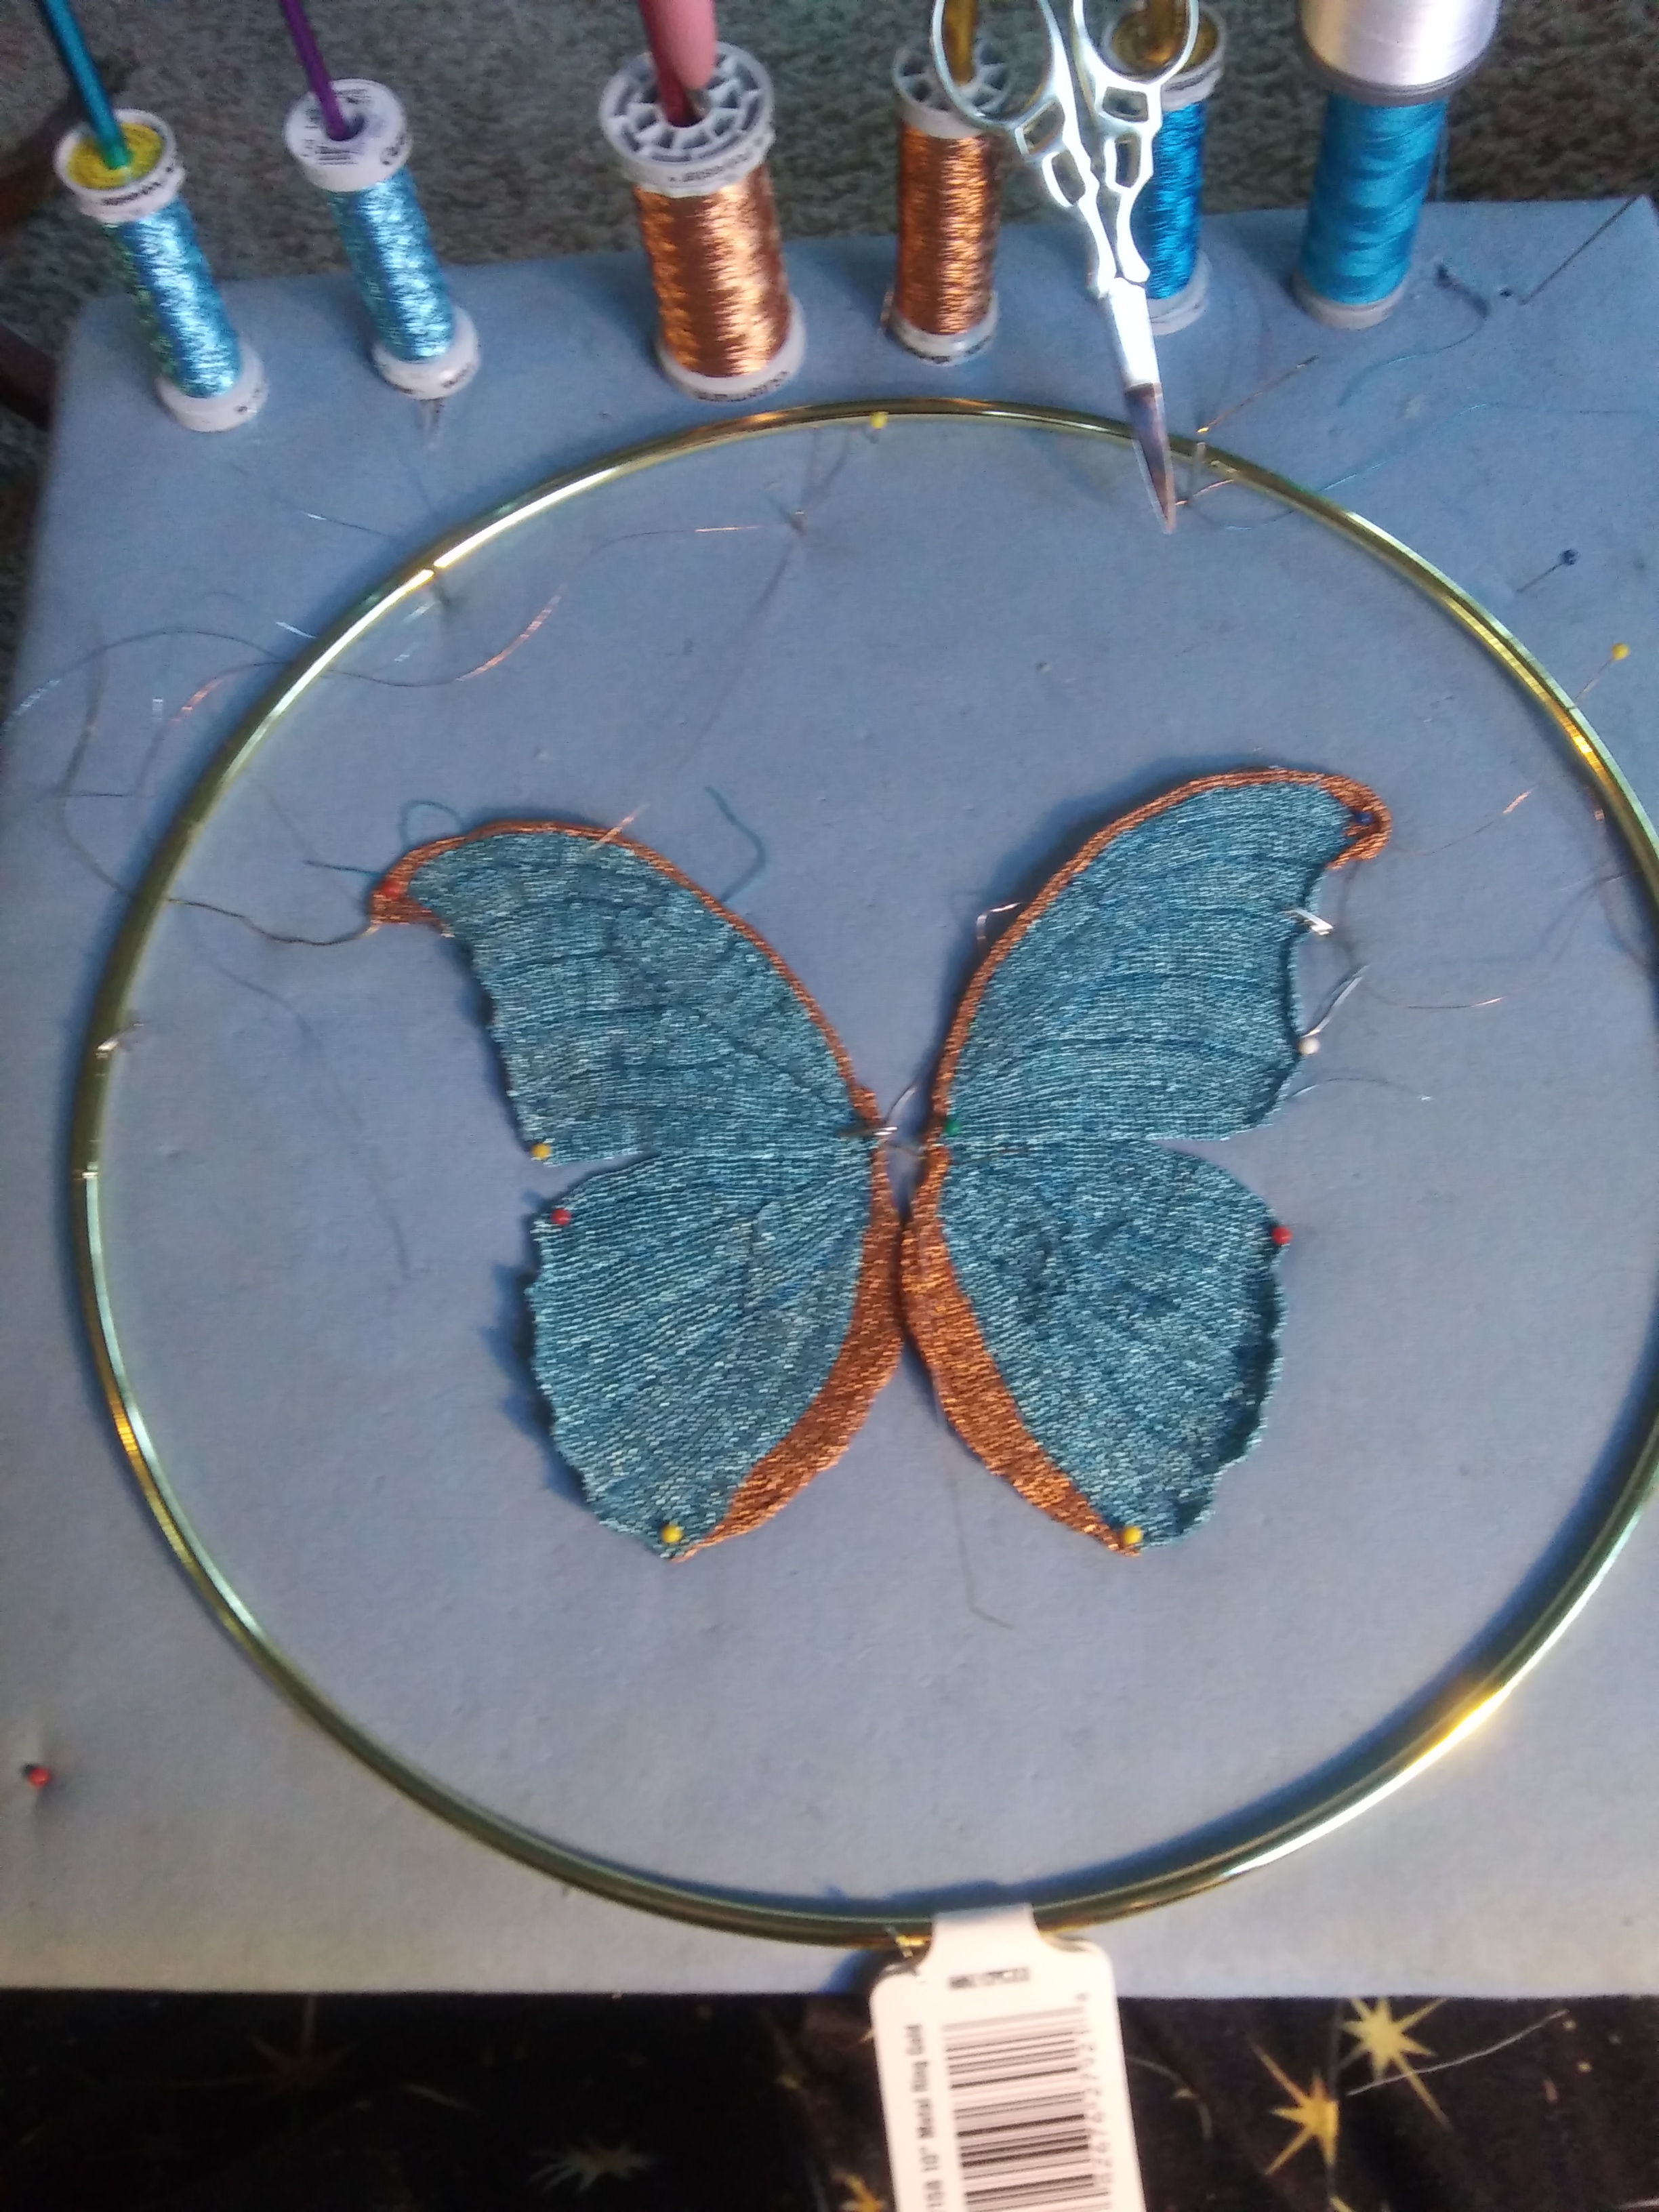
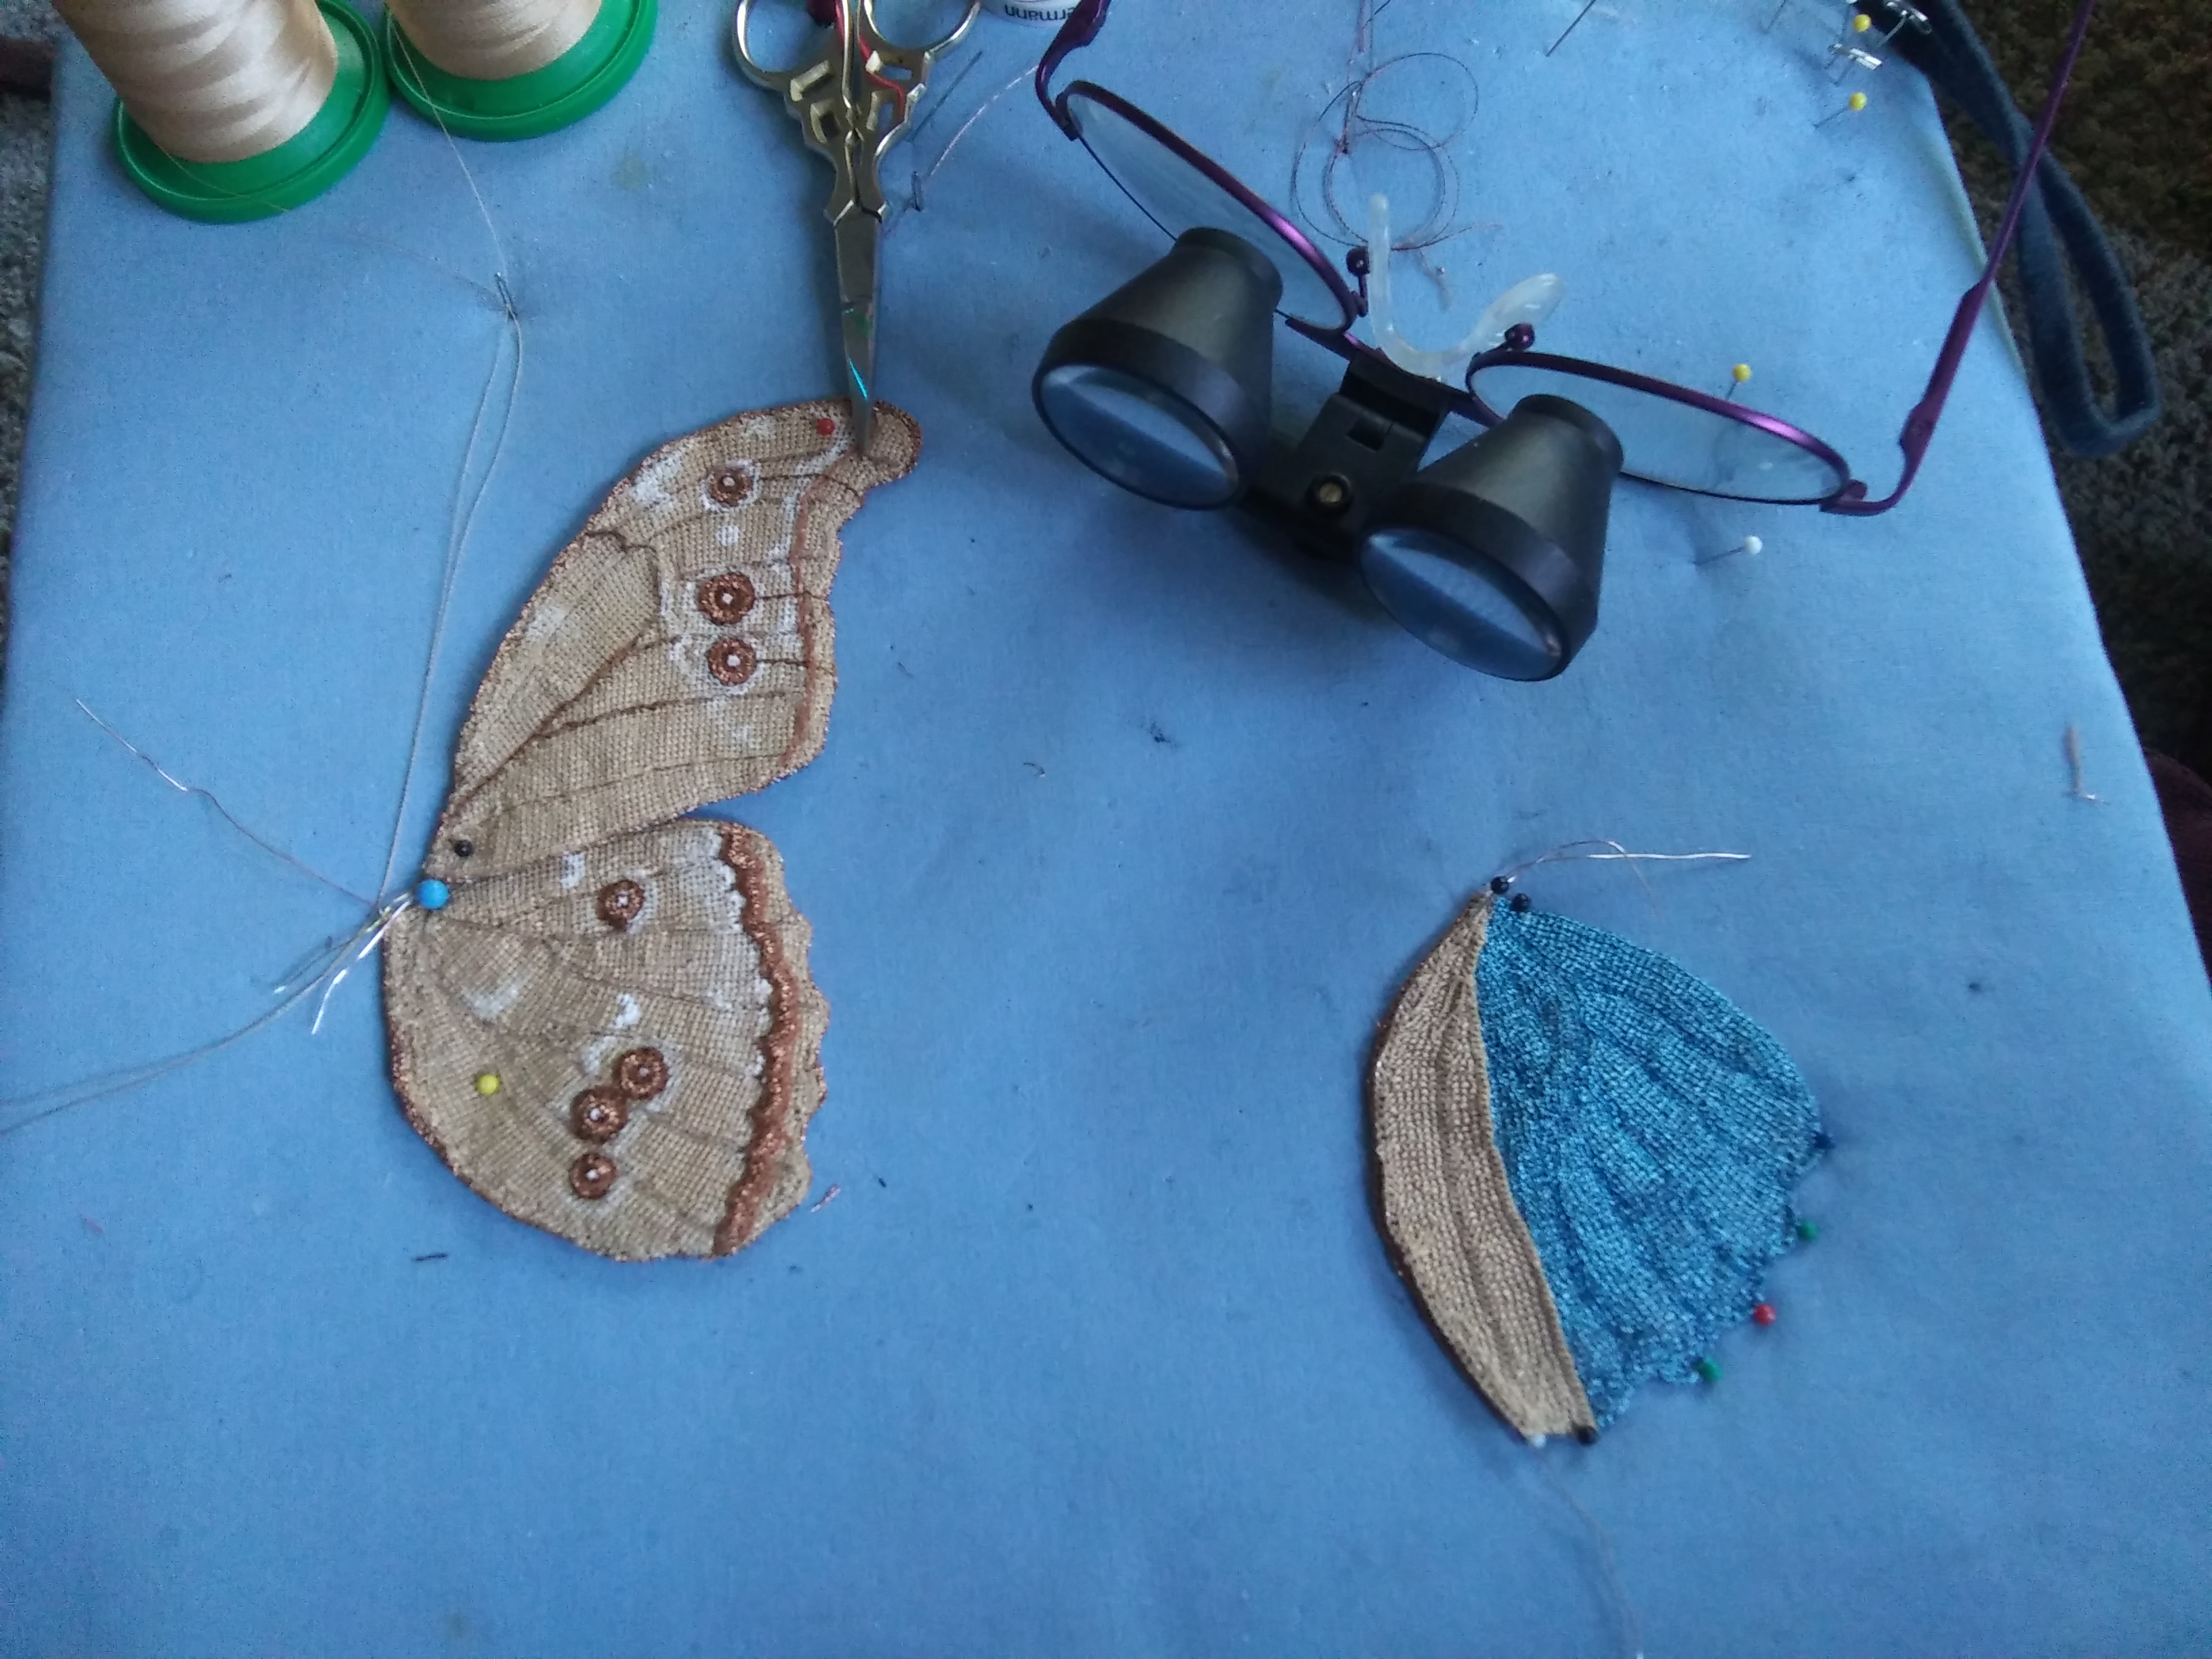
This giant Morpho butterfly is part of another butterfly ring. The photo above is the top side. The photo below is the bottom side.
This spectacular butterfly has two distinct sides. As a result each side has to be made separately. As you can see in the photo above on the right, I am in the process of making the mirror image of the bottom left wing.
All the work is a combo of my Basket Weave crochet stitch, the detail is done with needle tatting, and the closure is the simple blanket stitch. The beauty of the Basket Weave Stitch is that it lies flat, and can be made the base for all sorts of decorative stitches, as well as paints. The white you see on the left finished underside, is simply acrylic paint.
Some think I am a bit “nuts” for doing this detailed work, but it brings me great joy.
I have been at this a while, but finally completed the project. This size 44, is made of fingering yarn on a size 3 circle needle. It is designed to go over the top of thermo ski clothing. My thinking was “sweat shirt.”
The overlayed design on the bottom of the body of the sweater is done with lace weight yarn. The stitches are worked in between the stockinette stitches of the sweater. Every other row the black decorative stitches are slipped, then the following row are cabled over in whatever direction I want them to go. They ride freely between the stitches. It has the appearance of crocheted stitches.
You will notice in the photo above that I also worked the same design at the top of the sleeves.
All the ribbed sections began with an invisible cast on.
I made this for my grandson who is in the Navy.
You can be sure I will include washing instructions and moth deterrent in the box.
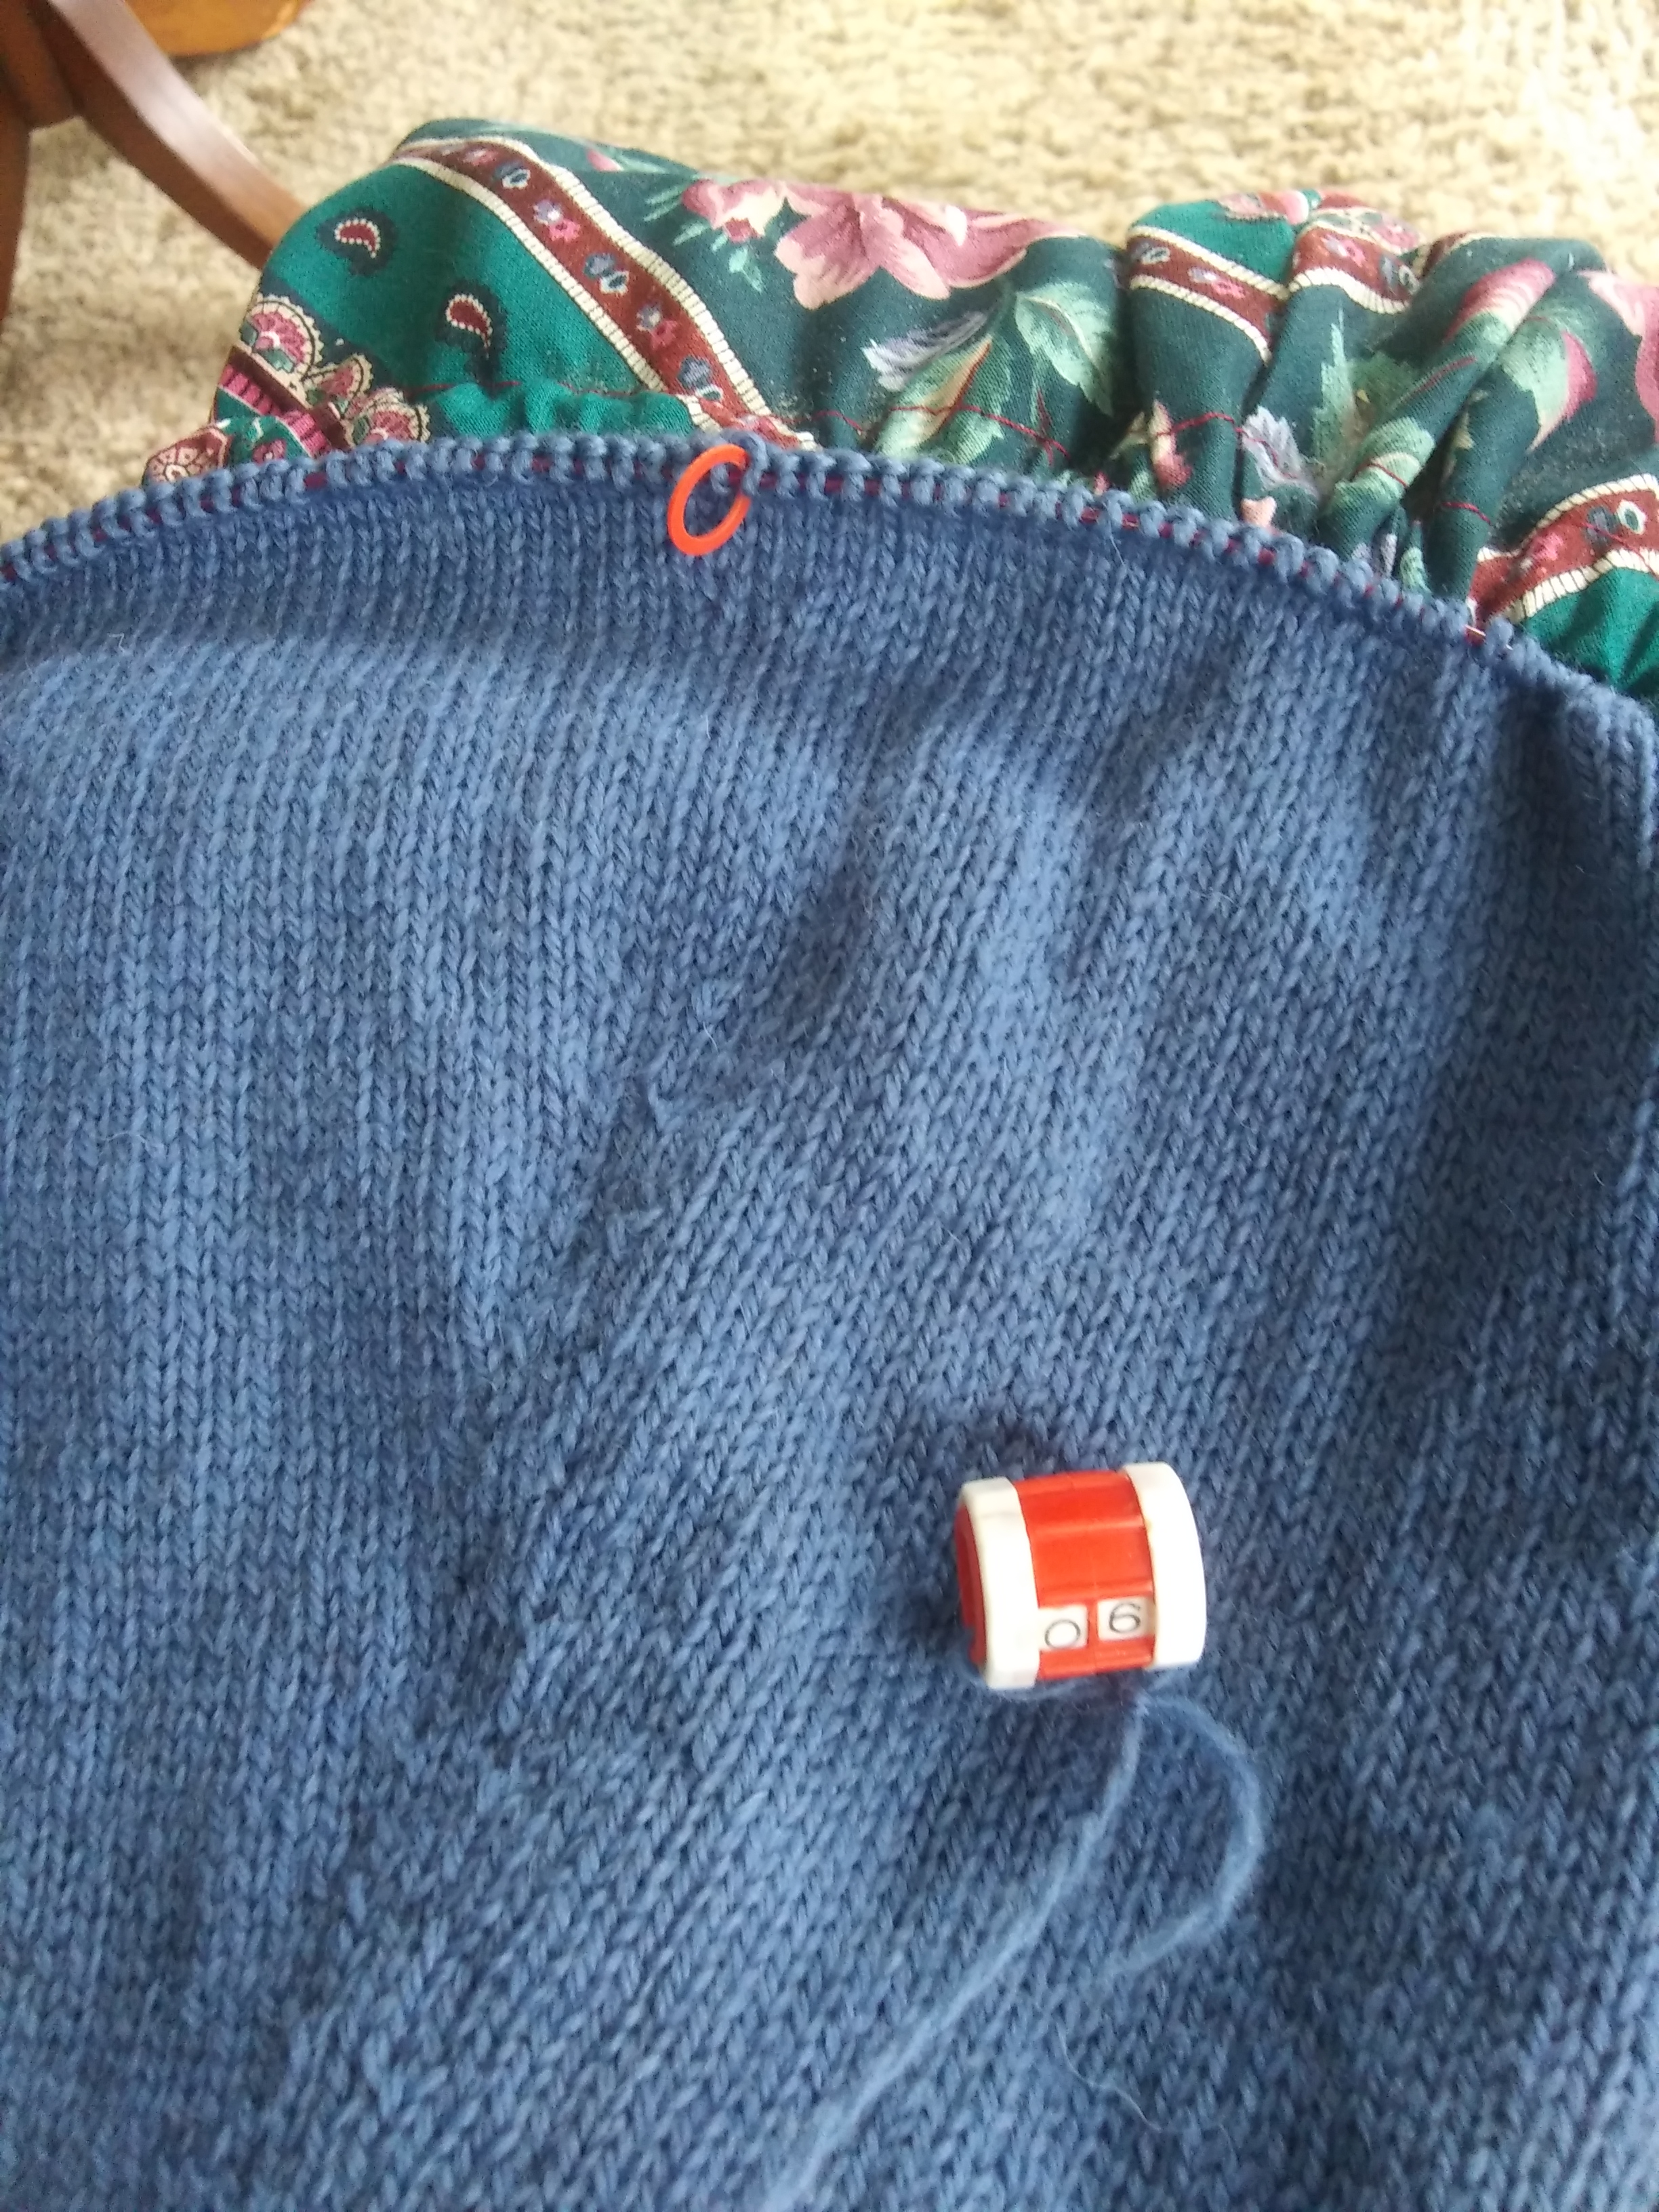
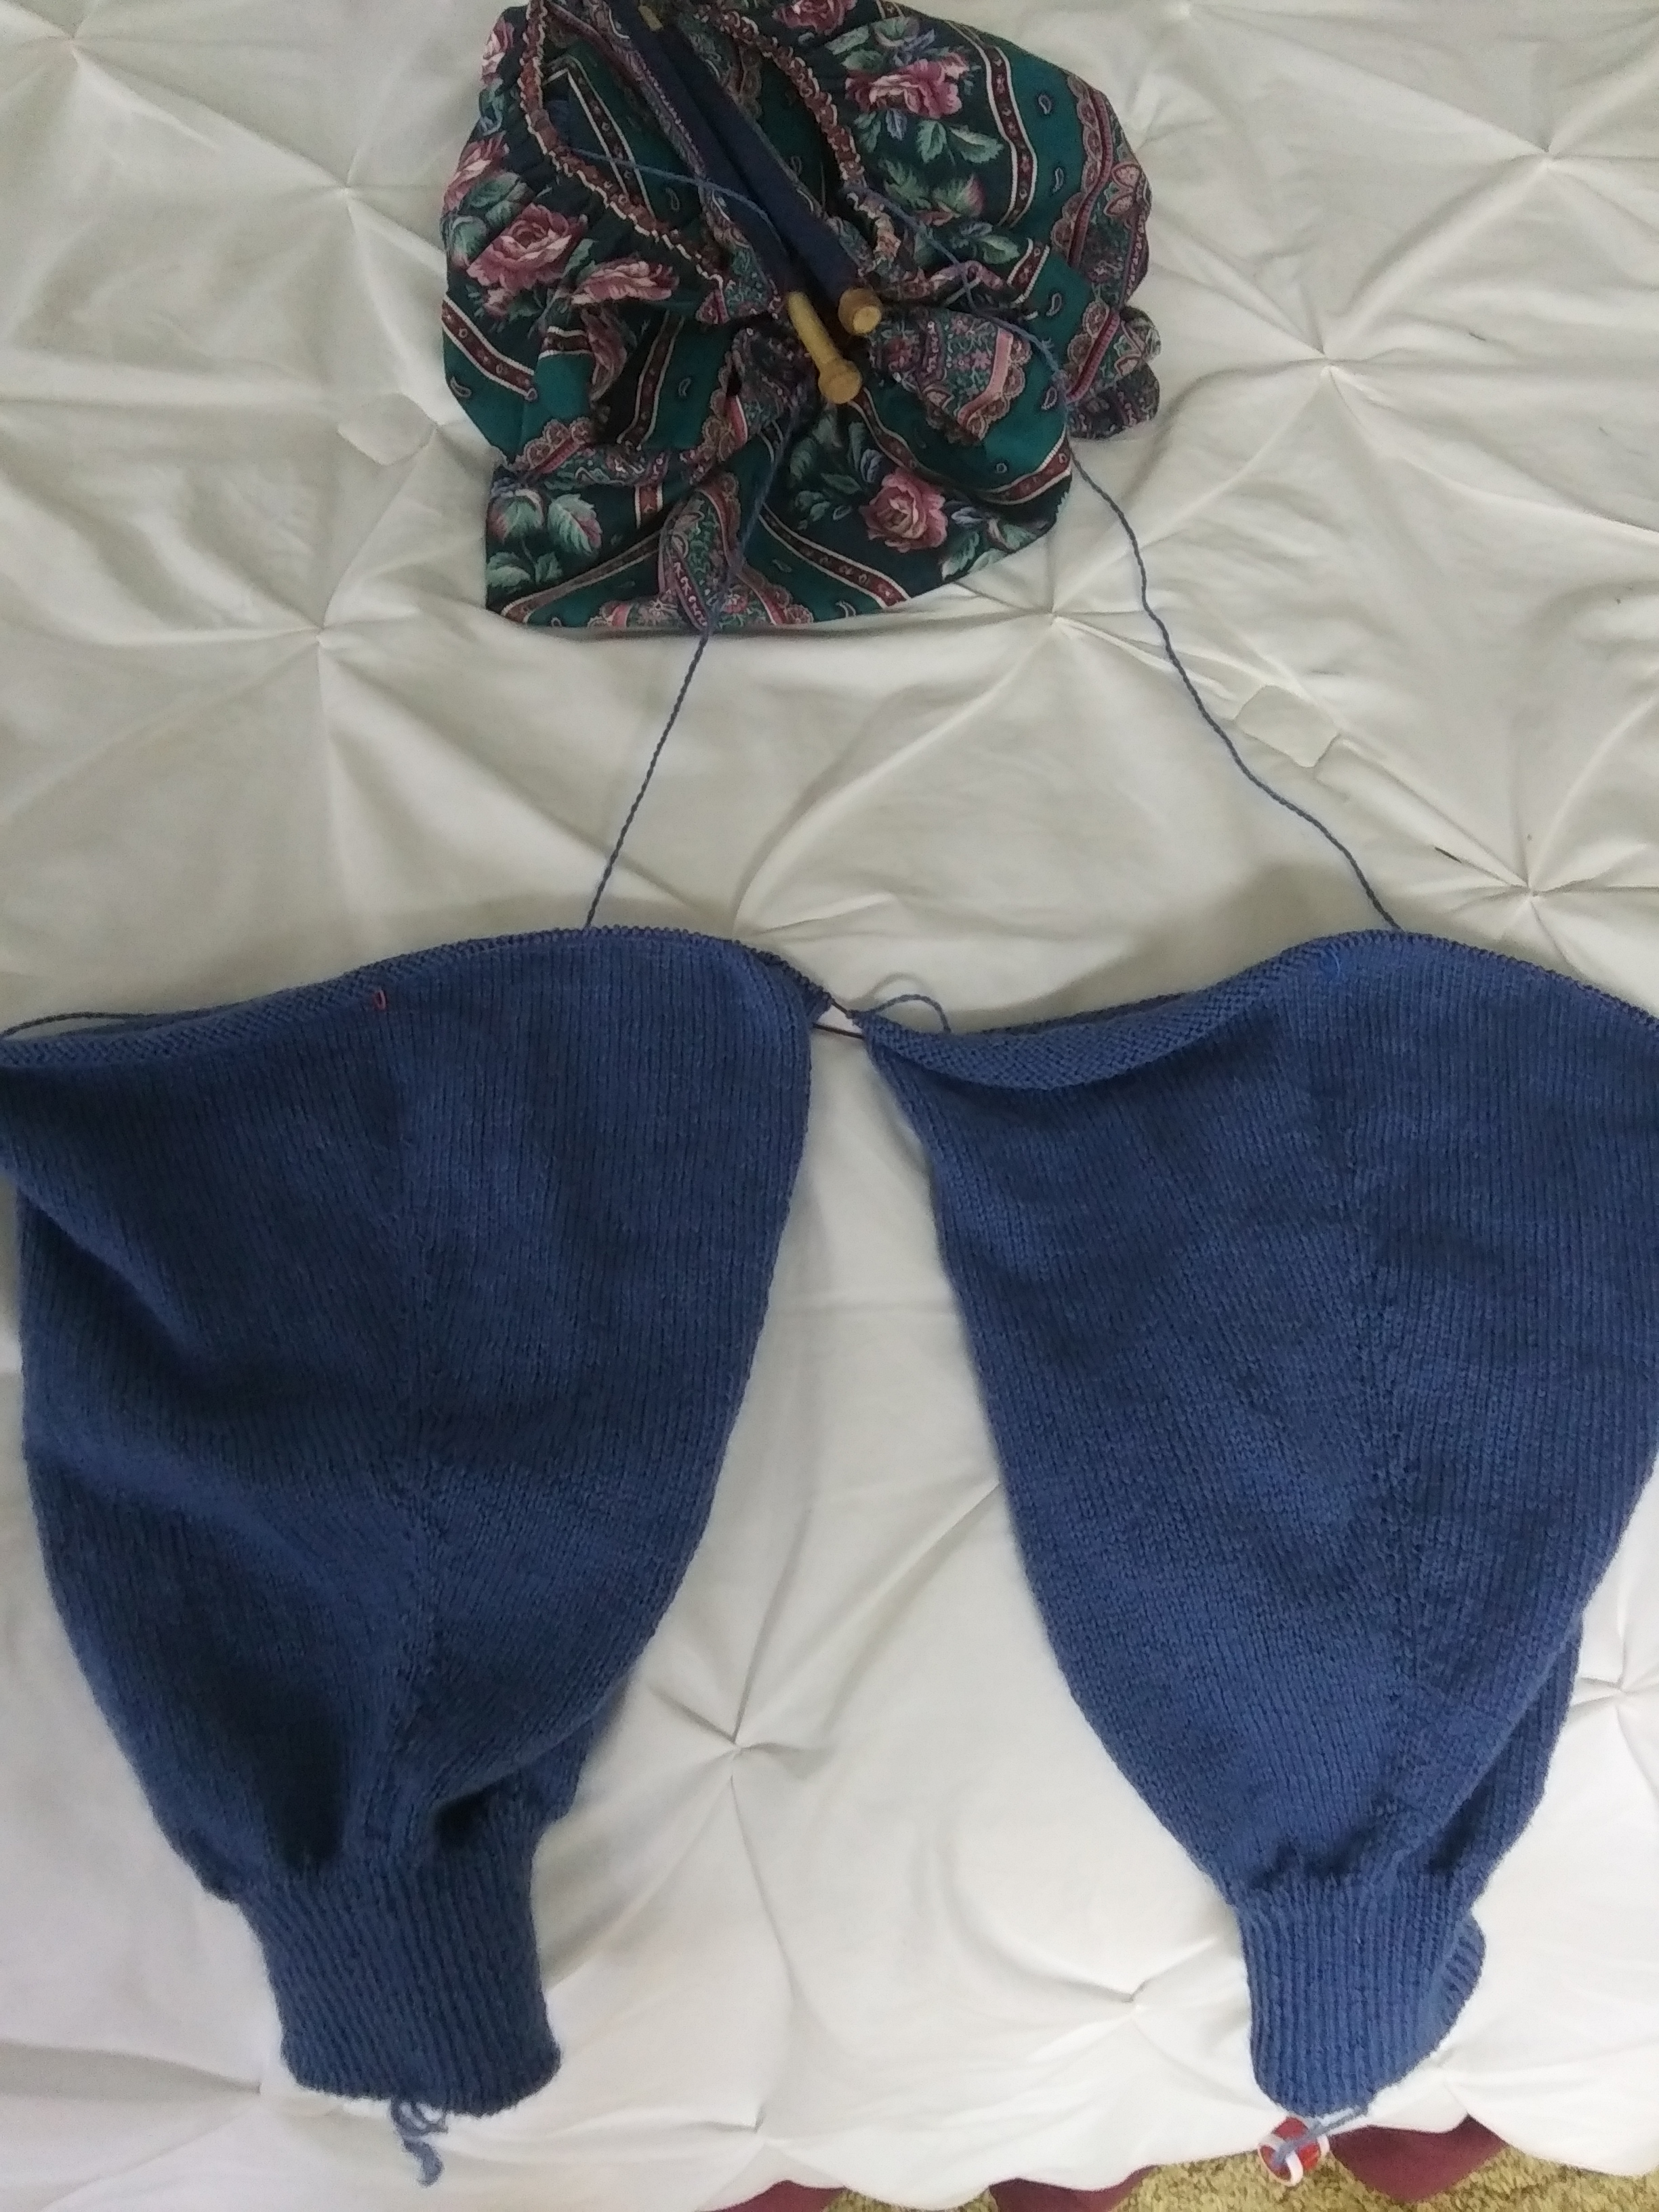
Having completed the body of my grandson’s Ski sweater, I decided to knit both sleeves at the same time. One of the issues that comes up when doing this is that the underarm increases need to be handy, but also needed to be where I wouldn’t be dealing with “ladders, ” a frequent an issue when knitting in the round.
I solved this problem by moving the stitches so that the seam area was in the middle of the needle,with a marker at the seam. I executed the increase with a YO, knit 1, move marker, then knit 1 YO. Attaching a stitch/row counter to the cuff starting tail, I began increasing as my pattern established.
This particular sweater is knitted with fingering yarn on size #3, 40 in circle needles.
By using this method to insert the increases, I have had no problems with “holes” or loose stitches.
Just thought I’s share.
I apologize for my tardiness in posting, but at age 80 I have taken up studying the violin. I am having so much fun, and Mutes are a God send. 🙂
Thanks so much for making your method of slipped short row heels available. It looks so nice and neat on the inside and outside plus NO HOLES . I have never been happy with the wrapped or yarn over short row heel on my socks. Your method is just so amazingly easy. I’ll be using this on all my heels and toes from now on. I recommend this for anyone who doesn’t like picking up stitches for a heel flap or holes in their short rows.
And I might add that I will be trying her newest tweak on the heels and toes of my next socks."
Deb