Feeds:
Posts
Comments

Archive for April, 2014

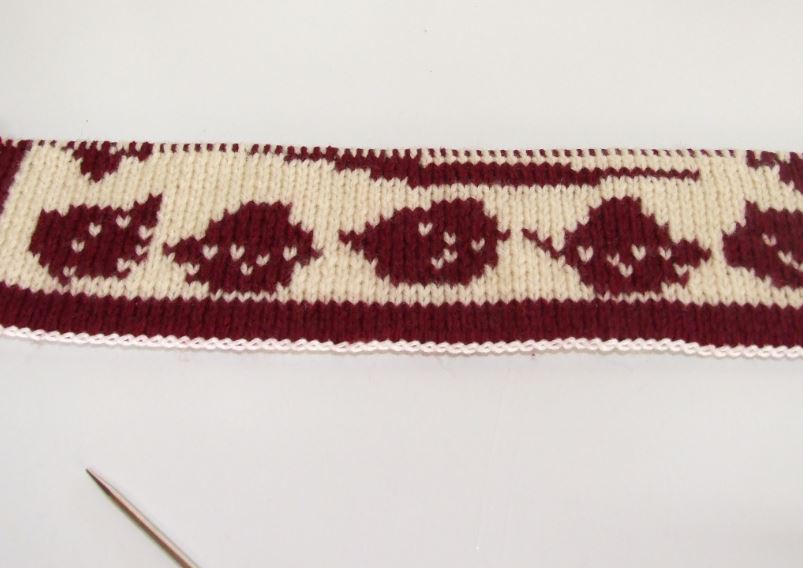
I promised that I would upload this pattern, so here it is.  The instructions are general, as I know most of you knit socks already.  This pattern includes the following techniques – Fair Isle, tubular cast on, double knit short row heel and toe, and Kitchener closure.  I have also given instructions on how to prepare for the inserting elastic in the rib casings.    If you have forgotten what they look like, below is a photo. nordic rose knee  high for website

I have altered the pattern a bit, realigning the roses and adding rose buds at the top.  The pdf’s below are available for you to upload.

Nordic Rose Leg and Instep Chart

Nordic Rose – Knee High Pattern

Nordic Rose Hell and Toe Charts

You might want to check out my post on “Oops Becomes a Blessing.”  This post gives you more info on the elastic insertion.  I am still finding the after several washing, the stockings stay up all day.  The combo of using a larger needle for the calf area, combined with the 1/4 inch elastic rounds enclosed in the ribbing works like magic.

I you have any questions, you know where to reach me.

Happy knitting- KT

Read Full Post »

There is nothing more disheartening than to be working along with two colors on a double knit and discover that you have an uneven row on one side or the other, creating an unattractive line across the face of your knitted surface.   Some people call this “rowing out.” Who wants that??

As a rule I knit very evenly in stockinette, but when I double knit I have run into this problem.  What’s the answer?

I tried knitting with the yarns carried in one  hand, but soon knew that this was definitely NOT the answer.  Next, I tried using both hands, just as I do when color knitting.  It worked much better, but the purls were still  a bit loose.  Then, I took the time to work just a few stitches (about 16) in a swatch, examining every row.

I soon discovered that I needed to take up more slack when I purled the alternate color.  The results were stunning.  The trick- look for the purl bump.  Raise it up so that you can see it near the top of your needle.  You might even feel the yarn taking up the slack as you make the lift-I did.

If you are knitting Continental, and purling English the “purple” on the right-hand index finger below will be raising the “purl bump” toward the top of the needle.

double knitting tension 1I you are knitting English and purling Continental, then your left-hand index finger will be lifting the purl bump into position before the right hand swings the yarn back to begin the next set of yarns in the sequence.

double knitting tension 2


The results-

double knitting sample 1

No ridges

double knitting sample 2

My advice- practice this.  See what results you get.  I works for me, maybe it will work for you.

One more thing.  I don’t know if you have noticed but when you are double knitting the gauge changes.  In my experience, I find that it usually runs 6 stitches to 8 rows, instead of the 6 stitches to 9 rows that I knit in a flat pattern.  Because of this, I have uploaded both charts, as one can be used for regular color knitting and the 6 by 8’s can be used for DK knitting.  These charts are in on my “Free Patterns” page.

double knitting sample 3

As this is the first block of my “Idaho Memories Afgan”  I did not want to be dealing with this problem for 30 blocks of the design.  Now I don’t have to.  Yeah!!!!

Hope this helps-  KT

Read Full Post »

I know that many of you who come to my website are multi-talented.  Most of us who are creative do not limit ourselves to one subject, but instead find interest in anything that challenges us to learn a new thing.  To that end, I would like to share a newly discovered baking secret.

Since I started my new website devoted to creating low carb recipes, I have been perusing the web for all kinds of information on working with oat flour, and various forms of sugar replacements.  The results of all of this investment of time has been well worth it, if only for the little secret I am going to share with you.

I don’t know if you have trouble with cakes cracking, or rising more in the middle, but I have, especially with the alternate flours.  The answer to this problem is “baking pan jackets.”   The results of this discovery is the perfect layer you see in the photo below.

choco layer cake 1

If you look closely you will see that I have surrounded my pan with strips of toweling.  These strips slow down the baking process so that the cake batter bakes more evenly, thus producing a layer as seen above.

I have written a tutorial for making these “pan jackets’ so that you can share them with friends and family.  I think they would make a delightful gift.

Baking Pan Jacket

I have more information on my recipe website if you are interested.

At present I am working on a knitted version (dk), made with cotton yarn.  I will upload it when I get it done.  I know once you see these, you will be coming up with designs of your own.  One thought- as knitting stretches, elastic might not be necessary.  Hum?????????? 🙂

KT


Read Full Post »