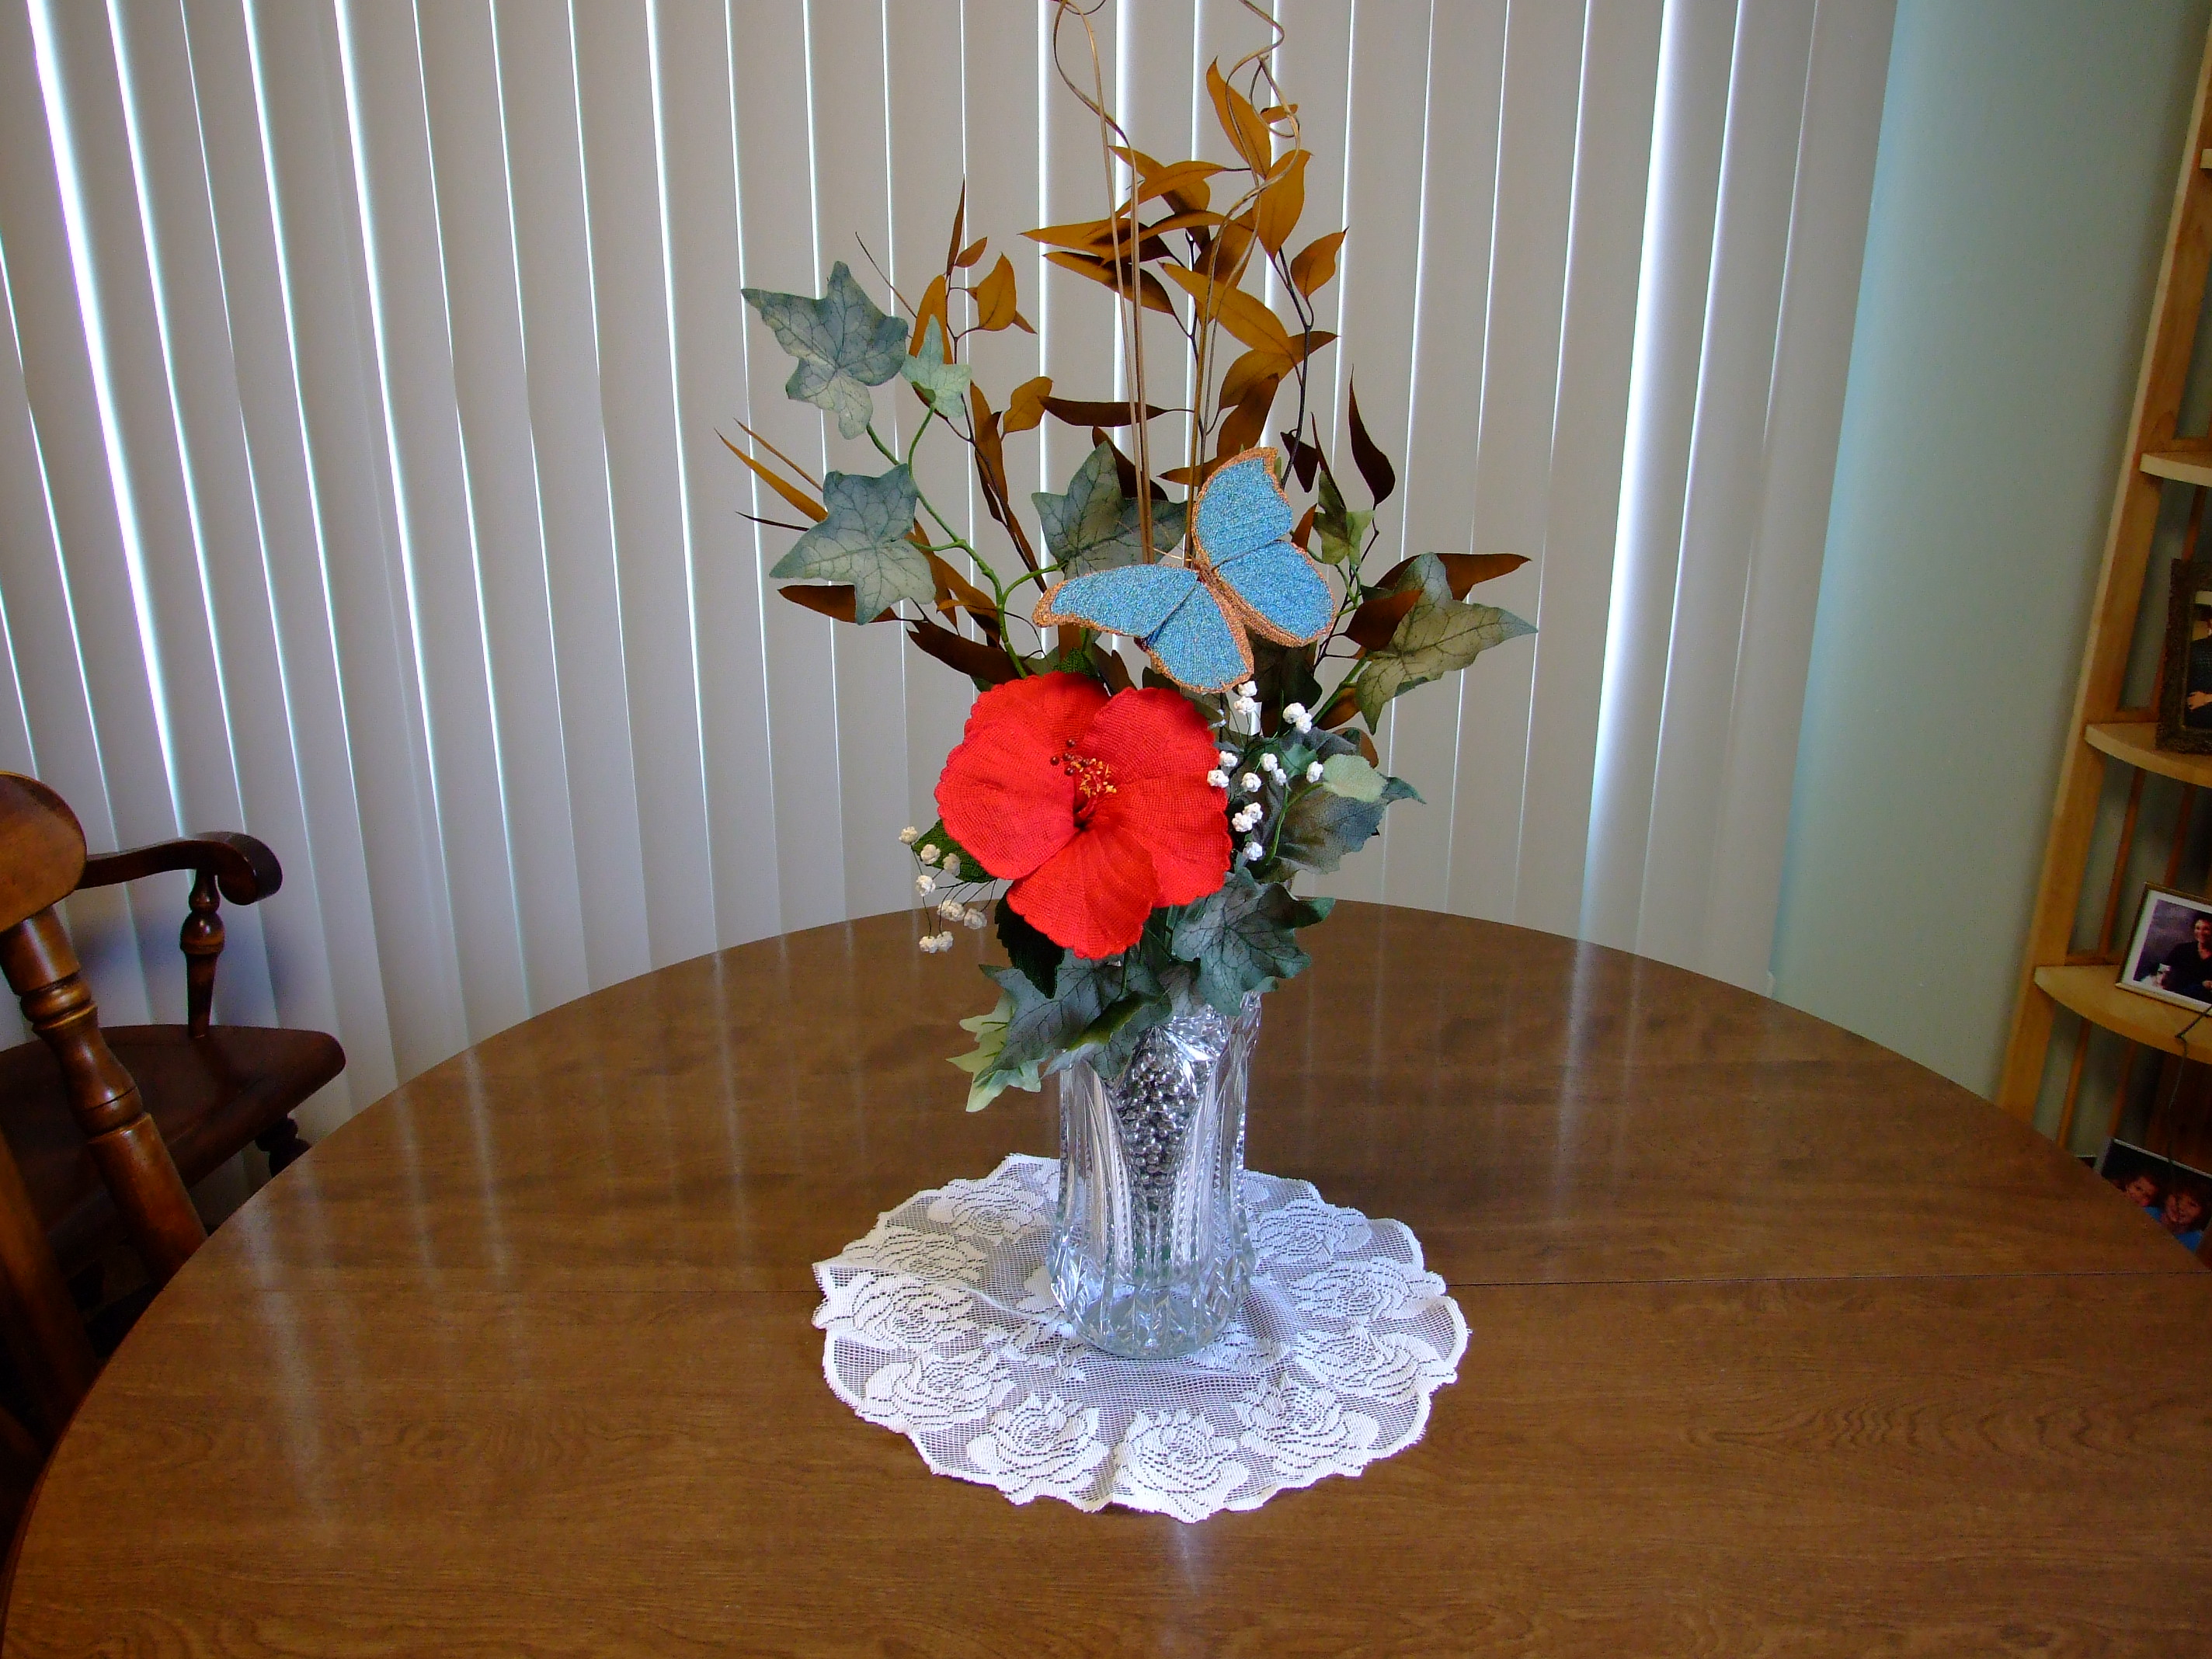
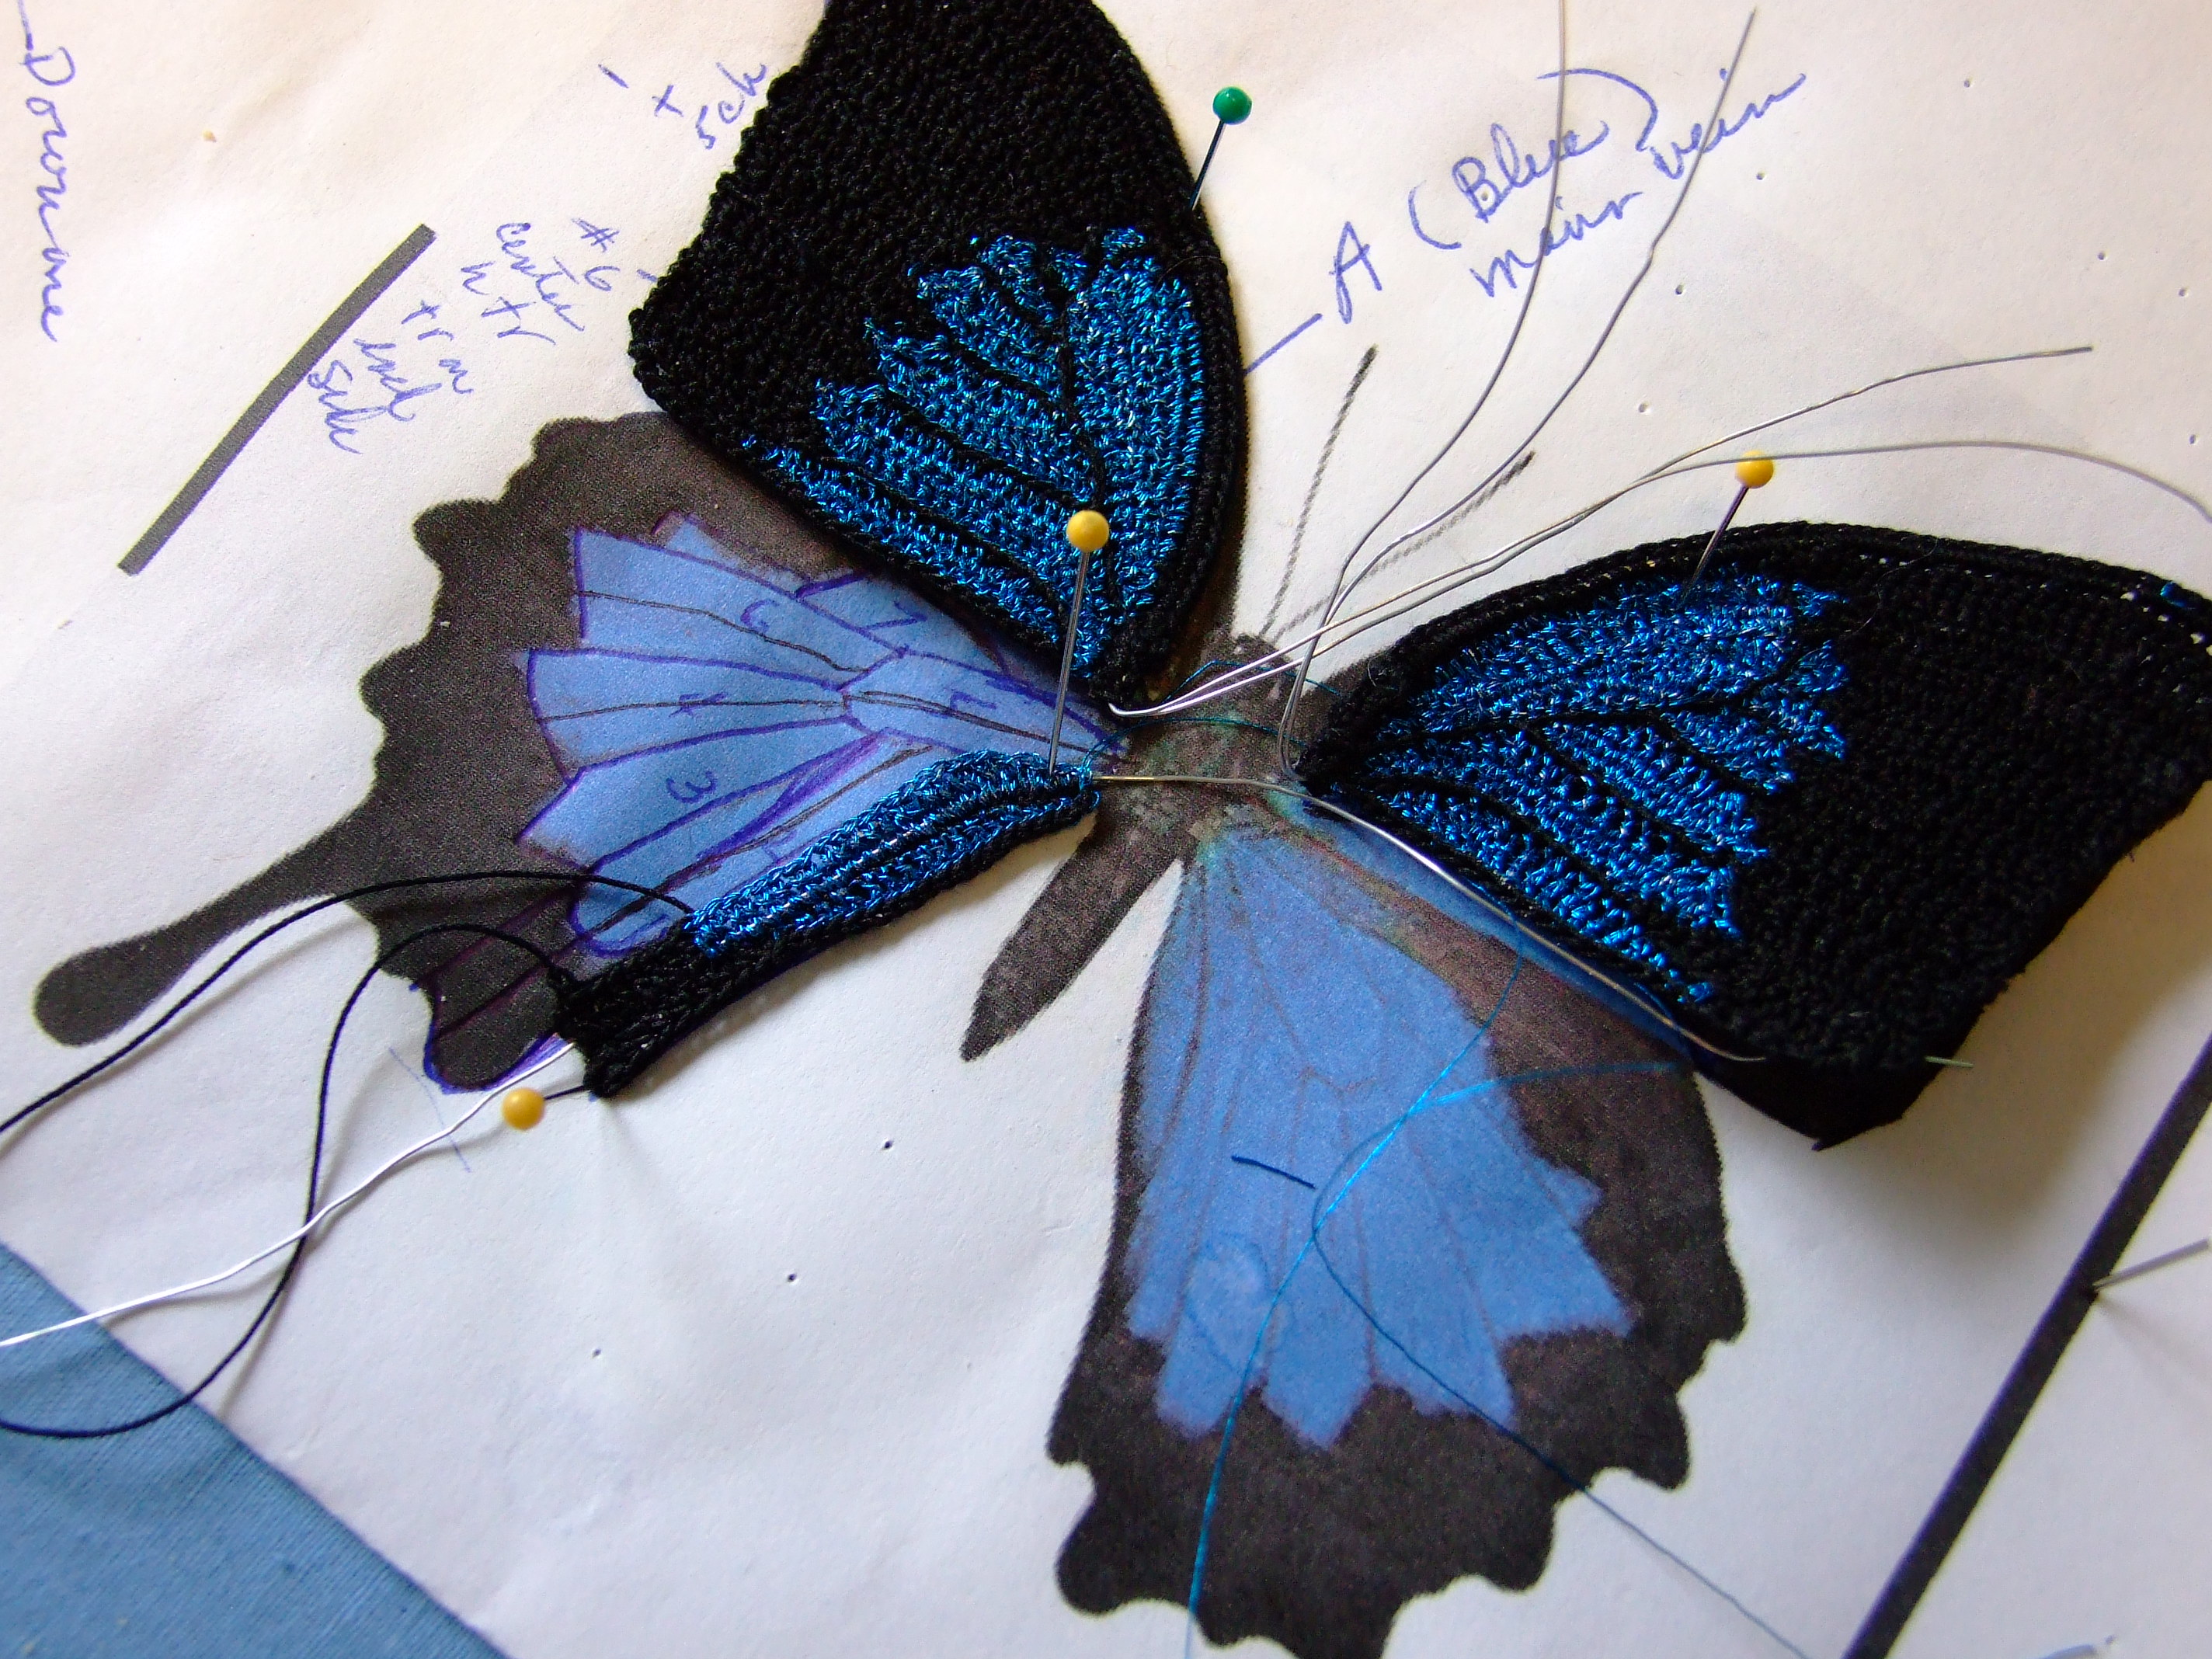
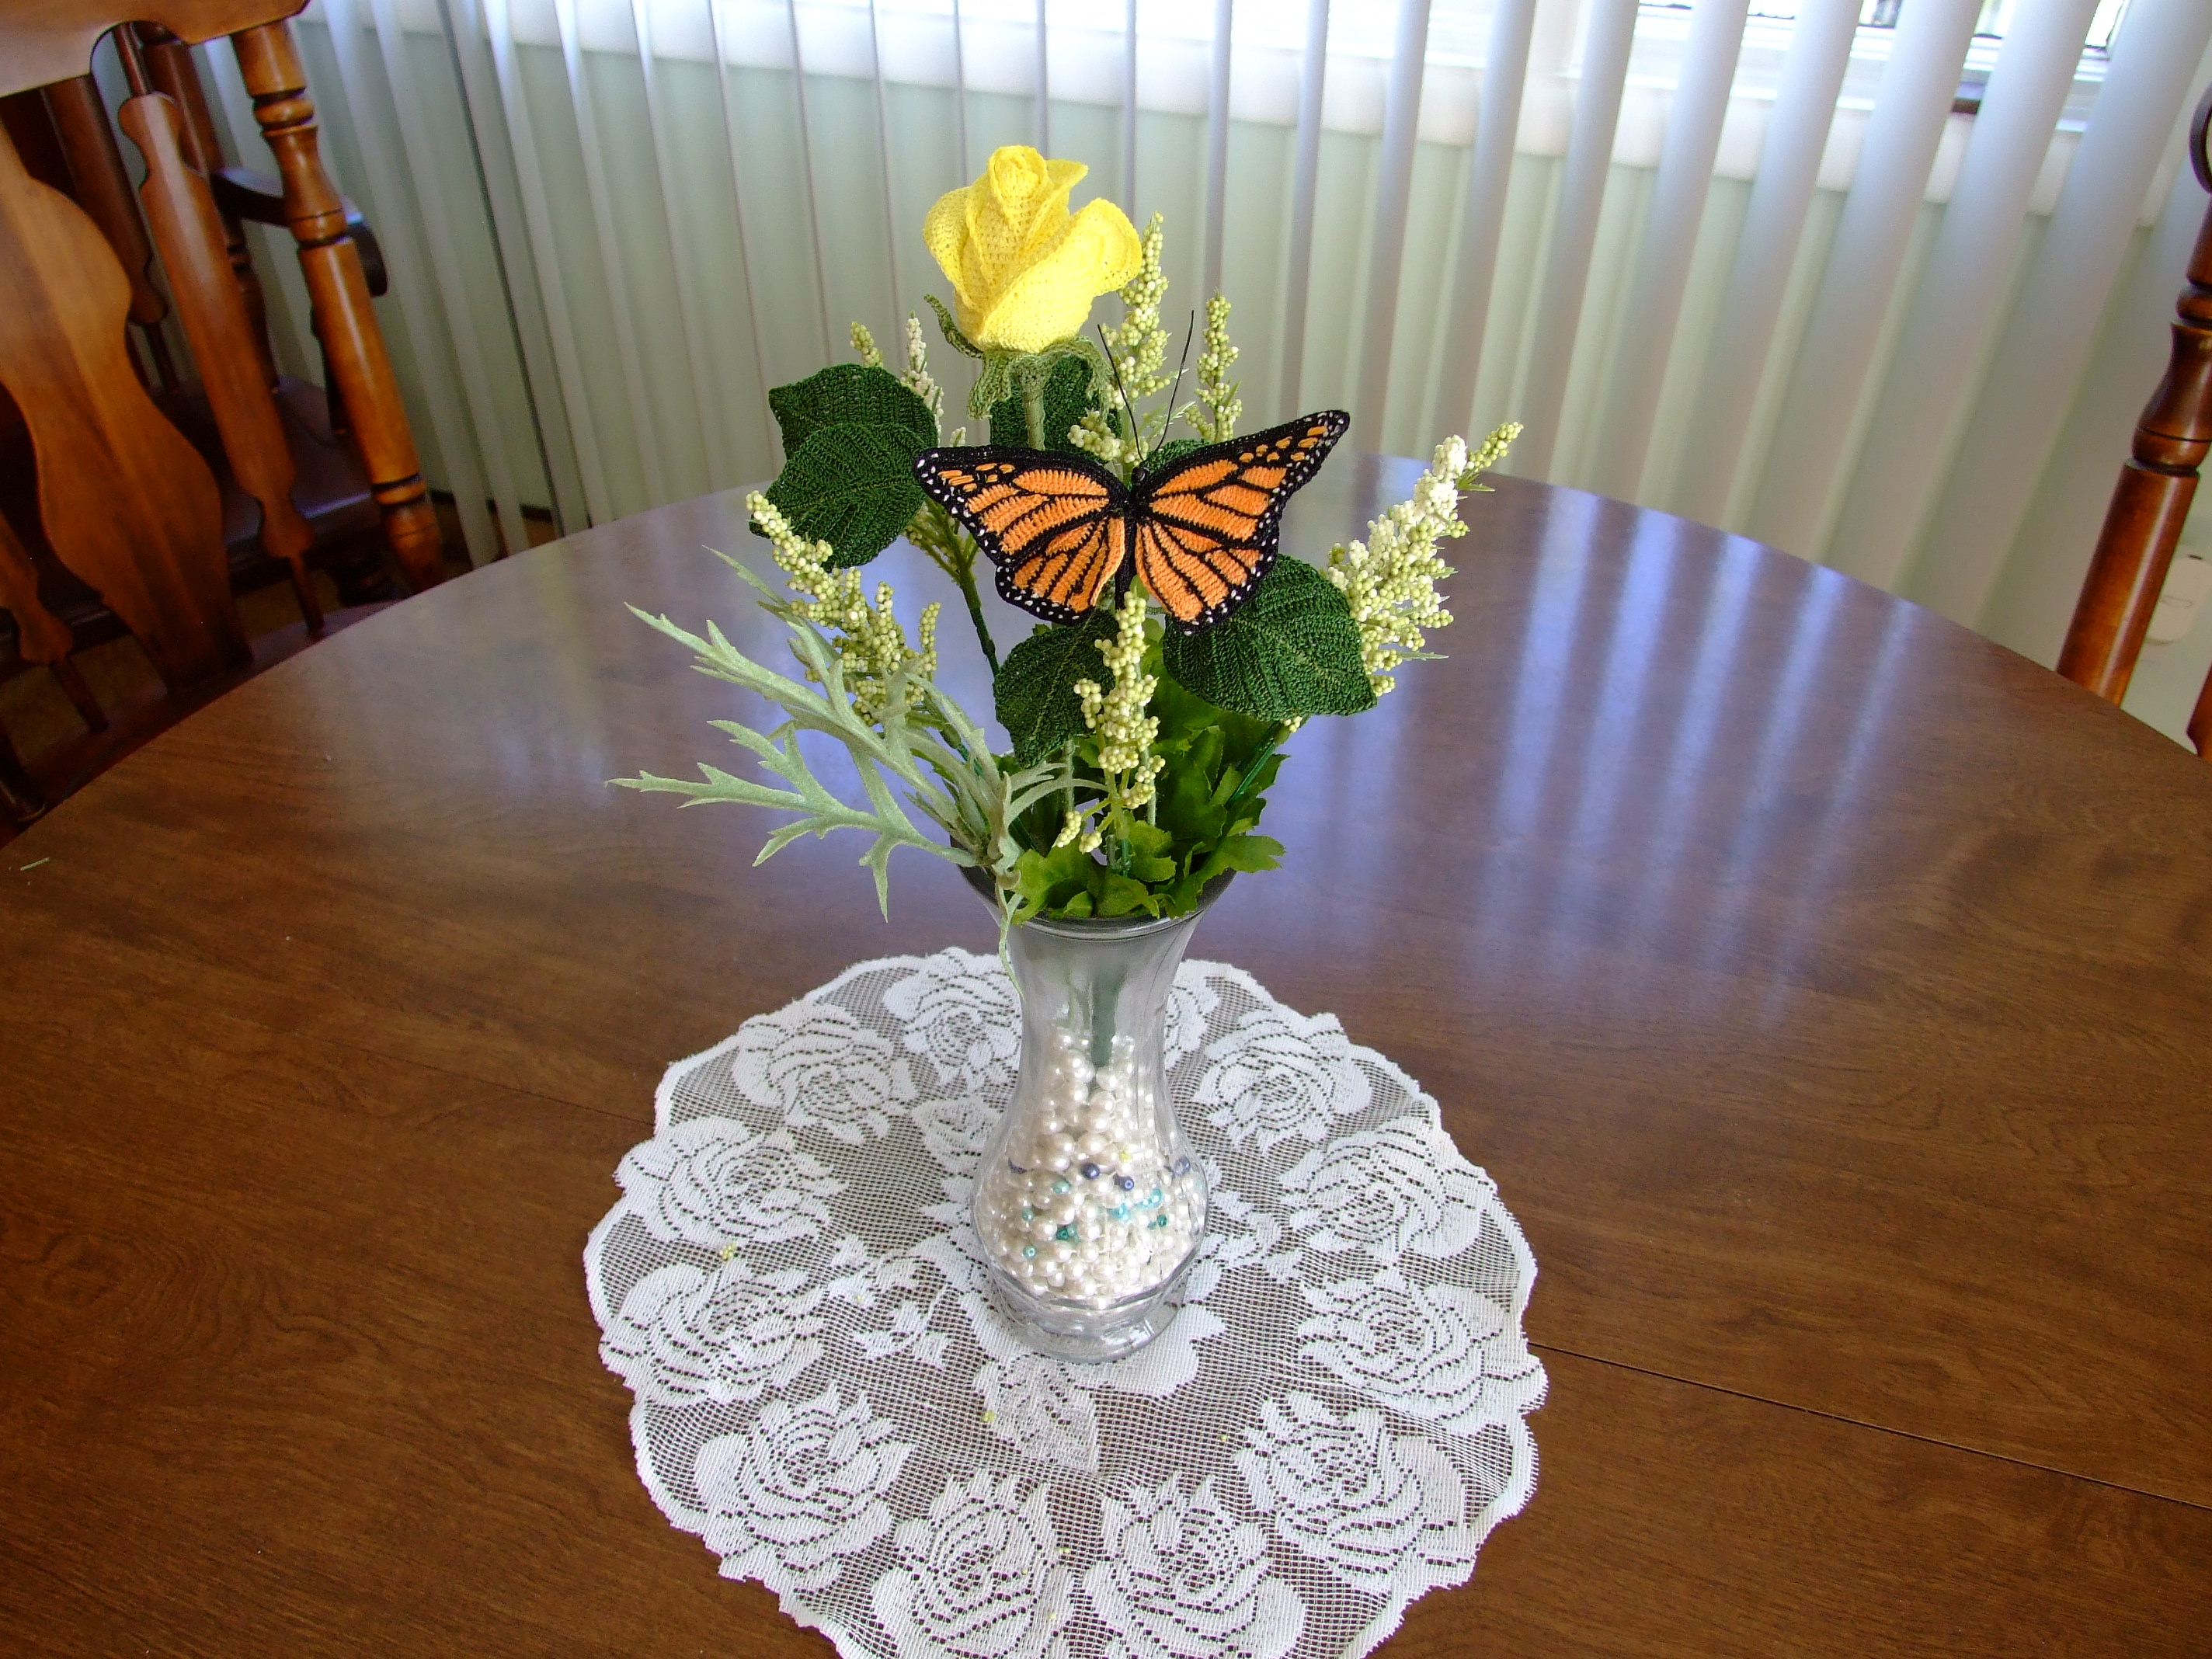
One of my favorite flowers is the Sword Lily, or Gladiolus. Their stunning colors and beauty are without peer. That said, I have been working on a design for creating one stem of flowers to be coupled with one of my butterflies. Below is just the beginning.

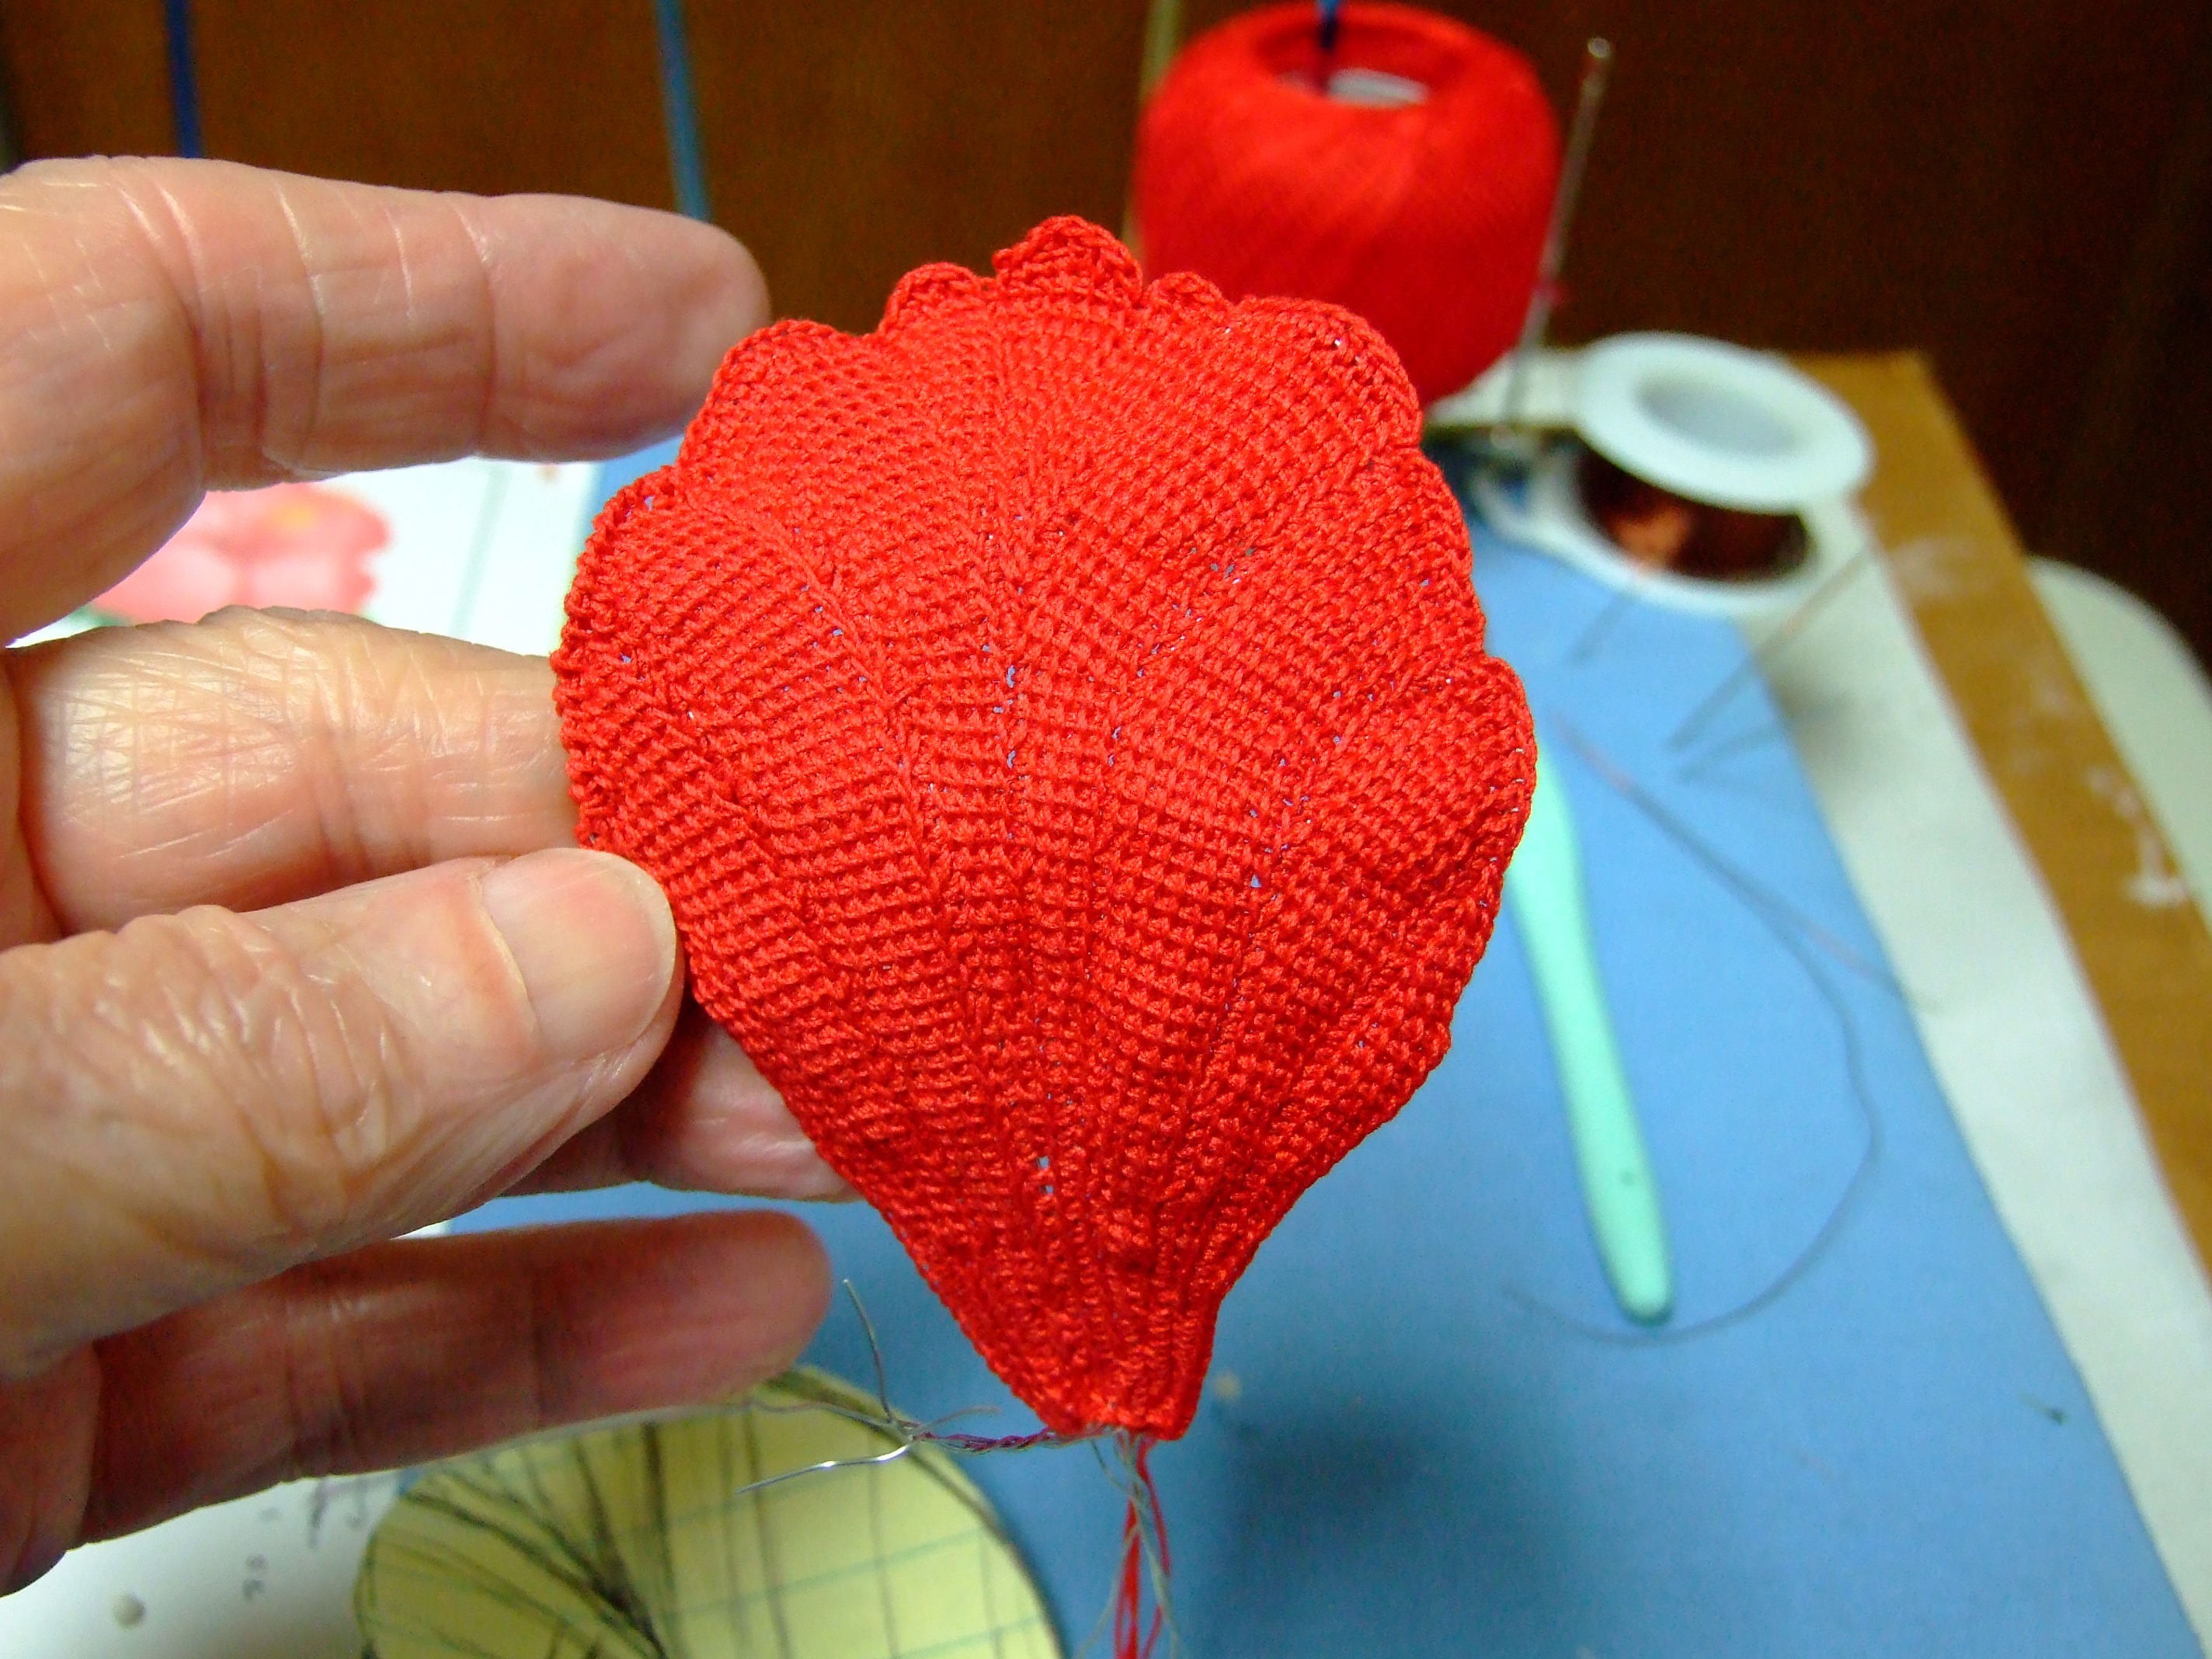
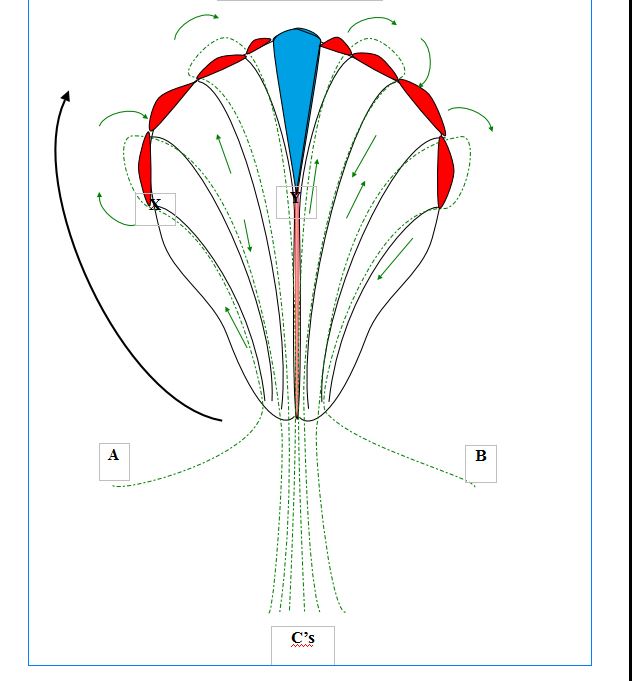
Just to get to what you see, has taken me weeks. Each bloom has 6 petals, two smaller ones, two more rounded ones for the top and bottom, and two more pointed ones at the sides. The construction of the stamens was a combination of fine wire, and a glue gun. Then fingernail polish is used to color the tips as desired.

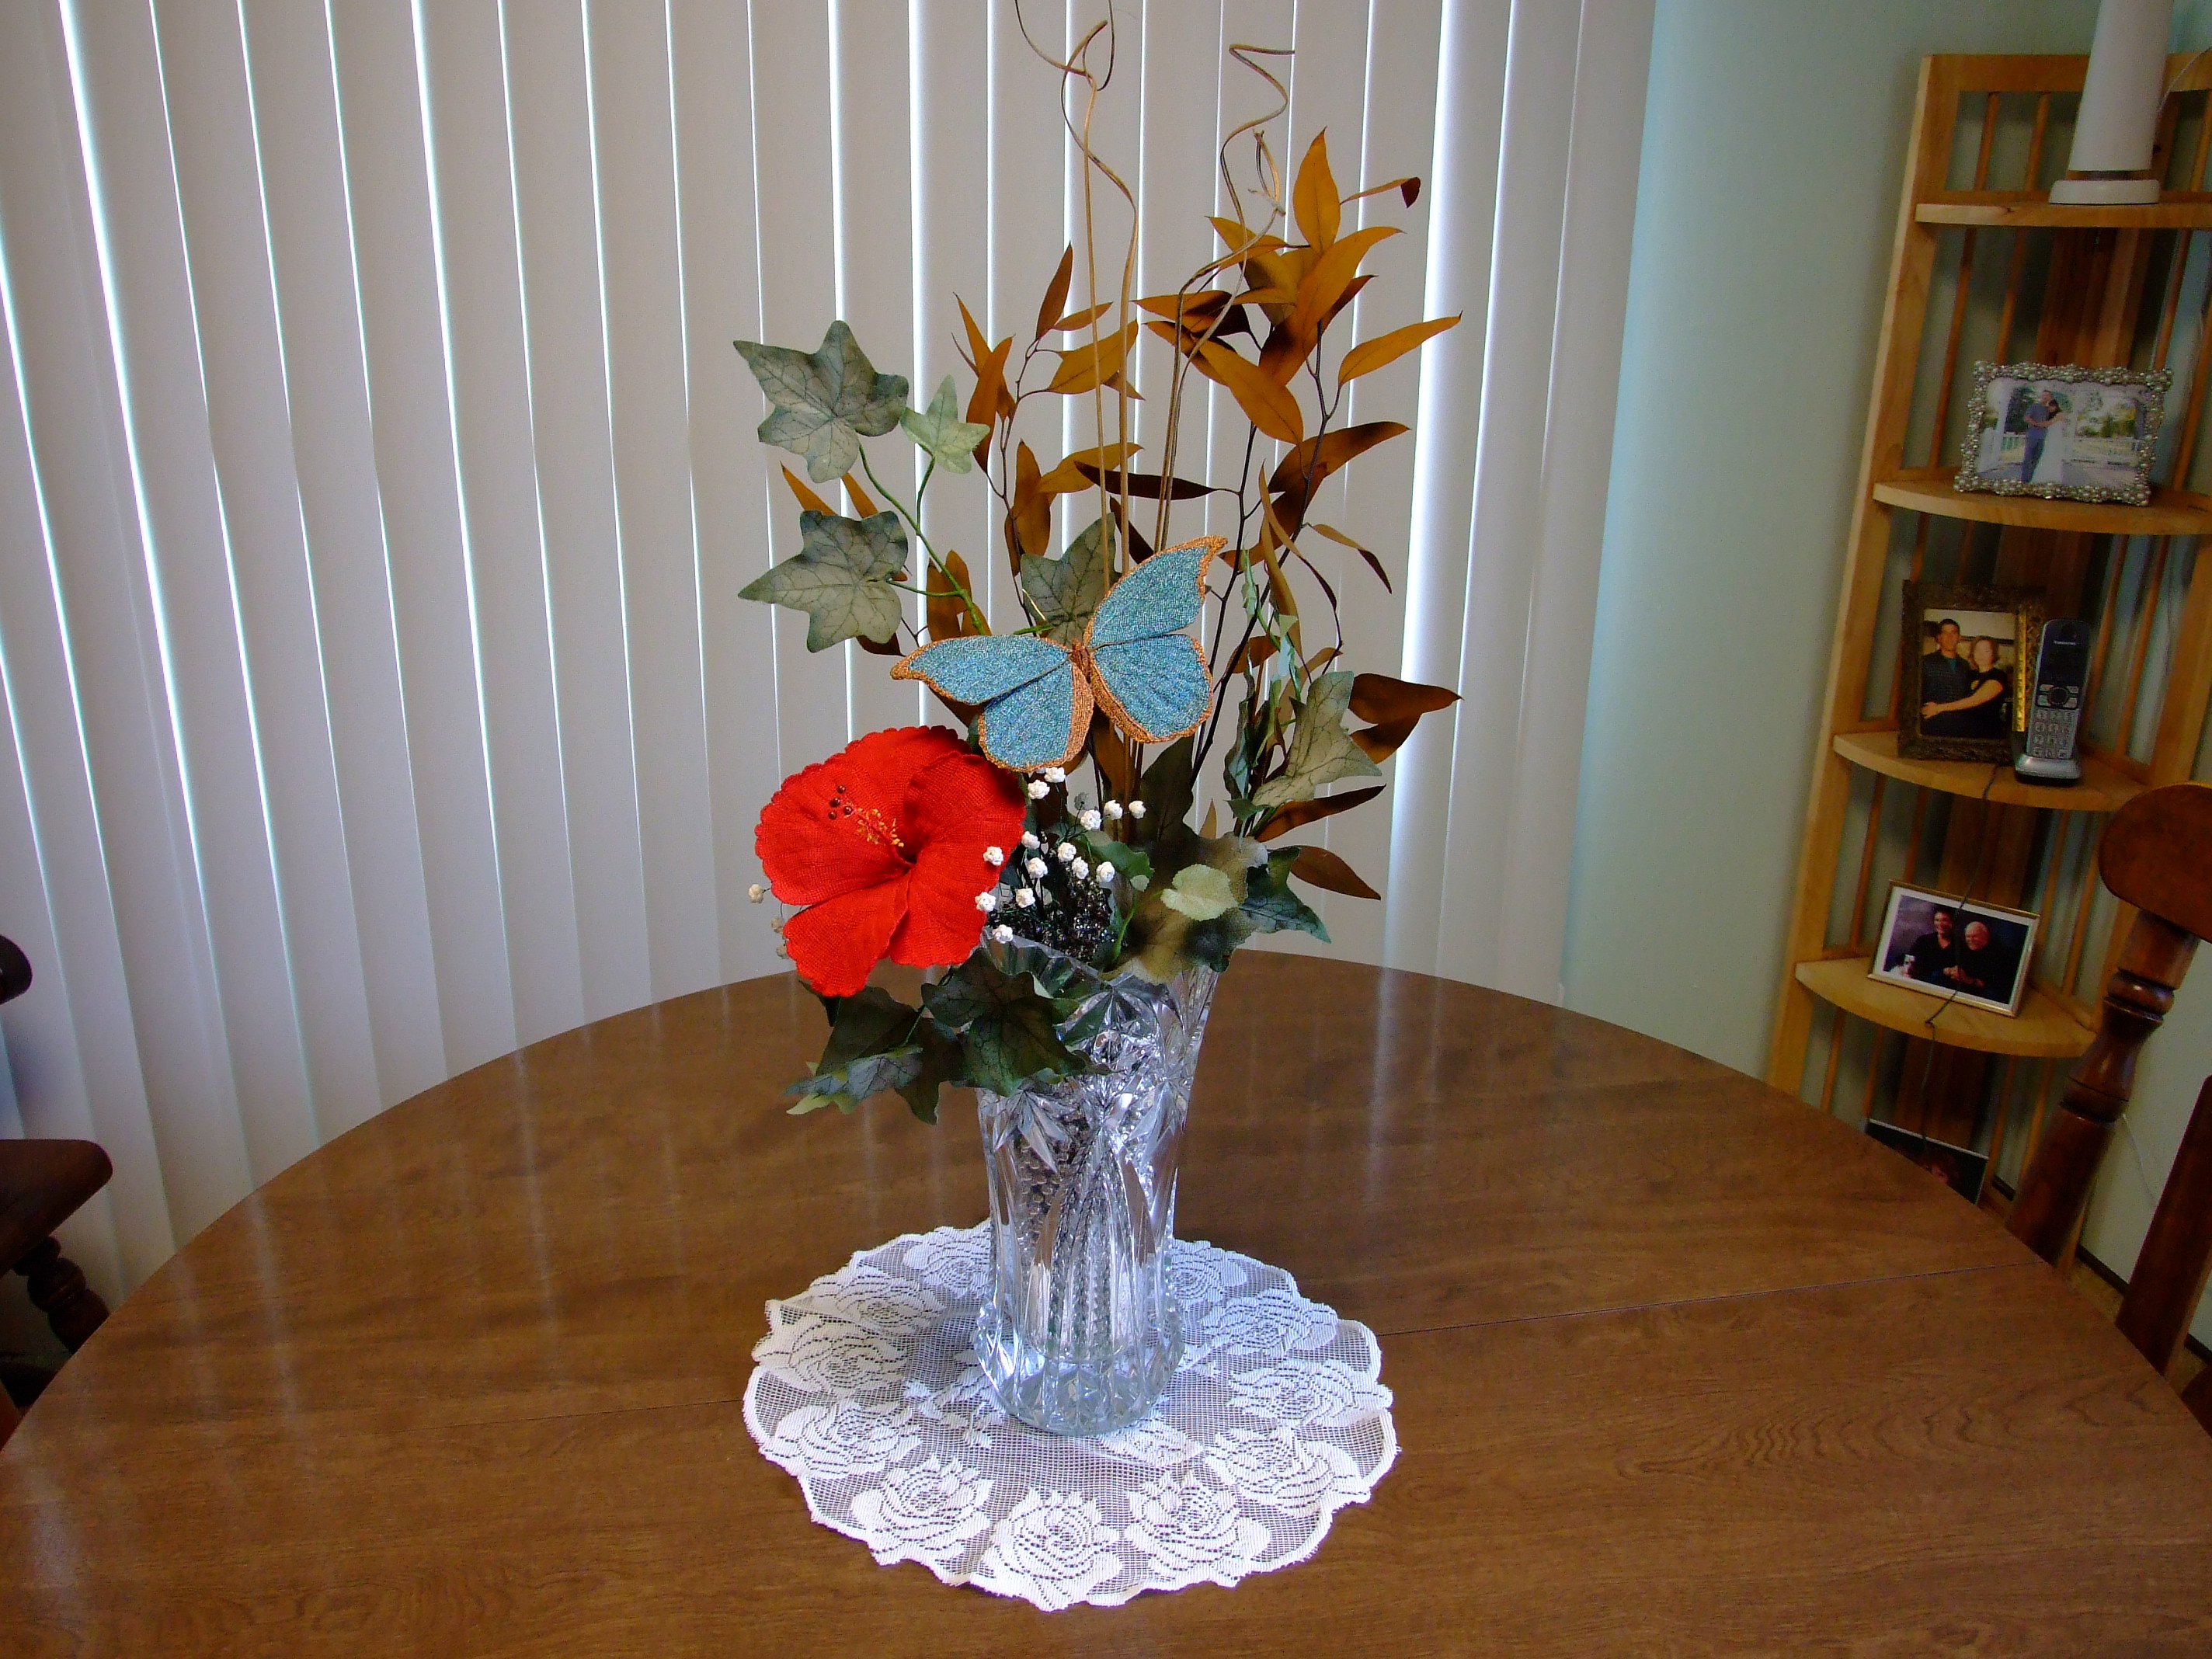
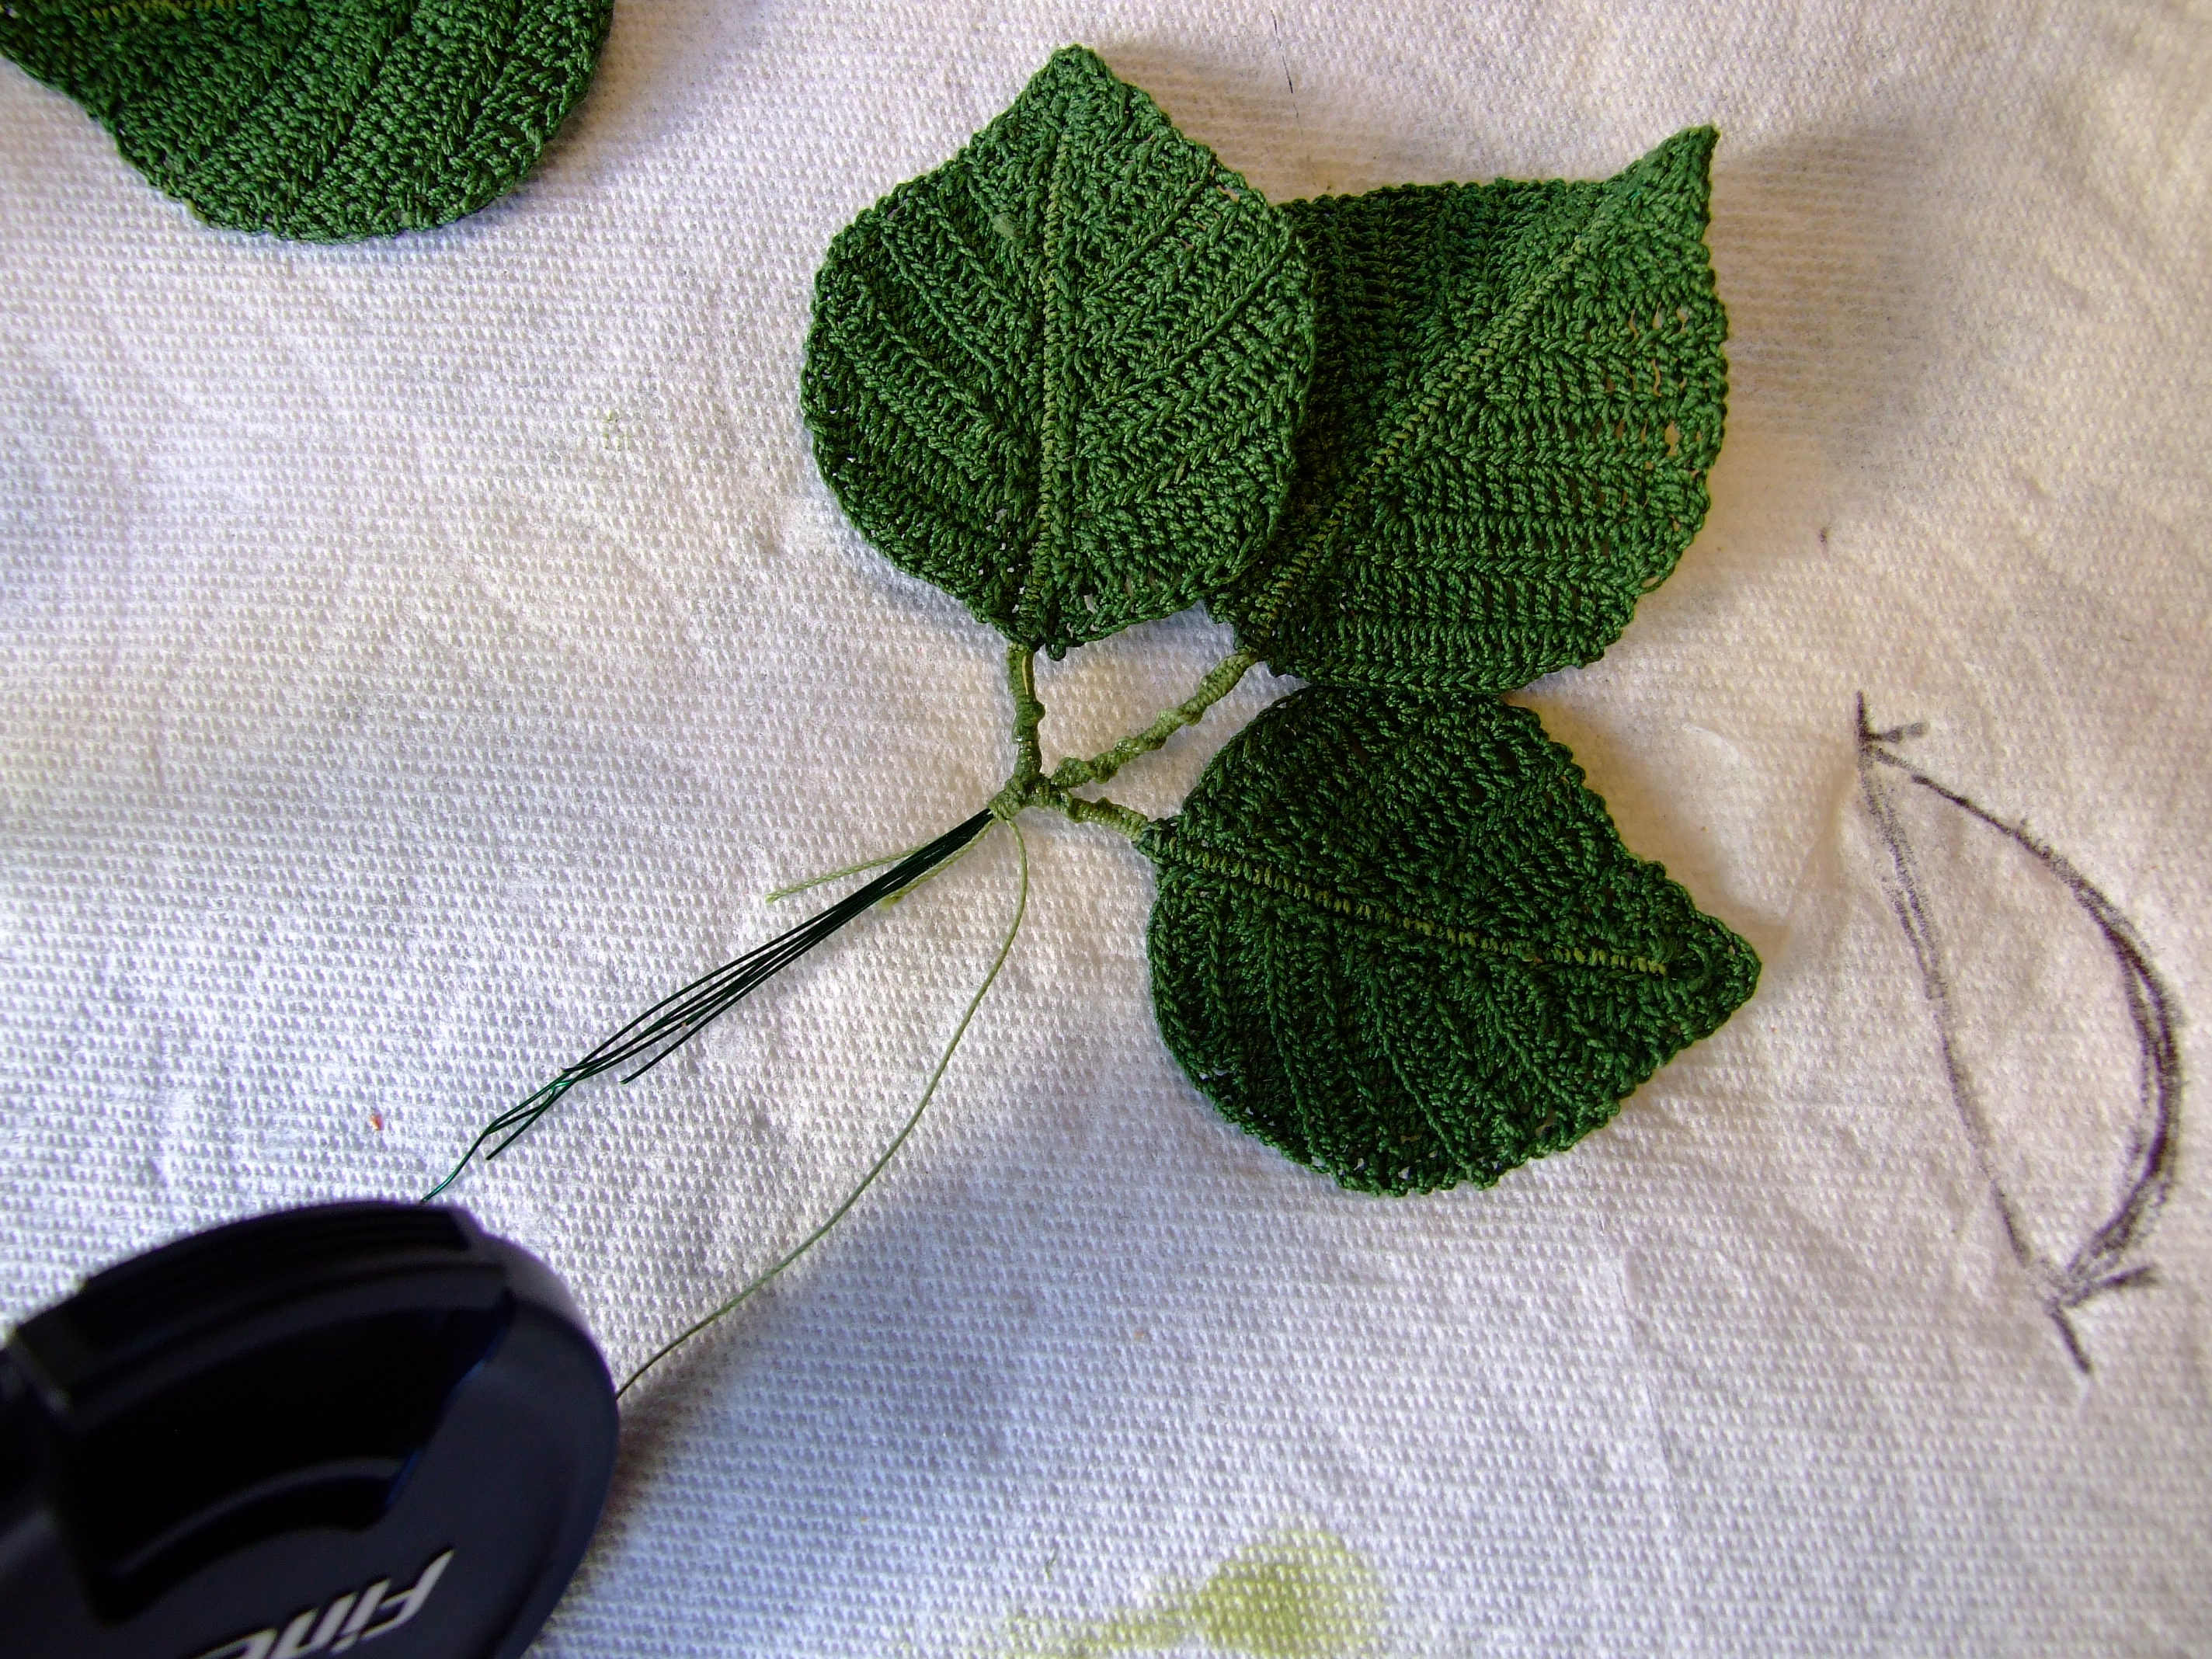
Here is a better view.
This project is done with the Basketweave stitch, and basic single crochet (SC). The entire petal is worked on a single wire, with sc covering the wire. During process of crocheting the petal, the wire is allowed to extend beyond the top of the petal ( making it easy to hang on to). When the petal is complete, the”single” wire is then retracted, to within about a quart to half inch in from the tip of each petal and secured with super glue. This method works great, no corner to turn or cover, no bulk.
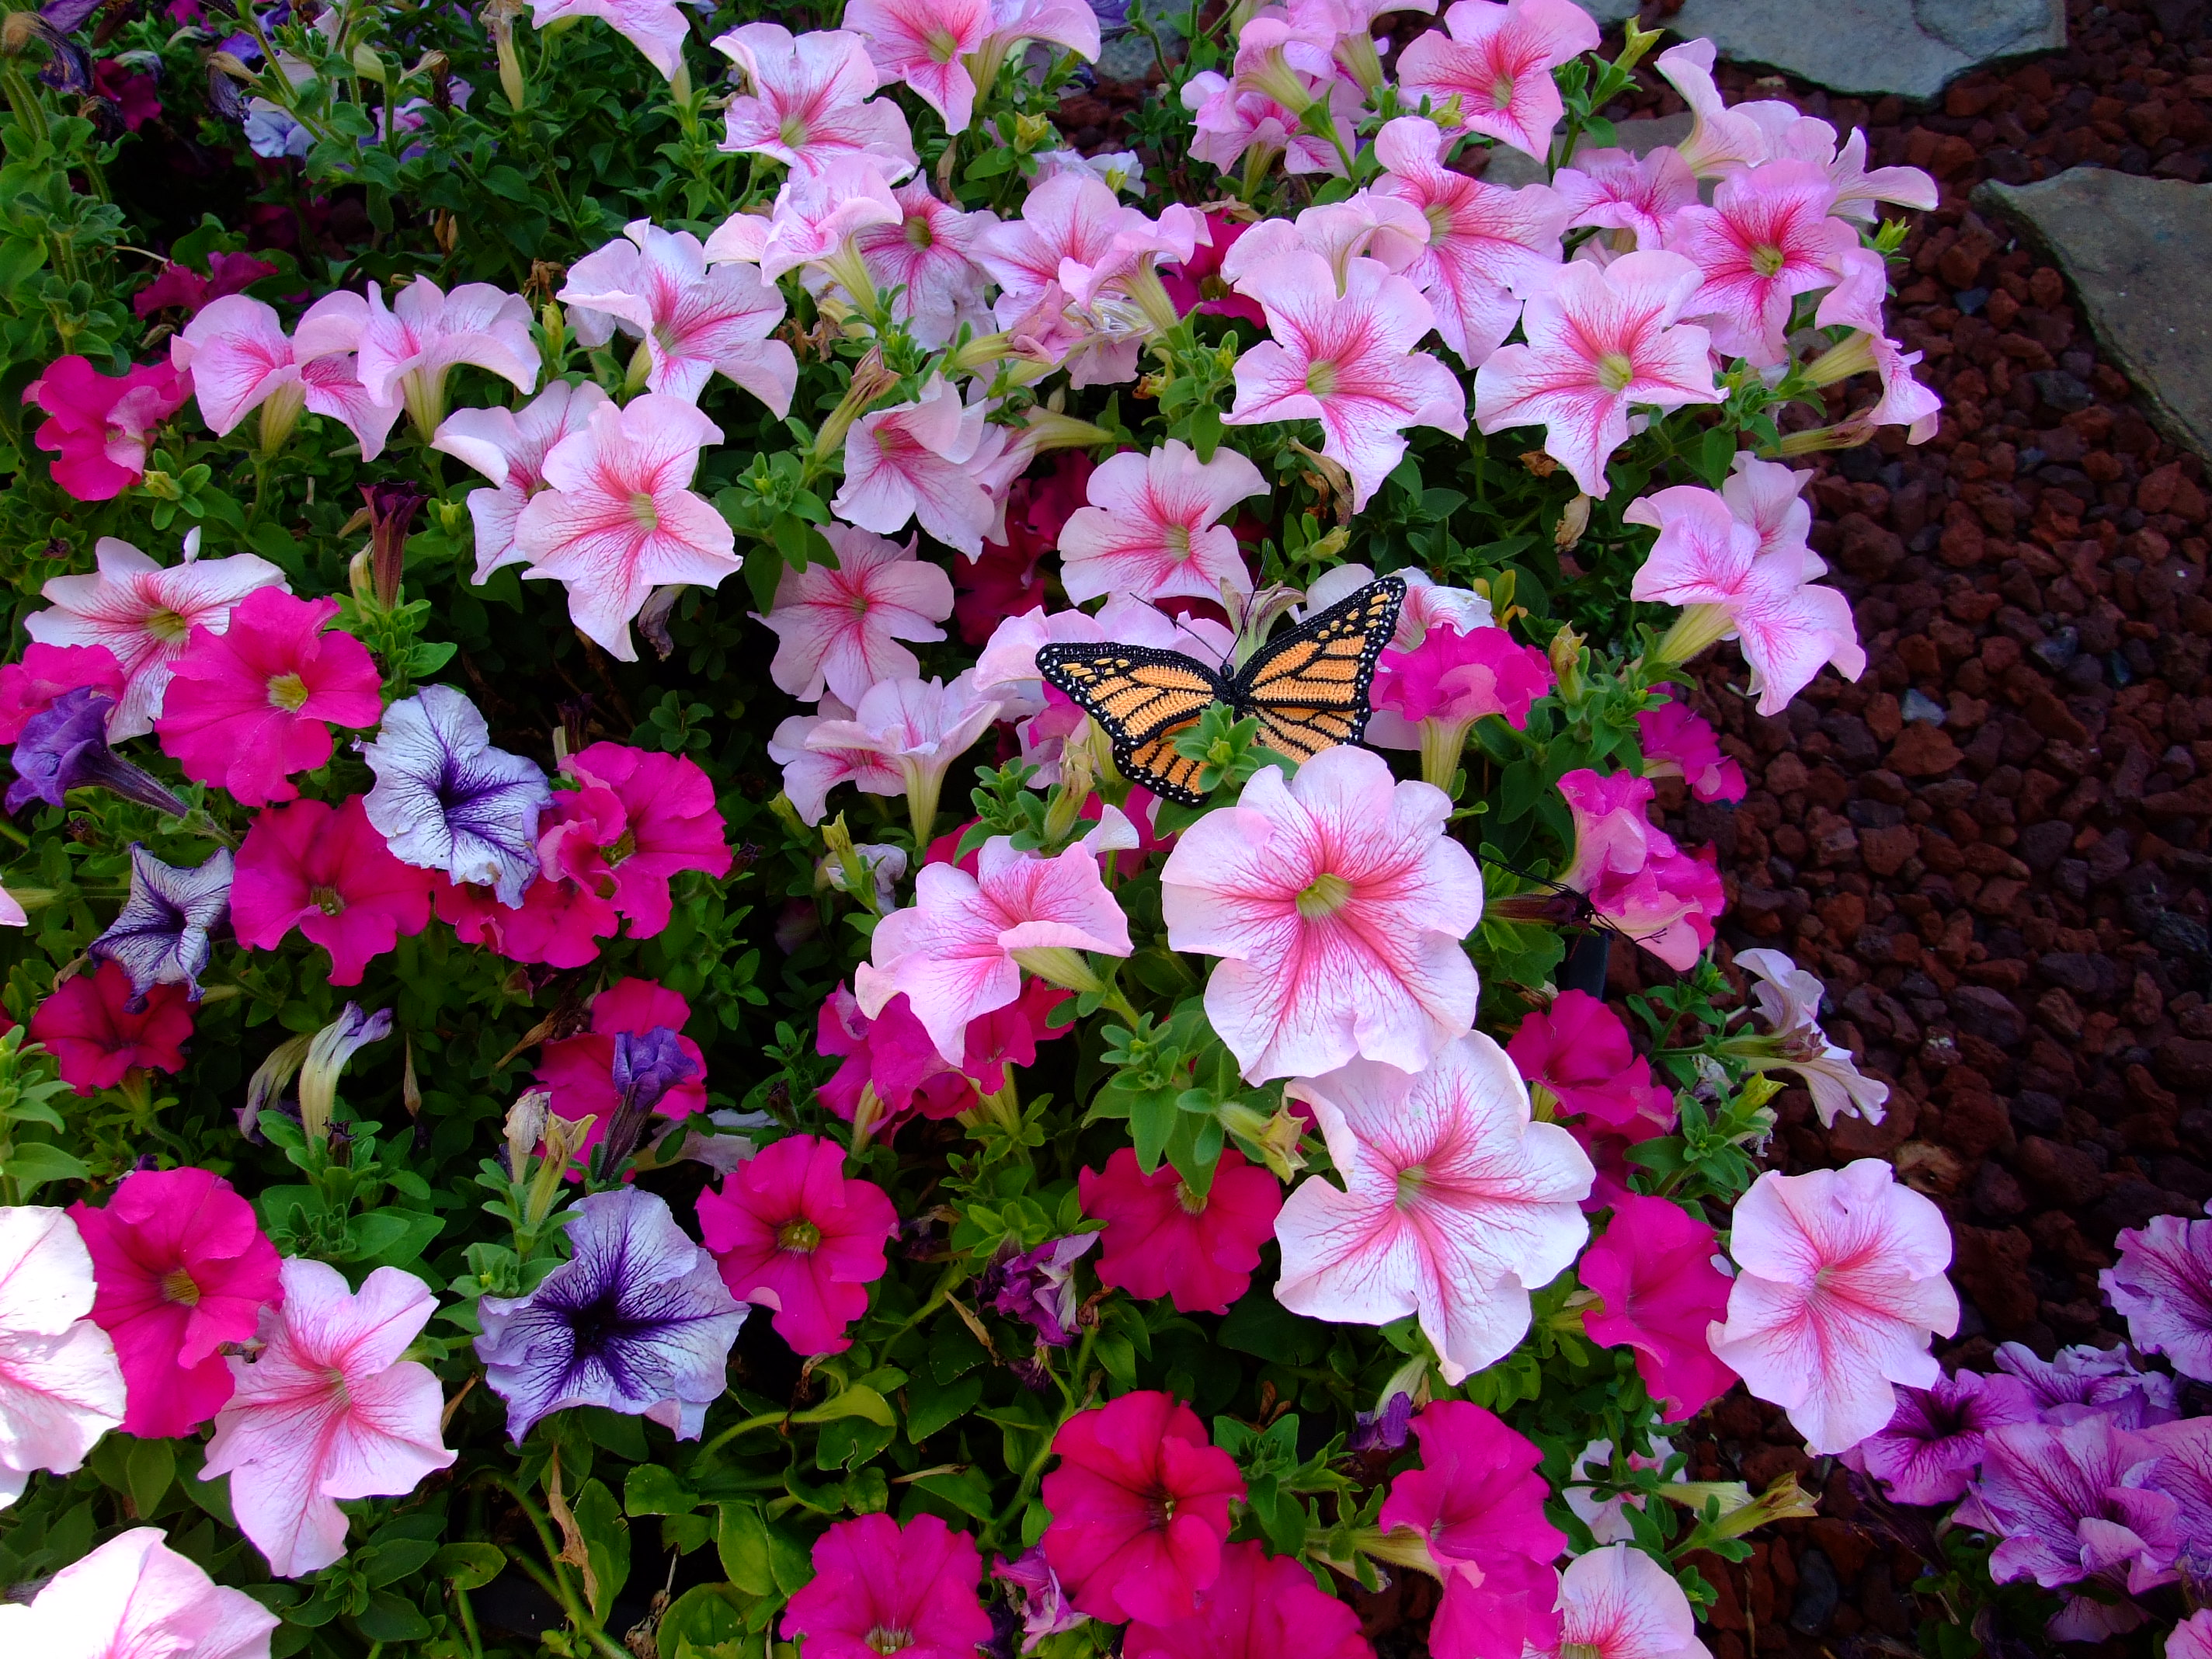
When I am finished I will upload some basic instructions and guide for those brave souls who want to make something like this. This petal design can be incorporated into the creation of Iris, Orchids, Hibiscus, anything with a fluted edge.
My next step is to engineer the construction of the central stem, so it is strong enough to handle the four large blooms, and three buds I have planned to make. It’s on the drawing board. We see how that works out.
Just sharing- KT