Feeds:
Posts
Comments

Archive for the ‘knitting embellishments’ Category

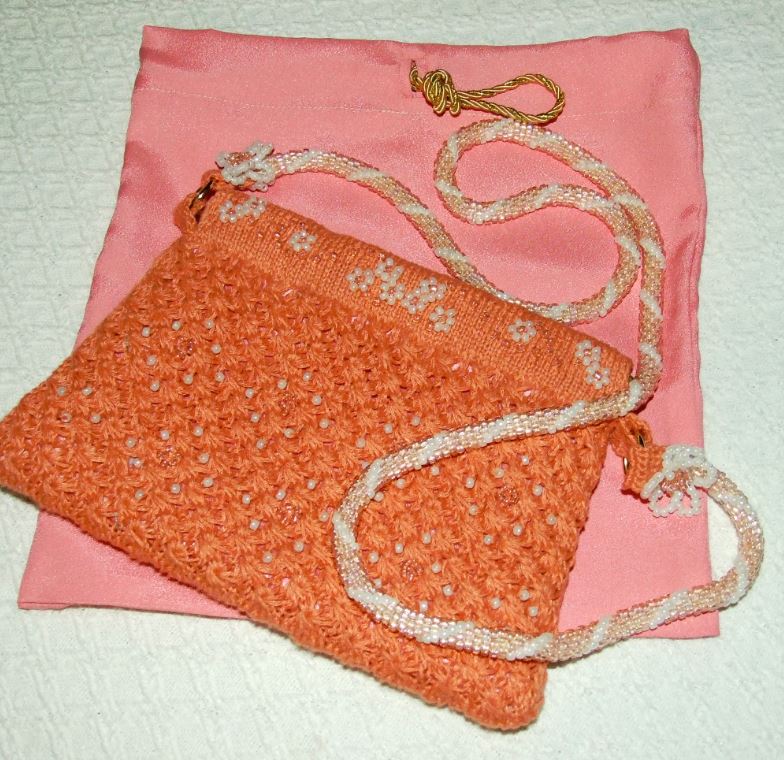
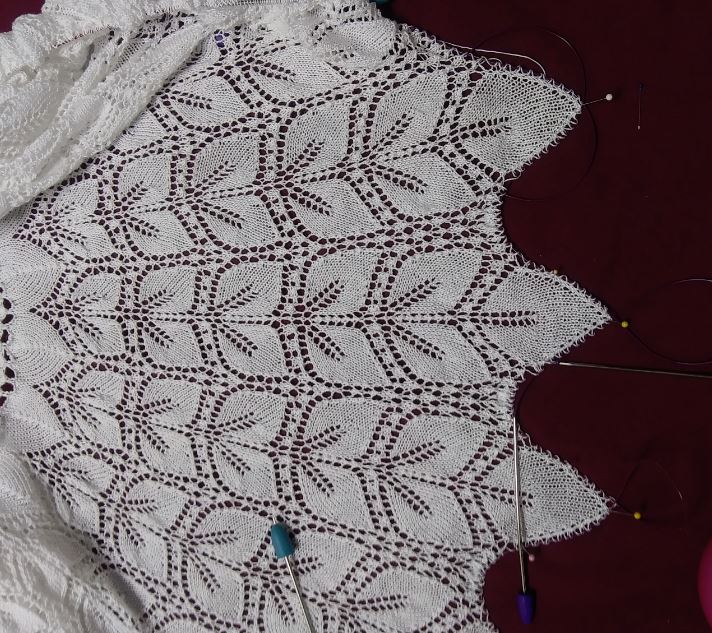
I mentioned in my last post, that I was thinking about designing a different edge, or finishing round for my English Rose tablecloth.  What you see in the about photo is that new design.

I wanted my last rose leaf to be free and overshadowed by the busy background lace. As a result,  I worked out the following method to individualize the leaves.

I began by working each leaf individually, as you would with straight needles, adding the connecting sts to only the right side edge of the leaf.  Using a spare 24 in circle needle of the same size, I then picked up the corresponding stitches for the left side of the leaf, and proceeded working across the “bridge” (connecting pattern stitches), to the next rose leaf.

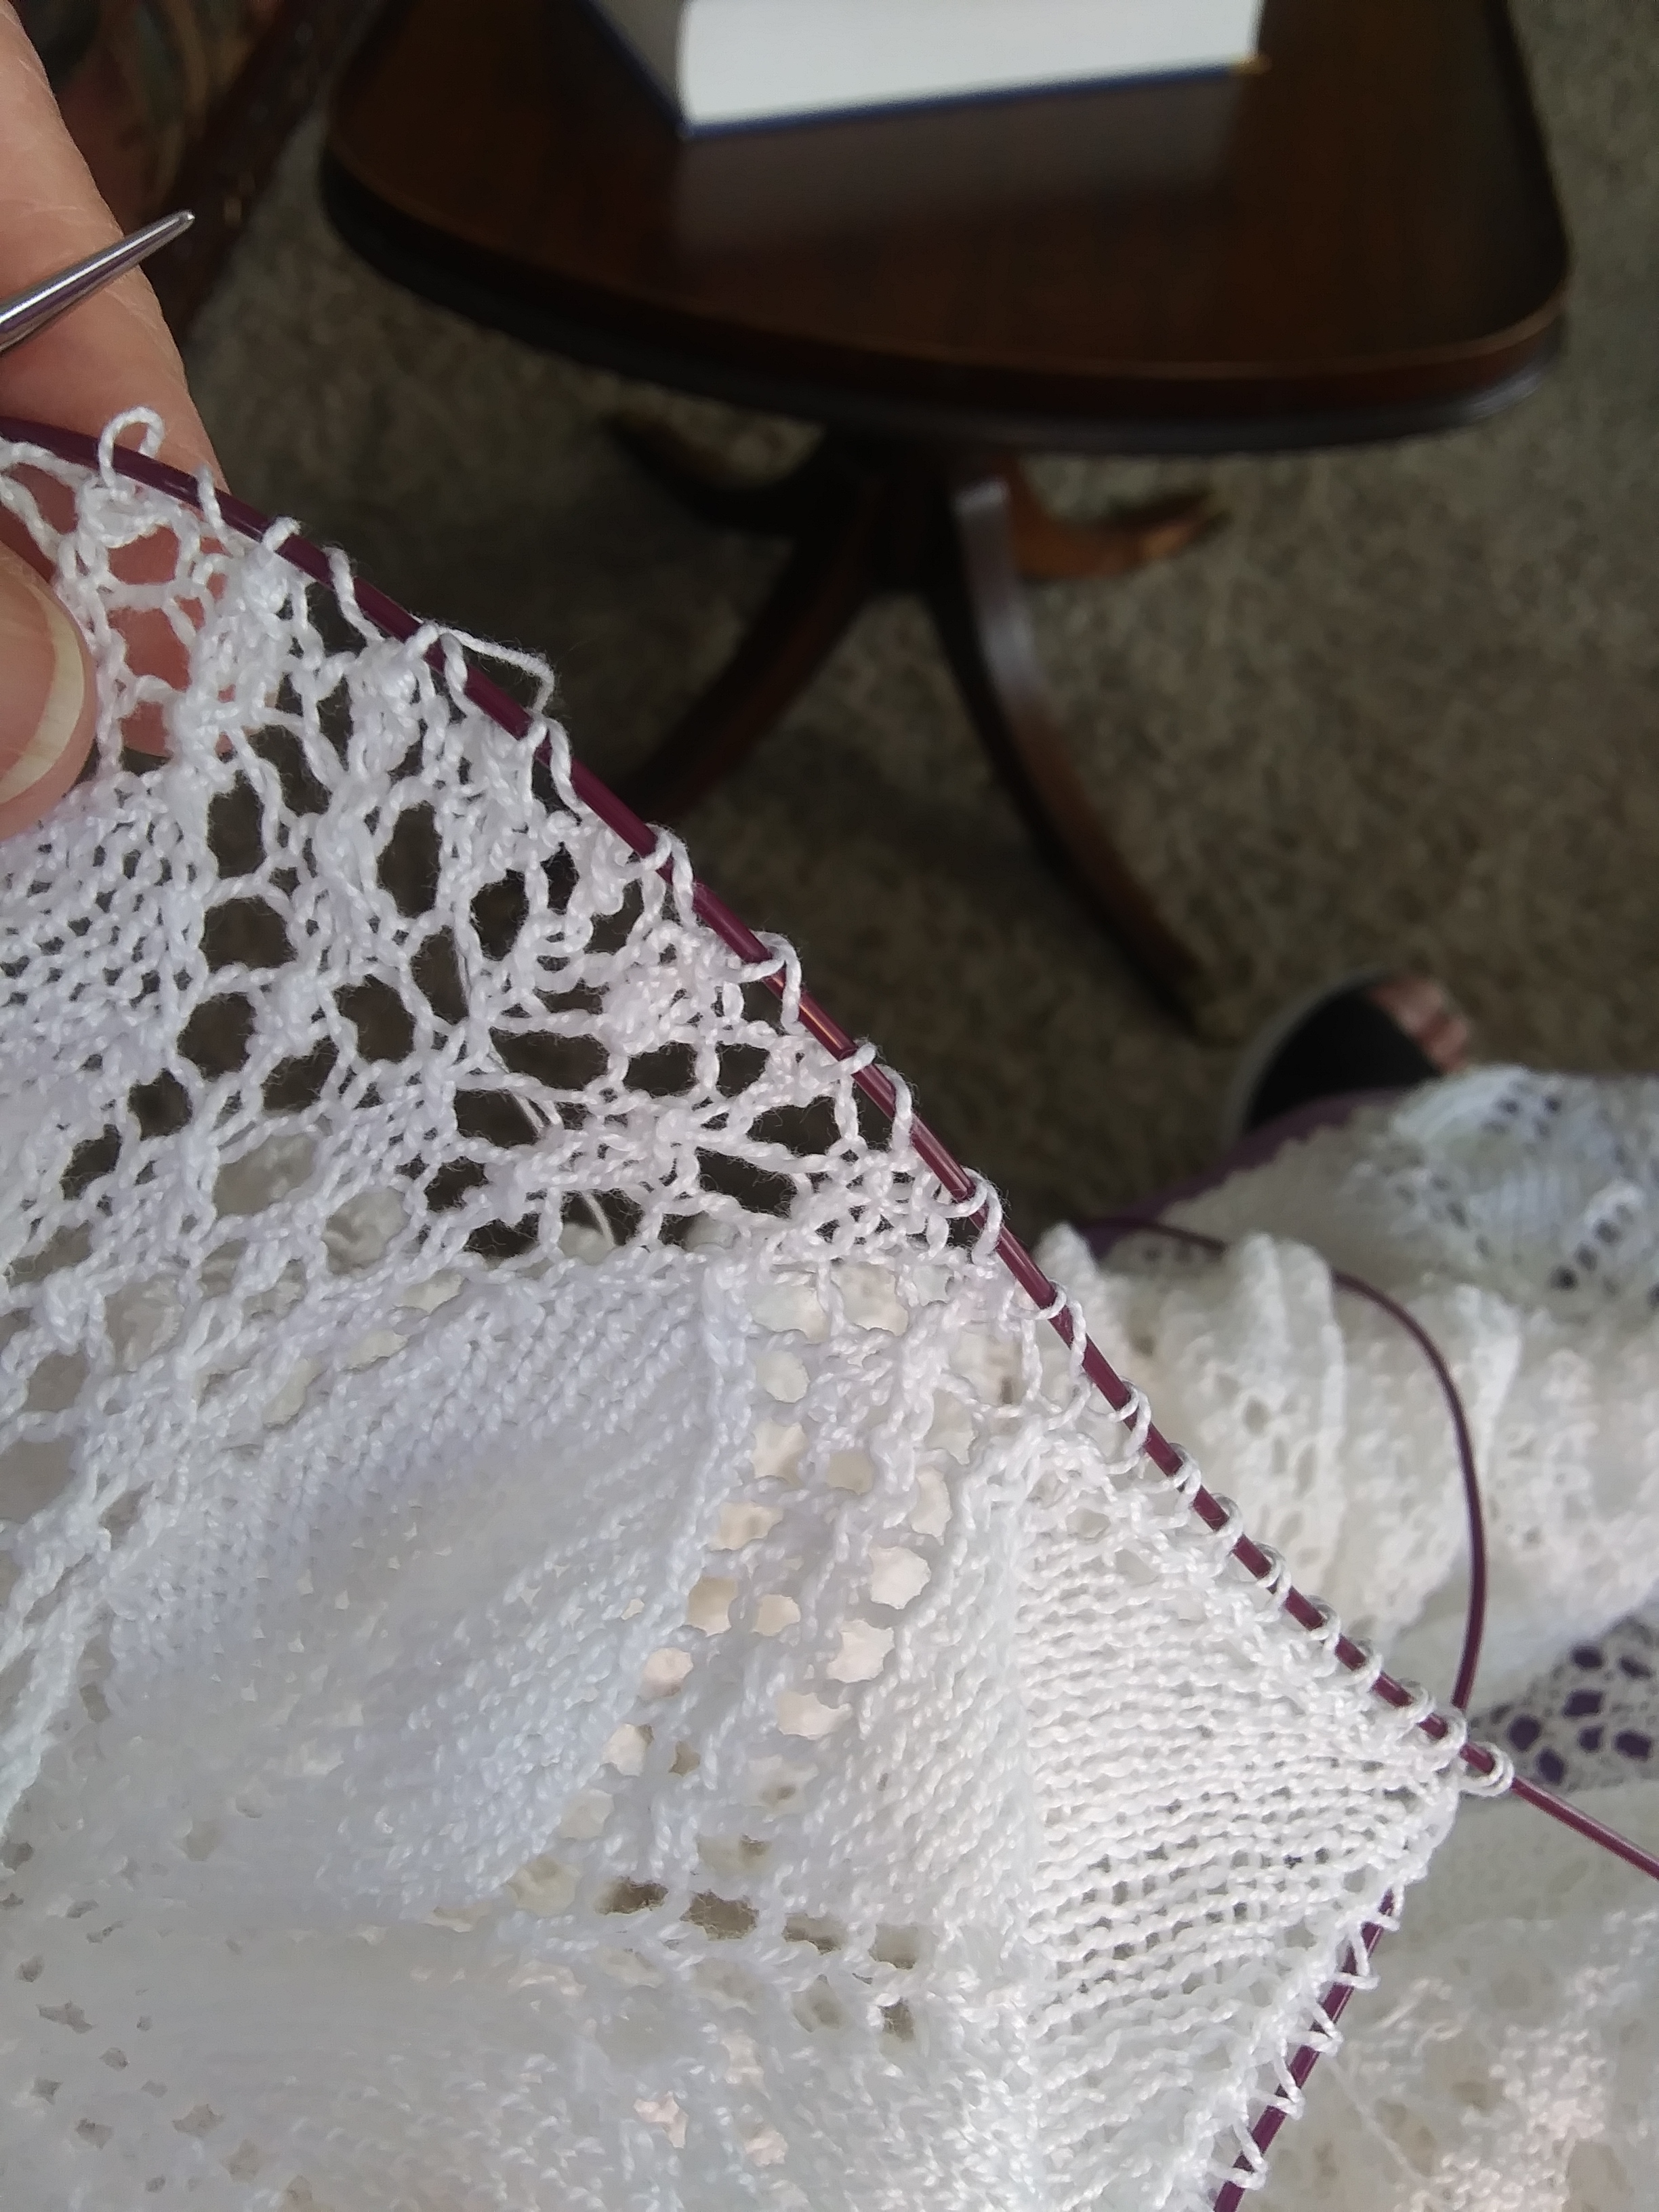
Even though this is a bit of work, I find that using my extra 47 inch circles of lesser size work perfectly as carrier needles.  I pick up each completed unit on these needles, (about 3 leaves to a needle). This allows me to free up the stitches on the main 60 inch that I am using for the body of the tablecloth.

I do think that this process could be used for various shapes you might want to incorporate into designing an special edging.  As long as the work is supported on the “carrier” needles, they are easy to pick up when you are ready to finish the final rounds.

One thing I did do, was to use a different color needle tips for my needles; blue for the main/working needle, and purple for my  carrier needles; that way there is no doubt which one to pick up.

In the photo above, I am set up with my main (blue) needle tips to begin a new leaf.

When I complete the 40 leaves, I will knit all the stitches back on to my main needle, then finish the edge.

For those who might be interested, I am going to writing up a tutorial for this edging, and will upload it when I am done.


Happy Knitting- KT

Read Full Post »


This hat is a combo of knitted lace on the crown, crocheted Magnolia for accent, and crocheted braid for the inside brim trim.

I made this for a friend who loves to wear hats.  It gave me the opportunity to explore different techniques, one of which was securing  20 gauge wire to the under edge of the brim with the “Fagot” stitch.

Secondly, it was the first time that I knitted lace for a crown trim.  I liked the delicate look of it.  It is also very light weight, and that really counts when it’s on your head.

Thirdly, I learned a new way of keeping track of where I am in my knitting charts.  I am surprised I didn’t think of it before.

010
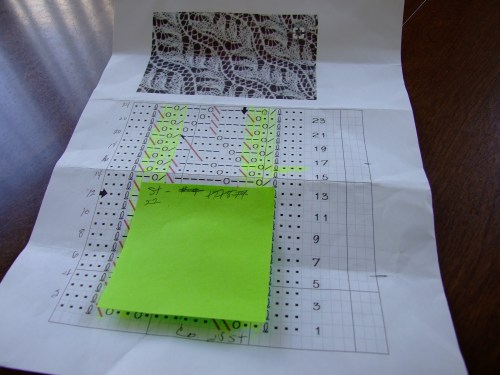
Yes, a “post it note.”

I used 7 repeats of this pattern to encircle my 24 inch hat.

Crown Lace Chart

Here is the tutorial for the Magnolia

Magnolia tutorial

The Brim trim was a simple crocheted braid.

Chain 1, chain 3, work 2 dc in base chain, ch 2, work 2 dc in base chain.  Chain 3 , turn.  Work 2 dc in chain 2 space, chain 2, work 2 dc in same space. Chain3, turn.  Repeat until you have braid long enough to cover the circumference of the hat brim.

The one thing that really helped was having my “head” available to work on.  I thought I had a post that gives you instructions on how to make one for yourself, but alas I can not find it.  So…………………

Measure you head!!!!

I took a foam head and cut it down the center from top to bottom through the center of the nose and insert an 1/2 inch sheet of foam into the space, then I cut  the head again, across the ears and down, and added another 1/2 inch piece.   I shaped it with a grated and smoothed it off.  You may not need a whole 1/2 inch.  I do believe you can get 3/8 inch at the craft store.


Enjoy!  KT


Read Full Post »

If you have never expanded your horizons or tried new things this post is not for you.  However, if you are like me, you are always looking to learn something new and exciting.

I have recently been exploring Romanian Point Lace and Crocheted Tape Lace, and bobbin Lace.  Why?  My goal is to be able to mix and match all those techniques and combine them with my knitting skills.  What possibilities it opens up.

The crocheted tape lace can be used to create beautiful neckline embellishments for you knitted blouses and tops, sleeve edges, and bottom edges as well.  They also make great bands for hats.

Below is a photo of my store bought hat with a crocheted tape lace in variegated pink.

Combine that with an inexpensive top edged with the same tape lace, and you make a great presentation walking down the street.

You will notice that also crochet earrings to match.

The next photo is of the same idea, only this time I created a Romanian point lace design for both hat and neckline.

The rose design match the motif on the front of my top.

And need you ask???? Yes, I made earring to match. 🙂

As in most cases, one idea leads to another, so I am thinking up more designs for these hat bands, as they can be moved to whatever hat I am wearing.  As you can see the Romanian point lace design is very sturdy.

I do wash them in hot water when finished and after rolling them in a towel place them directly on the hat to dry.  I have a Styrofoam head  made to my dimensions, so it works perfectly to shape my piece.

Give it a try.  You can find it all on Youtube.

KT

PS- I love the Russian websites. These women are amazing and you can learn just by watching-no translation needed.

Just use your “snipping tool” when you want a pic of the process, and have your pad and pencil ready to write instruction in English as you go.

Read Full Post »

This past year I decided to create beaded evening purses for each of my grand-daughters for Christmas.  As both of them are quit young, grandma might not be around for their especial events, or if I am, the fingers might not be working as well as they do now.

Both of these purses were constructed on a circle needle.  The first one is modeled  with a Honeycomb stitch pattern as I did in the first beaded bag I posted.  This time I scattered the beads on the body of the purse, and saved the fancy beading for the casing area.

taylors finished purseAs you can see, the shiny side of the lining shows through a bit.  Although the photo doesn’t do it justice, you get the idea.  I used round gold rings to connect the beaded strap, crocheting the tabs into the casing.


taylors finished purse- insideThis photo shows light reflections on the inside which are not in the lining, but it does show the construction of the zipper pocket.

taylors finished purse 2

This navy purse is very hard to photograph, but you can see the design on the casing.

The second purse is created with the Daisy Flower stitch.  I used my beads to form a diamond design on the body, and did some filigree and daisies on the casing.  You will also notice that I used a pearl bead every fifth bead in the strap.

becky's finished purse

Here are some close up details

becky's finished purse- inside

becky's finished purse- -handle daisy

becky's finished purse- -casing detail

These purses are constructed exactly like the one that I posted originally, the only difference being the pattern in the body, and the gauge.  This just shows you the variety that is possible.  There are many beautiful knit stitches that can be used for this purpose.   Try them out at- http://www.knittingunlimited.blogspot.com

Swatch for you gauge, and then go for it.

Just to keep them in min condition I made bags out of the lining.

purse and cover bag

I will be posting the beaded Daisy stitch chart after the holidays.

My next addition to this project is to make earrings to match.

taylor earring

My source for this idea was “Bead Allure” upload to my kindle for Amazon.

This next one I crocheted with the lace weight yarn used for the strap.  I finished the top by needle tatting a circle.

taylor earring crocheted

Just thought I would share.

Merry Christmas to All!!!!!

KT

Read Full Post »

The other day I was looking at my bathroom window and trying to decide whether I wanted to purchase a curtain or not.  Then, I came up with the brilliant idea of knitting one.

As I have a lot of knitting shawl patterns, I chose to use one that called for a “Lilly of the Valley” lace on the bottom edge.  Of course, that called for working with “Nubbs”,- you know, that stitch that calls for you to YO, knit one umpteen times, then purl all those loops together on the next row.

The results of this endeavor was that I came up with a short tutorial with some tips on how to handle the process so that my Nubbs were neat, and easier to purl together.

Below is a photo of the work in progress-

knitting nubs- lilly of the valley

This will look a lot better when it is blocked , but at least you can get an idea of what I am talking about.  My bathroom is grey, white and pink, so I opted for this silver lace cotton yarn from Knitpicks.

I hope this little tutorial will be of some help.  I mainly wrote is up for myself, so I can remember how I did it.

Ain’t old age great? 🙂

Knitting Nubbs tutorial

One more tip- if you you find one with a loop not laying right, on the knit side, you can insert a DPN into the center of the loops and gently work the slack out.

Happy knitting- KT

Read Full Post »

nordic knee highs

Well, they are finally off the needles and covering my “tooties.”

nordic knee highs 2

I thought I might let you in on my secret of keeping them UP!

I have found that elastic thread crocheted to the inside of the top of the rib does a good job.  You might also notice, if you take the time to look at some of the commercial socks, they also use this method.

nordic knee highs- elastic finish

It is really easy to do.  Using a small crochet hook, make a slip knot in the elastic thread leaving about 6 inches for a tail.  I begin my crocheting about 2 sts down from the top edge.  I use the knit 2 sequence of the rib to anchor the crocheted chain, then chain 2 between the sections of the rib.   Slip stitch you elastic into the right leg of the first selected knit stitch, then slip stitch into the left leg of the knit stitch directly to the left.  The next step is to chain 2(which take care of the purl 2 section), then repeat the 2 slip stitches as before in the next group of knit 2’s to your left.  The tension you use to hold back on the elastic thread will determine how tight it is, so be gentle.  When you have completed the round, leave a 6 inch tail and pull the elastic through the last slip stitch.

DO NOT TIE IT OFF.

Put the stocking on, and see how it works.  If you need to tighten it a bit, then simply release the elastic, pull it out and tighten your tension a bit more.

You can work 1-3 rounds of this elastic chain, spacing the chains about 2-3 stitches apart.  I made my second round 3 stitches below the first round.

  They worked for me.

Give it a try!

nordic knee highs- paired with twine knitted mocassinsHere is a photo of these knee highs paired with my Twine knitted moccasin.

Happy knitting!!!

KT

Oh!  Be sure to check out the pattern charts I uploaded for you in my last post.  Check out “Nordic Boot Sock Ideas.”

Read Full Post »

Having just finished my Daisy and Butterfly pillow top, I thought it would be the proper time to upload the tutorial for the 3D butterfly.  I can just see it being used on a knitted purse or hat, maybe both, knitted as a set.  Humm….?  Anyway, here it is for you to upload and use for whatever your imagination can come up with.

butterfly 1

butterfly 2

Butterfly tutorial 2

The tutorial includes chart and instructions.   For any Intarsia questions feel free to upload my e-books on the subject.

Oop’s!  I almost forgot, this butterfly chart is gauged for 8 stitches and 11 rows per inch.  I used fingering yarn.  The approximate size is about 4 inches square.  Of course, you can use any yarn you have to try it, then resize it to fit your project.

Got to get back to knitting the back of the pillow, so for now-Happy knitting!

KT

Read Full Post »

I just had to share my latest pillow top with you.  Although it is still a work in progress, I have taken my “Intarsiamania” to a new level and have used it to create a relief sculptured design.    The pattern below consists of 3 levels; the base knit of daisies and background; the butterfly, then finally the spiderweb.

hexagon pillow -butterfly and daisies

I chose to knit up the butterfly wings at mid point in the design, so that I would not have the bulk of the entire pillow top to deal with.   Below is a close up of the completed butterfly.  All I have to add is the antenae.

Completed Butterfly

I have also rounded the main body out and stuffed it with yarn strands before closing the back.

It has become a very enjoyable knitting project.  The daisies also have raised centers, which I accomplished with the two tone Pine Cone stitch I developed while designing my, “The Quail in the Snow” motif.

I have charted the butterfly and will upload as soon as possible so that you might be able to use it for a project of your own.

In the meantime, I have been able to finish the second book on Intarsia and invite you to peruse its pages at your leisure.   This second book is focused on planning the project, marking up the chart, and choosing the best method of color knitting for the design.  Check it out.  A peek is just a click away!  Who knows, it might spark your adventure into color knitting.

Intarsiamania Book II

That’s it for now!!

Happy Knitting -KT

Read Full Post »

During the process of knitting up my Sebright Hen and Chicks pillow, I have come up with some things that have made the project much easier.   The first thing is my “Knitting Palette.”  It is a 30 stitch sample of the yarns, and blends of yarn that I have chosen to use in the pattern.  By first experimenting with the colors, I was able to begin knitting on the picture, confident that the colors I chose would work.   Below is a photo of the sample that I uploaded to my Serif publishing program.  Once in Serif, I was able to label the colors and save the sample for future reference.


I have boxed the various shades with colored borders and written a description on the right.  The bottom section is a mix of Mohair lace weight and fingering yarn.  This blend of the two types of yarn added a bit of reality to my little “fuzz ball” chicks.  It worked great.   I even varied the amount of strands to see what it would do.


By adding an extra strand of the Mohair lace weight I was able to create a “relief sculpture” affect to the wing and belly area.   This expanded area is retracted to its proper gauge, by creating a yarn web across the back which is stuffed with a bit pf Polyfill.

And yes,  that’s” Scratch” on the ground, created by making small bobbles of blended yarn.  I got a kick out of making those.  Sorry for the side track – now back to the Yarn Palette.

The top half is the shades of color I chose  for my Sebright hen.  I began with Suede alone, knitted 4 rows.  Next, I blended one ply of Suede with one ply of Brass Heather.  That gave me a slightly darker golden tone.  The next 4 rows were done with Brass Heather alone.   In the blue section I blended Brass Heather and Doe, but this combo didn’t lead to much of a change. (scratch that one).  The next combo gave me a darker shade- yes, Brass Heather and Bison will do it.  All this prep took time, but I didn’t need to guess how it would look .  I worked for me!  by the way, the colors mentioned above are all from Knitpicks.com.

The next aid that really helped me was my MUSIC STAND.  Yep!  There it was, sitting there next to my harp doing nothing (I play mostly from memory anyway) and the light went on in my head, “Wait, you can use that to put your chart on.”  And so I did.  Now it is not sliding off my lap so I have to chase it all over the floor.

Little things mean a lot!!!!!

Just thought I’d share.

Happy Knitting

KT


Read Full Post »

As I was working on my lastest Intarsia pattern, I did some experimenting with duplicate stitches.  I found that when it comes to “smoothing out the curves”  most of the time I only needed to cover one leg of the stitch, NOT BOTH.  This “half” duplicate stitch does not add a lot of bulk to your project, as does crocheted chains or regular duplicate stitches, and it retains the intregrity of the knit stitch.

Below I have illustrated the process.  Give it a try.

You begin as you would for a regular duplicate stitch, bringing your yarn up through the desired stitch.  Next, follow the green arrow,  sticking your needle down over the bar, and pulling your yarn through to the back between the two stitches on your right.

 Here you seen the results.

Work in the opposite direction, if you want to slant a half duplicate stitch to the left.

Below is a photo of the results in the real world.

Happy knitting!

Knit-tweaker

Read Full Post »

Older Posts »