Feeds:
Posts
Comments

Posts Tagged ‘single crochet’

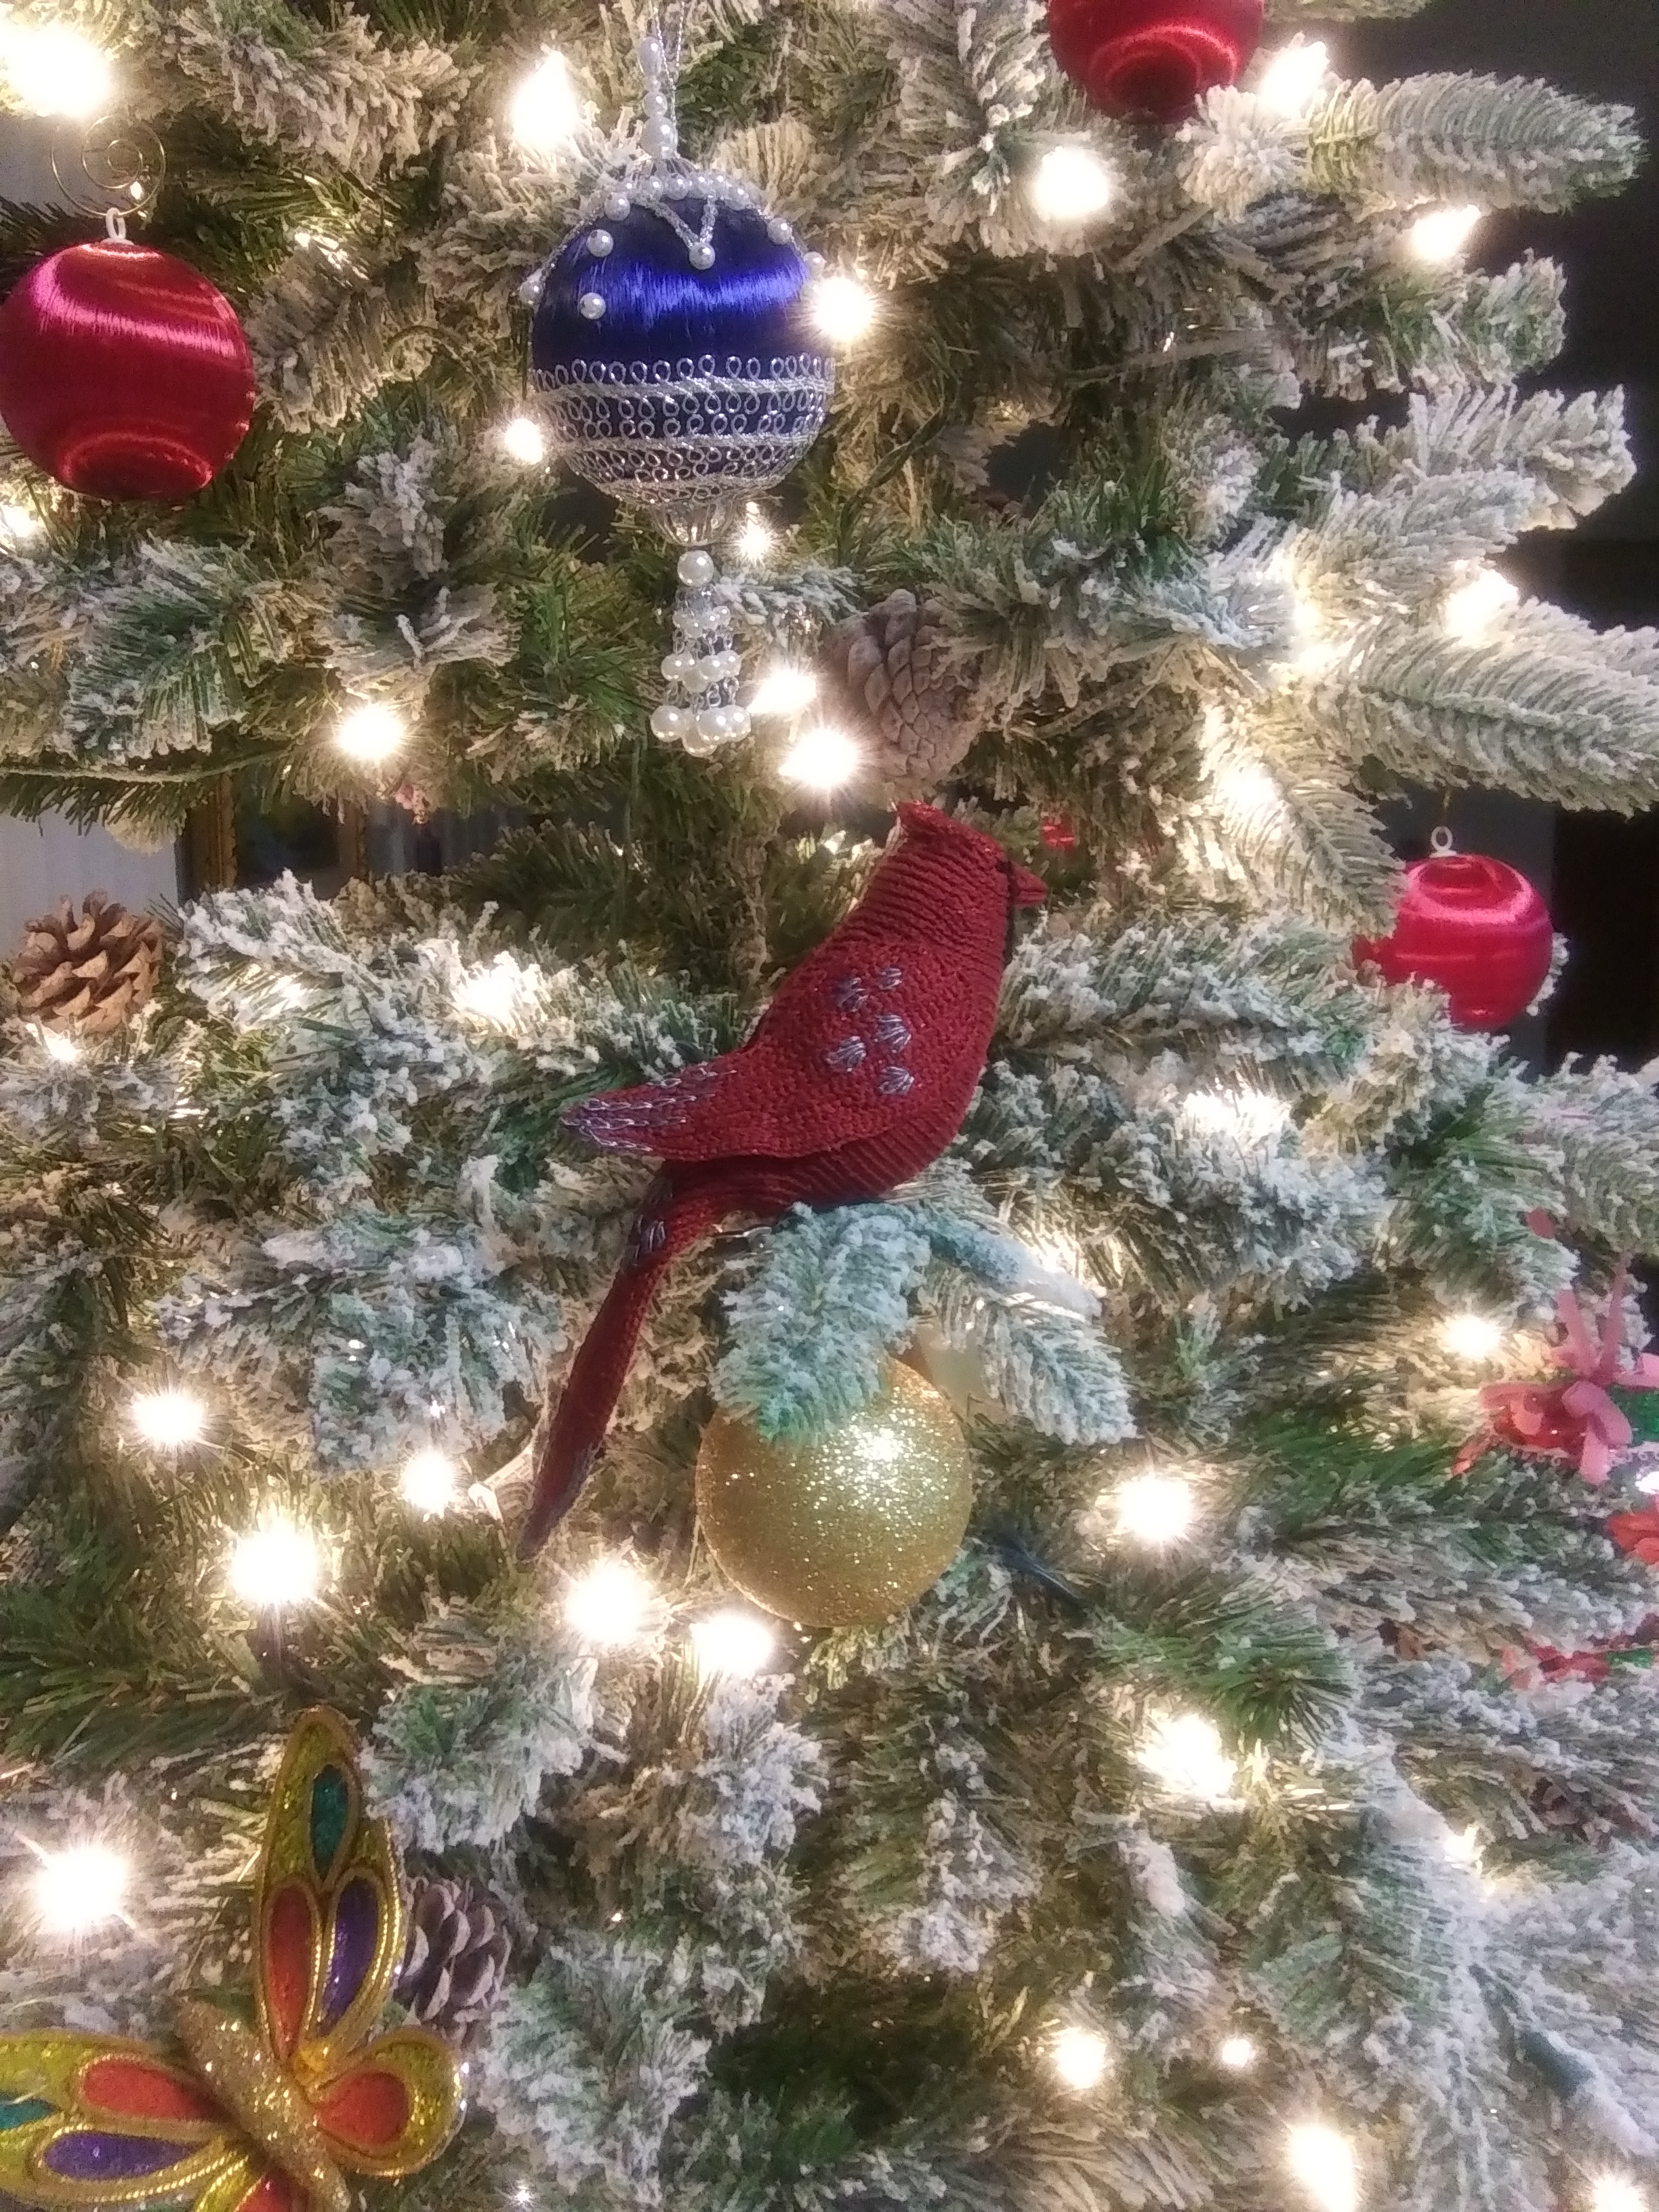
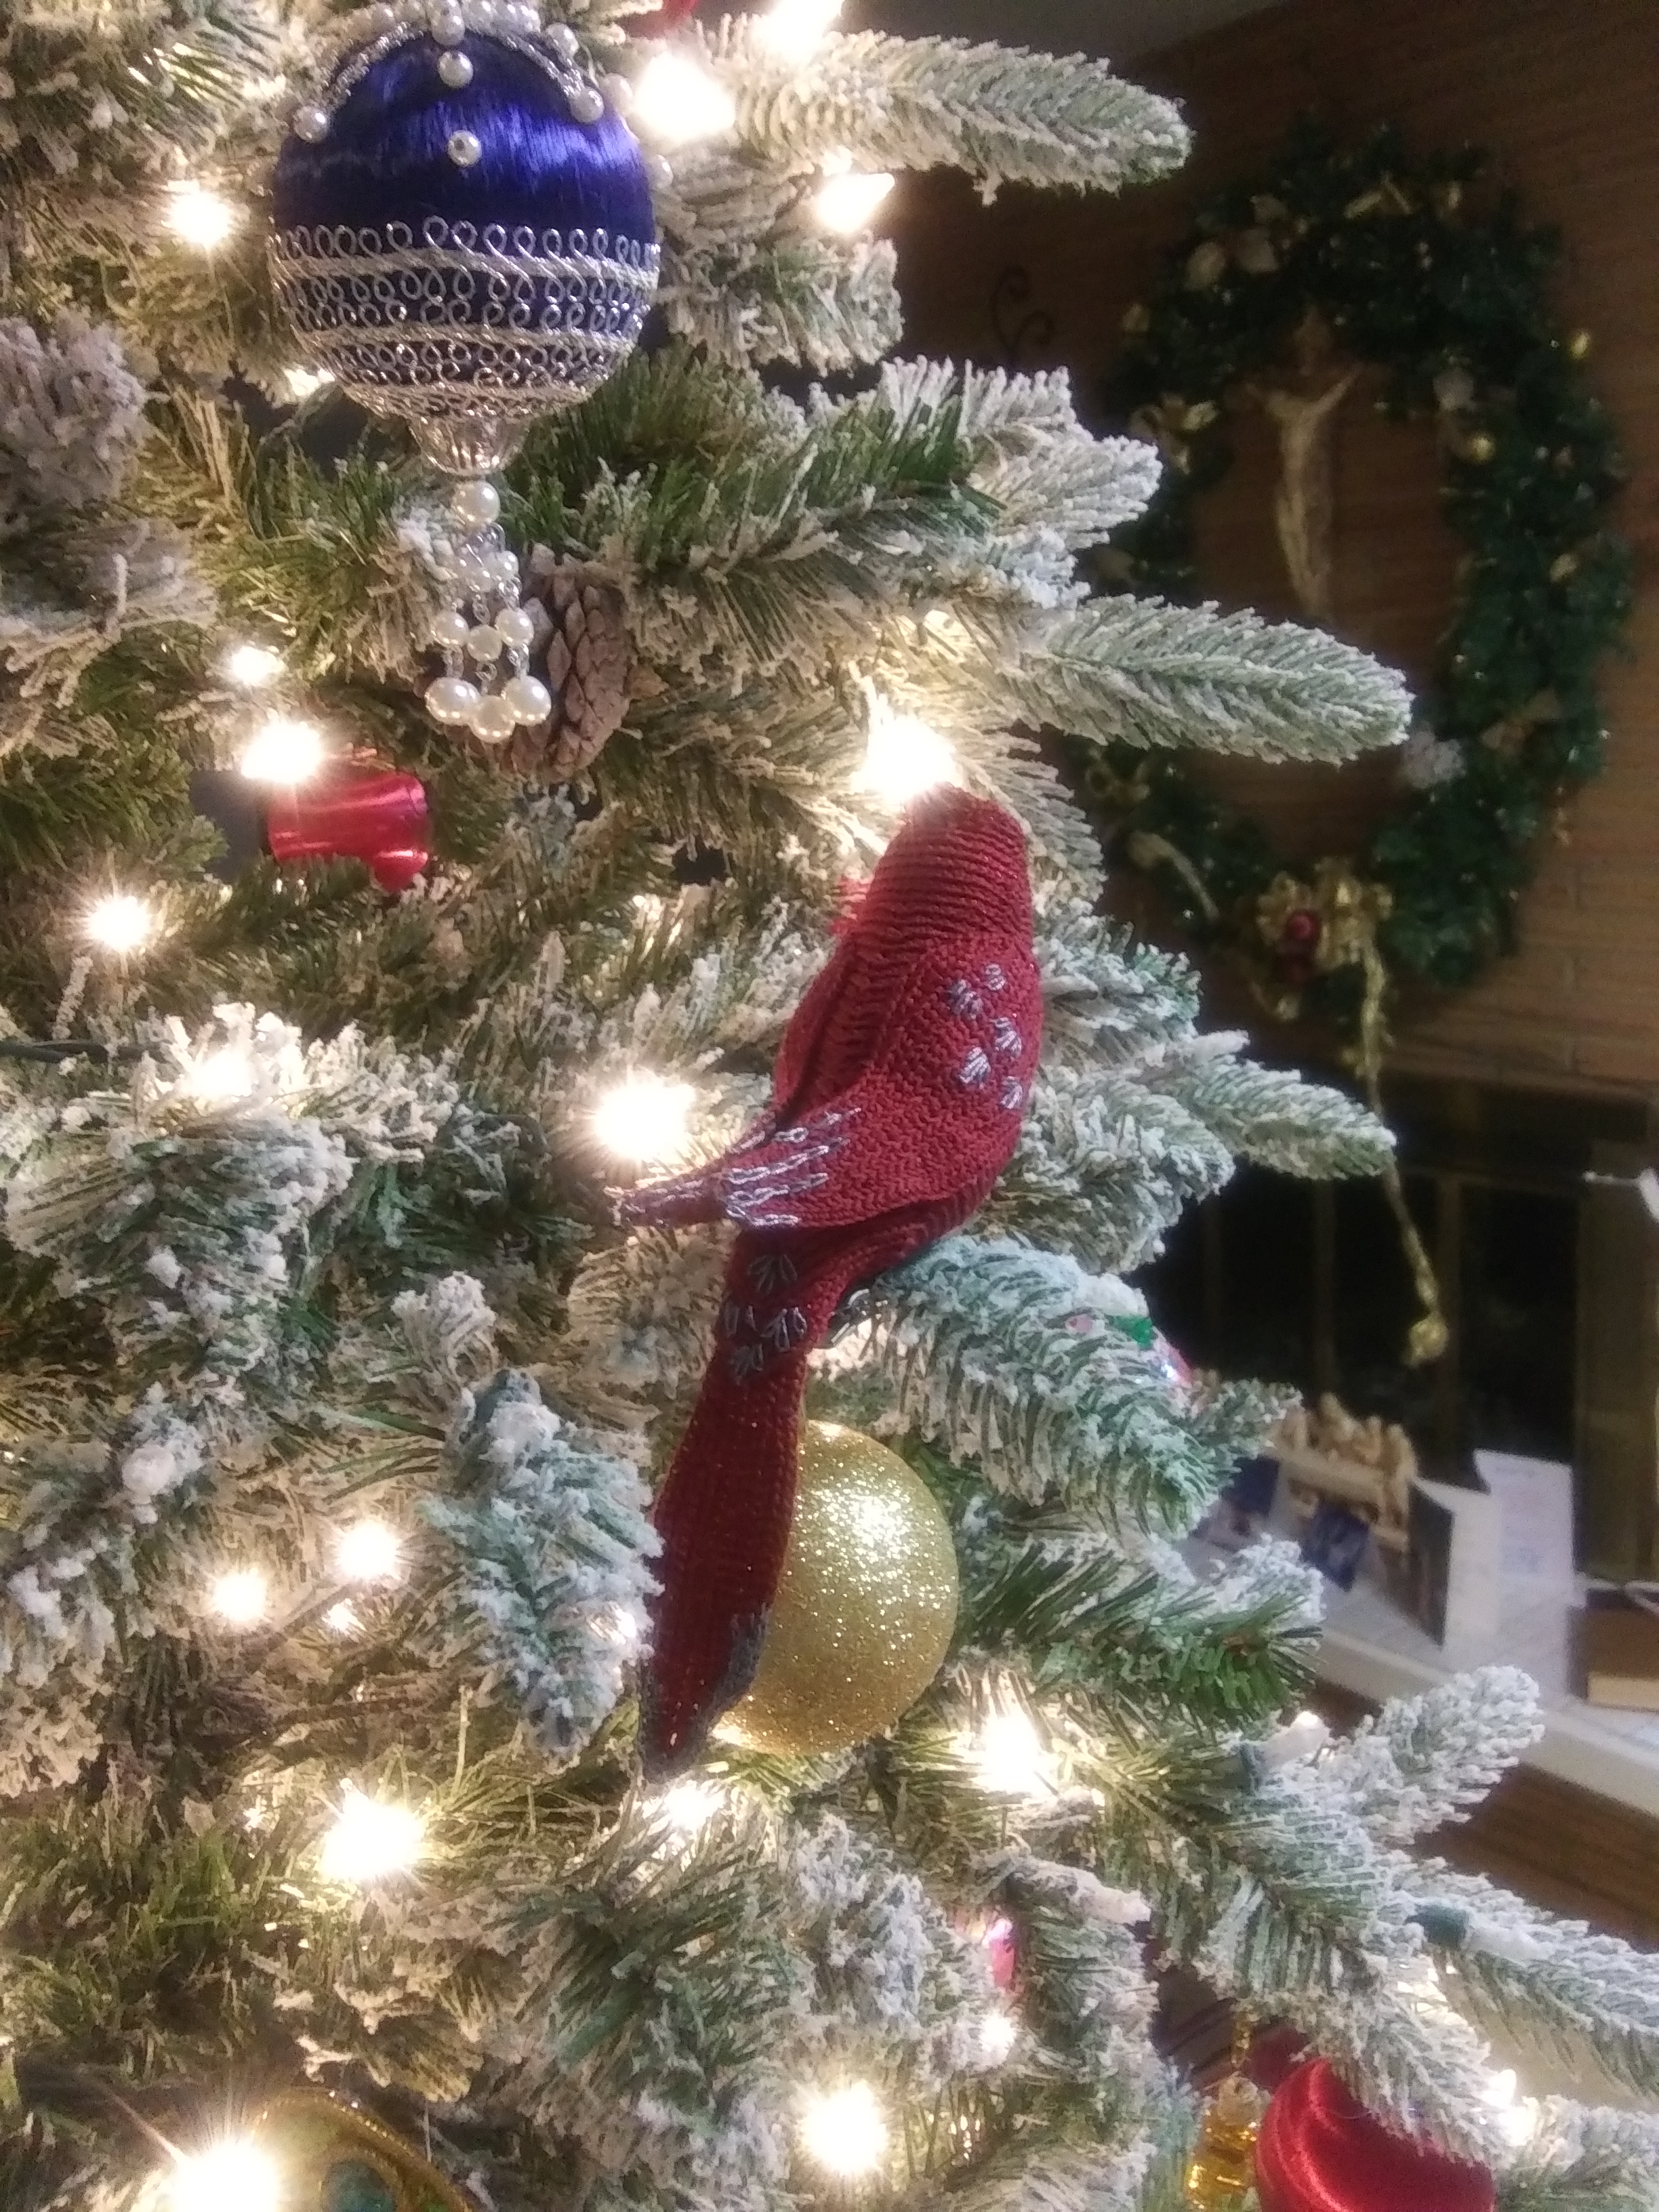
Below is a photo of the Red Cardinal I crocheted for my Christmas tree.

This has been more than a months project, with many stops and starts, but well worth the time. For many of you this might seem an overwhelming task, but for me it has been nothing but joy.

Here you can see the detail on the tail and back.

I have contemplated writing a pattern, but that really isn’t possible, because there are so many variables. That said, however, I can give you the general idea.

  1. A picture of the bird you want to create( I find them on the web). Get all the facts of the birds size. This takes a bit of research, but the info is out there.
  2. Bring the photo into whatever publishing software you have on your pc. Outline the body, wings and tail. Remove the original picture, save all the sections as one unit, then size the bird image to the size you need.
  3. Print off the image.
  4. Working with the image, create you body, then the wings and tail.
  5. Use floral wire to stabilize the wings and tail sections

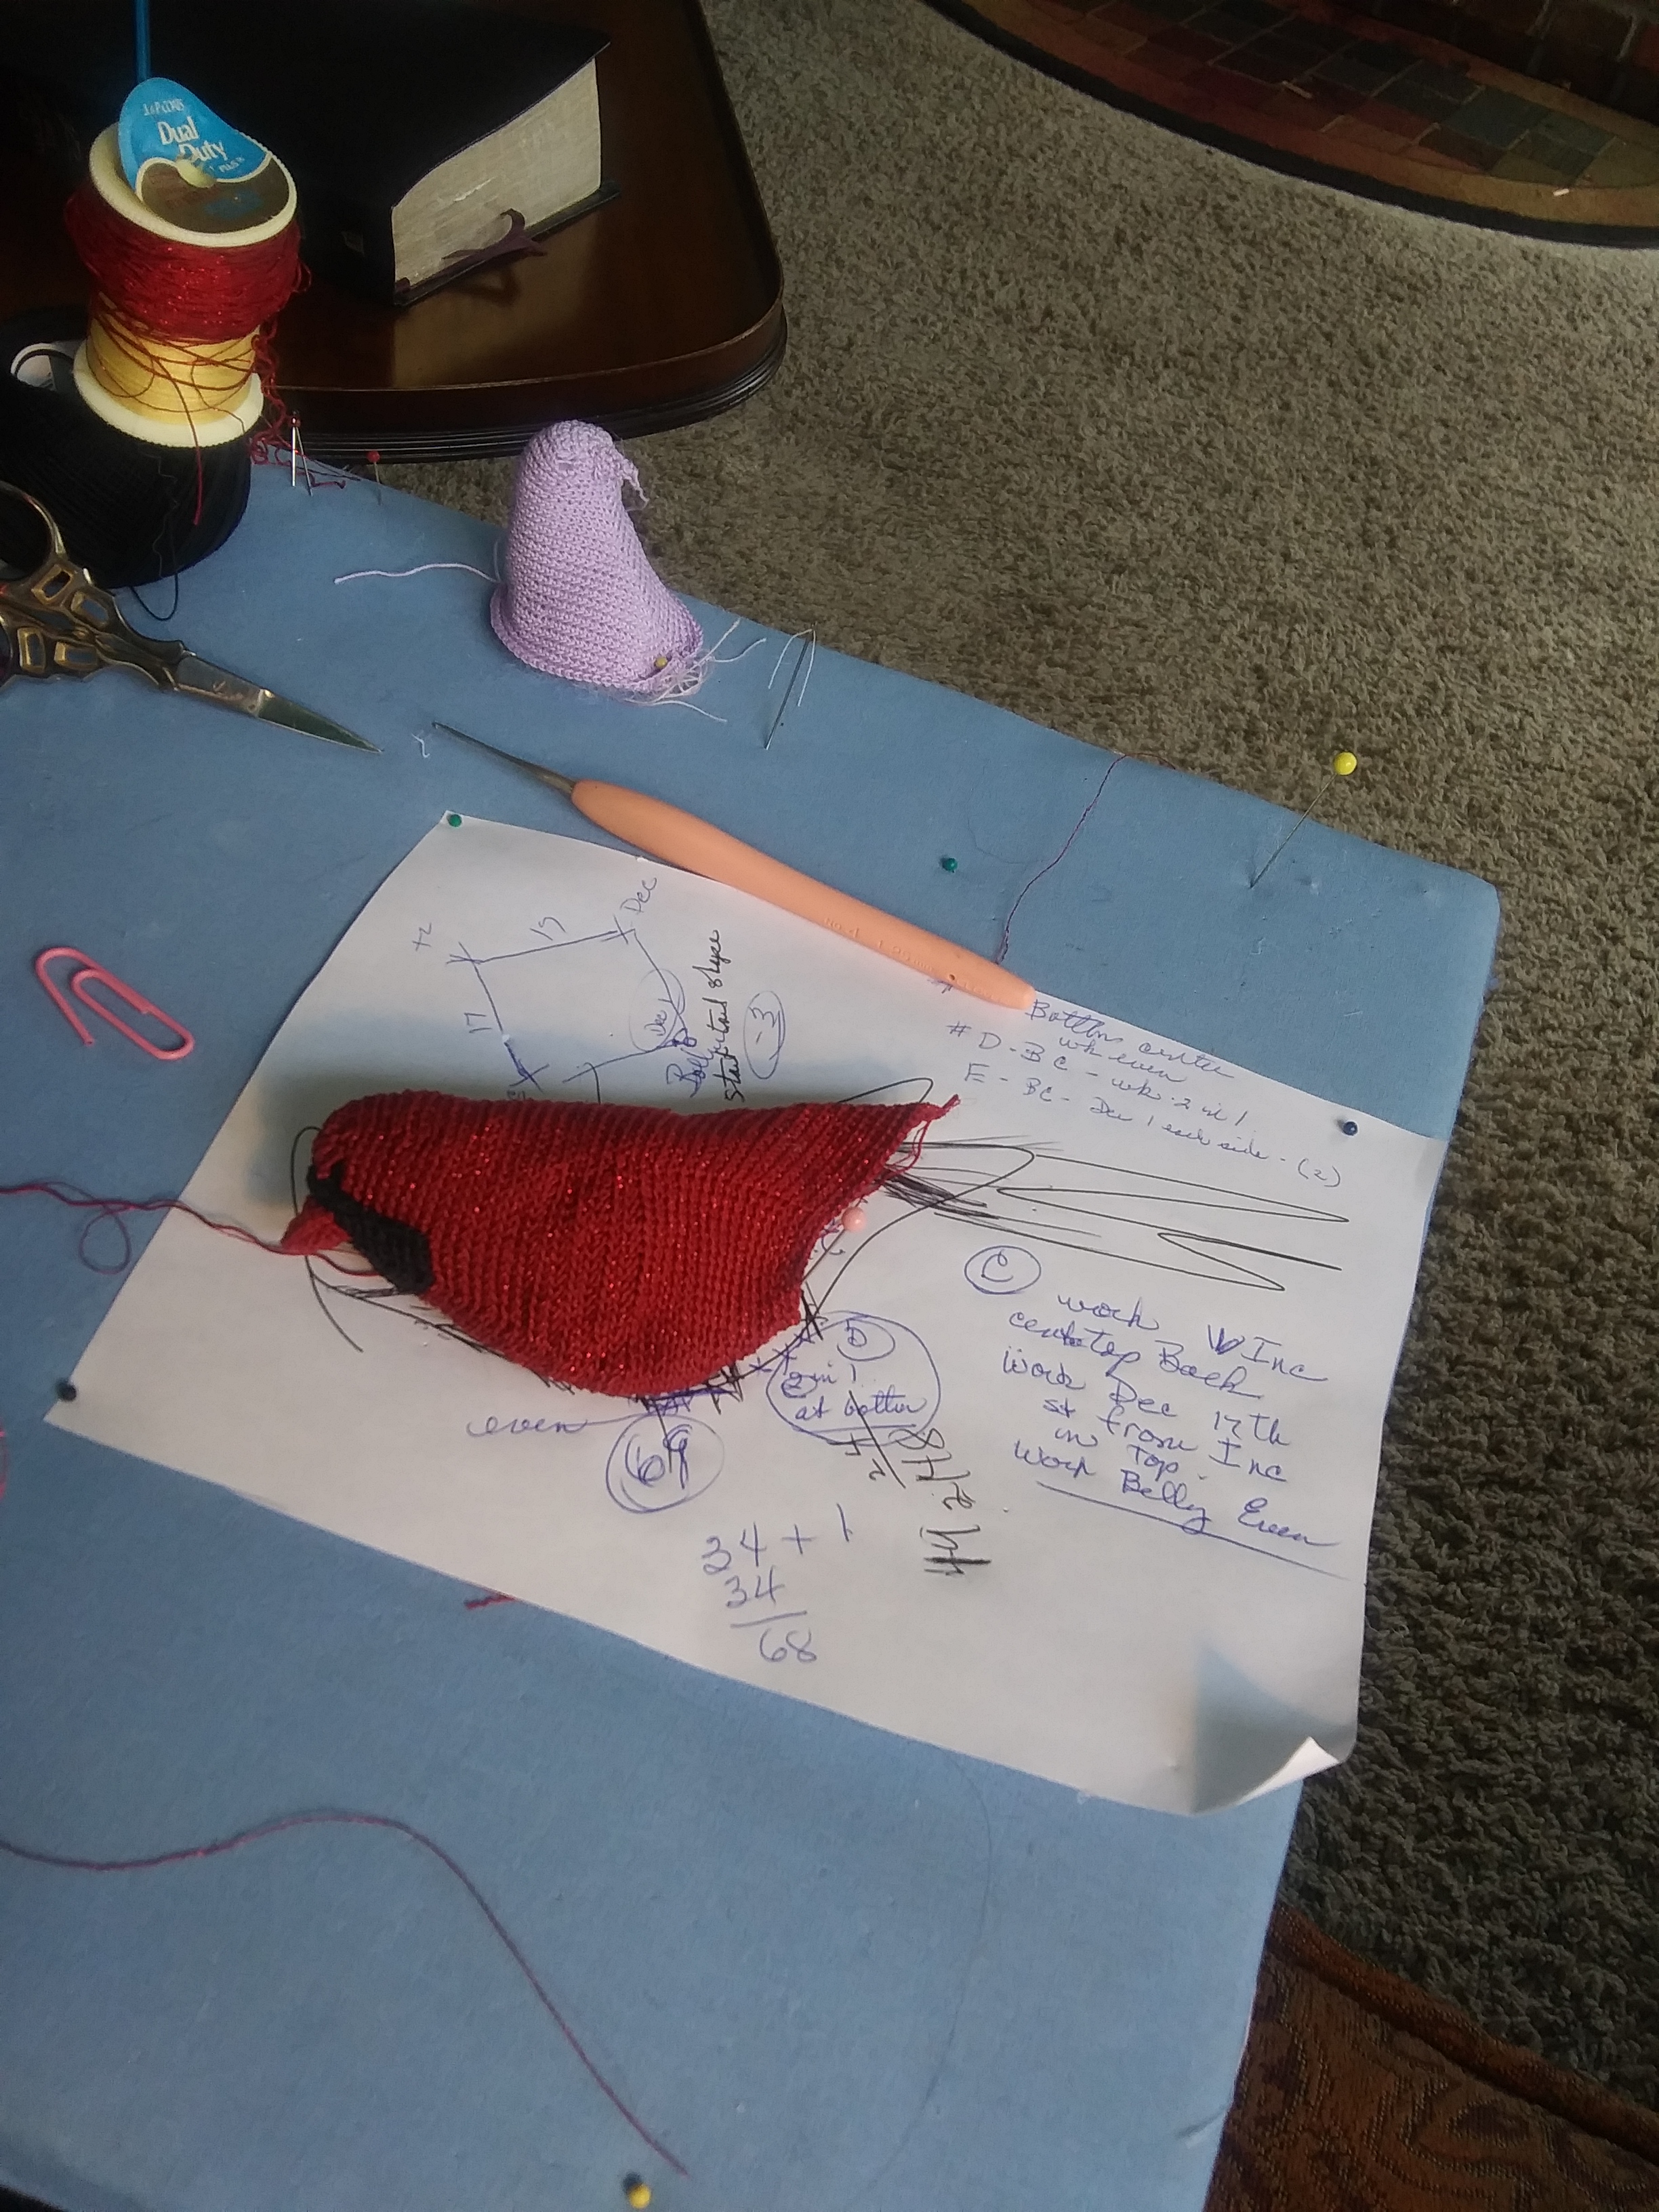
You can see in the photo above what I mean by working with the image. It is the only way I have found that works, at least for me. You will notice that the body has Poly-fil stuff in the head and body. I fill it as I go to make sure it has the right shape. I simply pull it out when I am satisfied, then continue on.

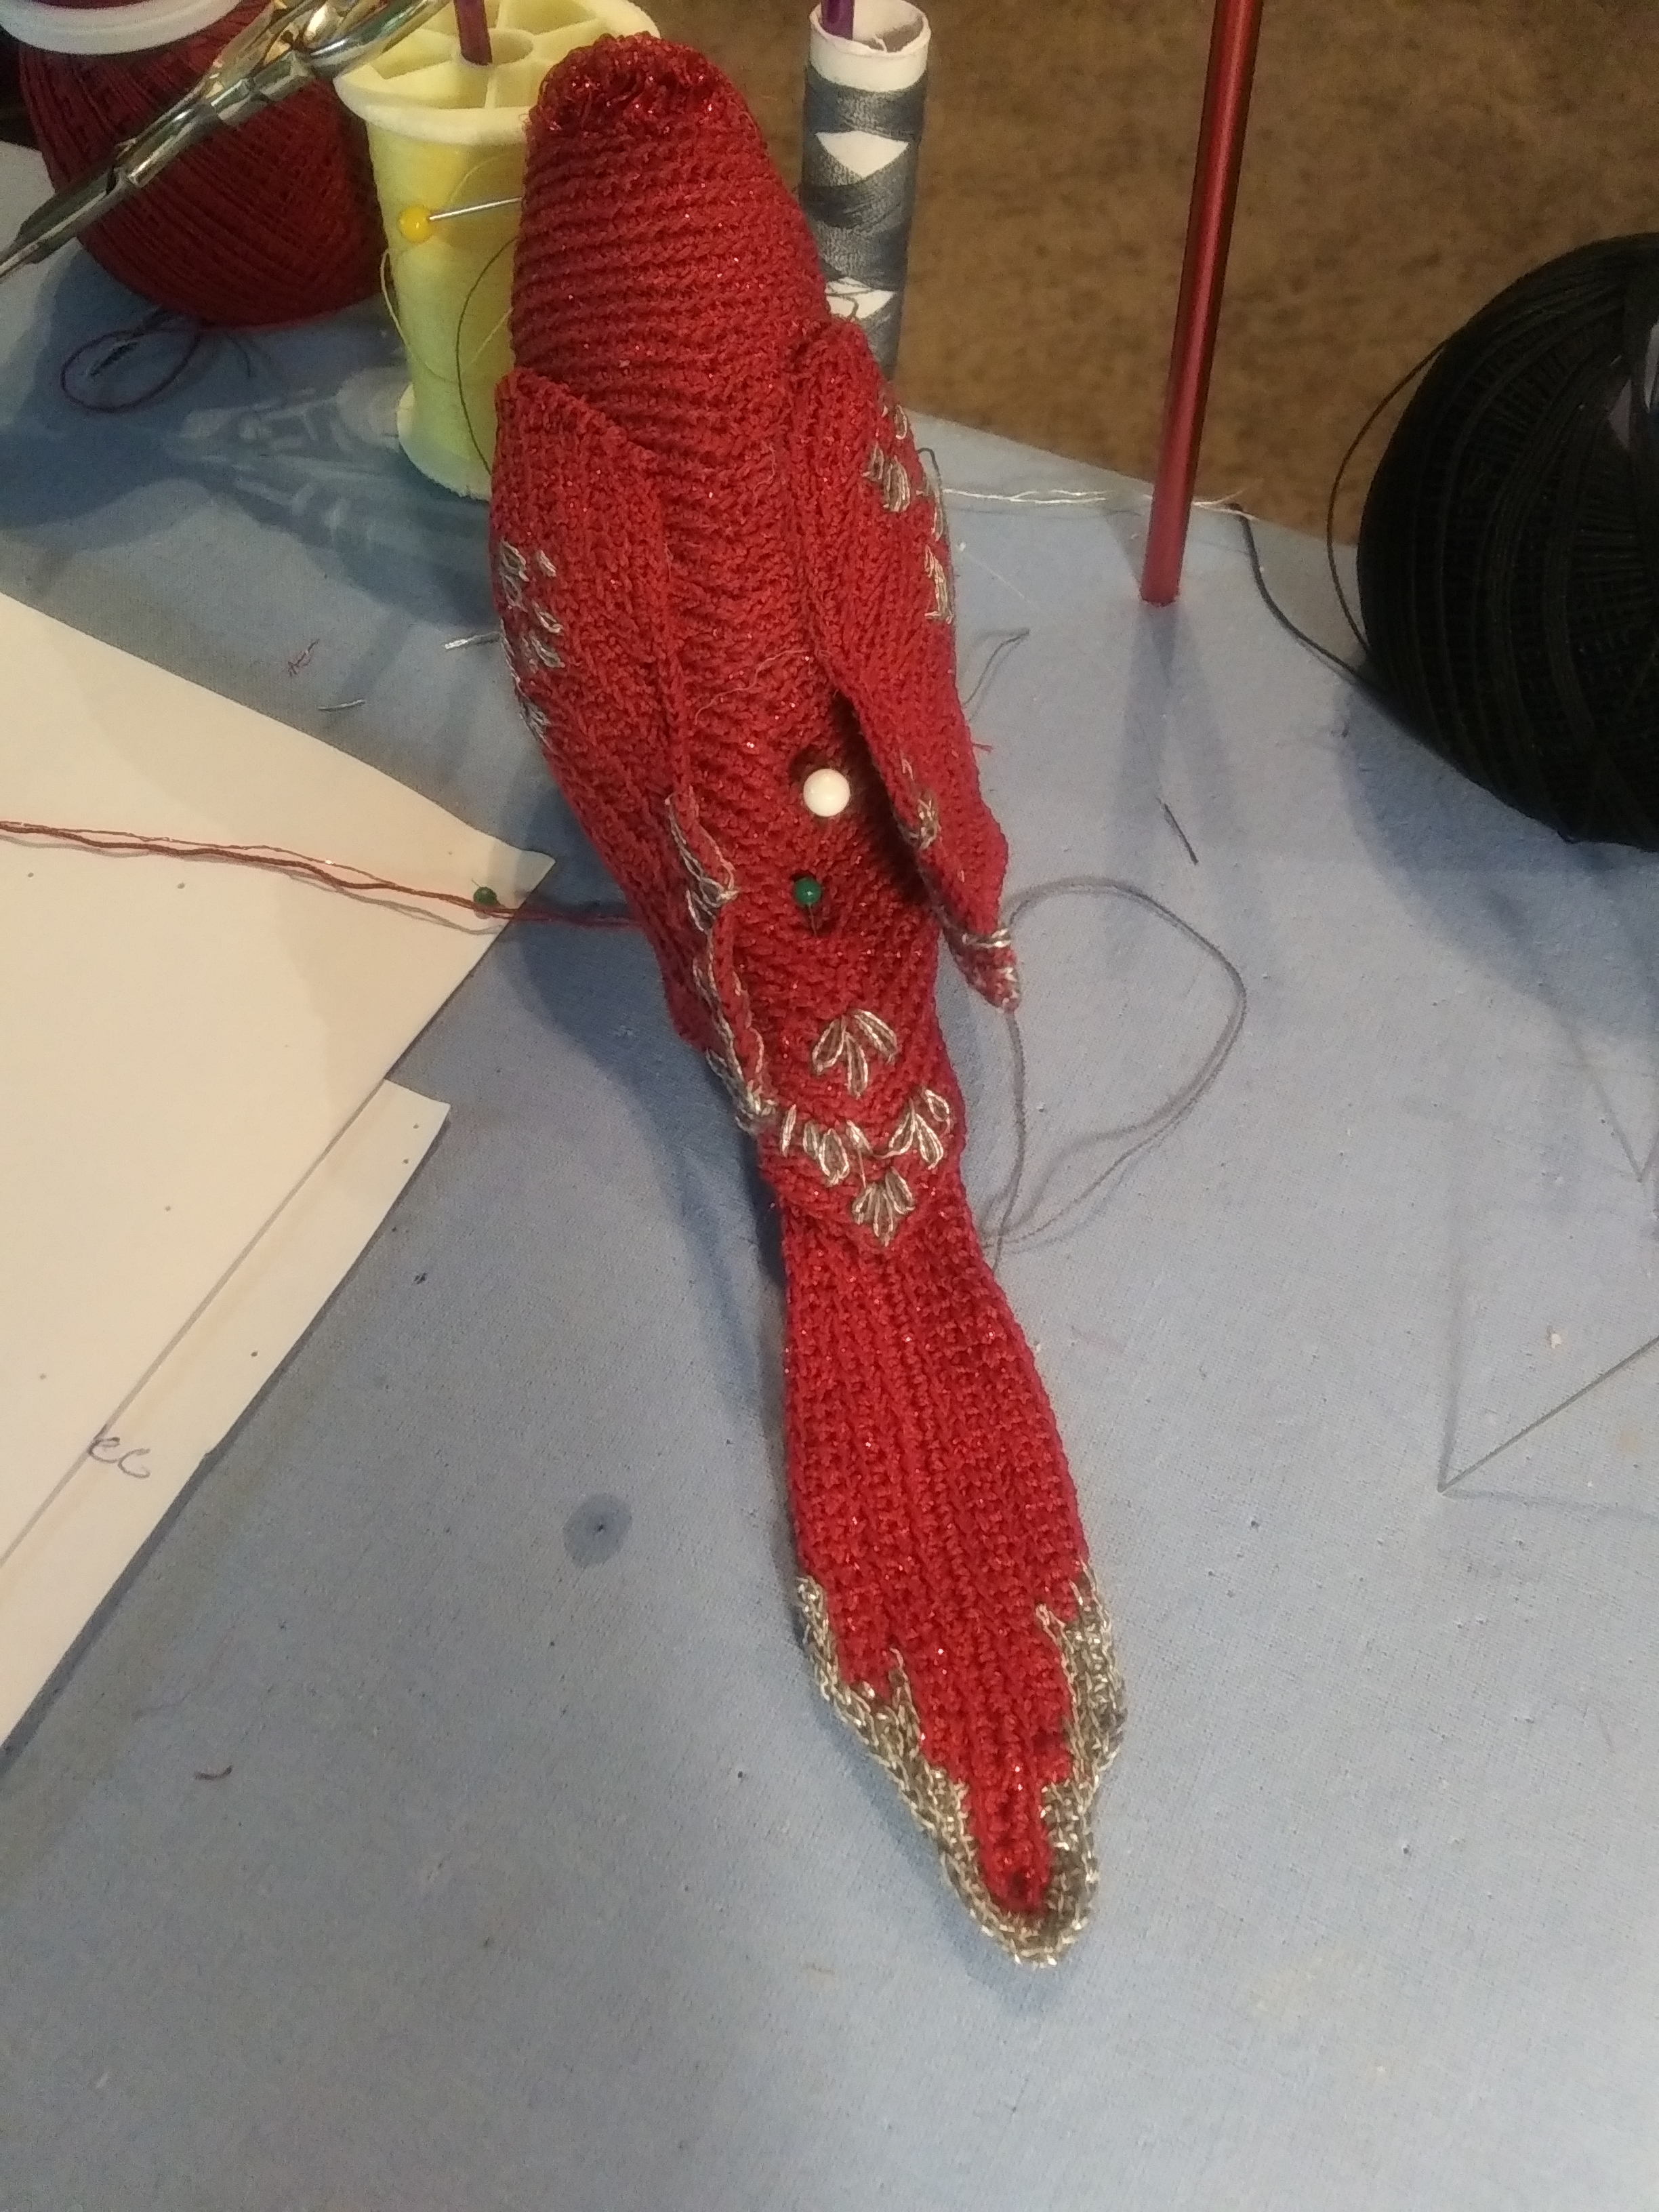
The detail for this Cardinal, was created with a single strand of sliver embroidery thread and a single strand of grey sewing thread.

The Basketweave stitch that I posted on my website, was the main stitch for the construction of the wings and tail. The body was constructed with a SC stitch, using the back loops only.

I used size 20 crochet thread, and 1.25 hook for the main body, wings and tail, with the addition of a single red iridescent embroidery thread. The additional thread gives it a little shine, and is picked up by the Christmas lights on the tree. I also use it( the spool on the extreme left of the photo) to add a bit of sparkling color to the crown of the head.


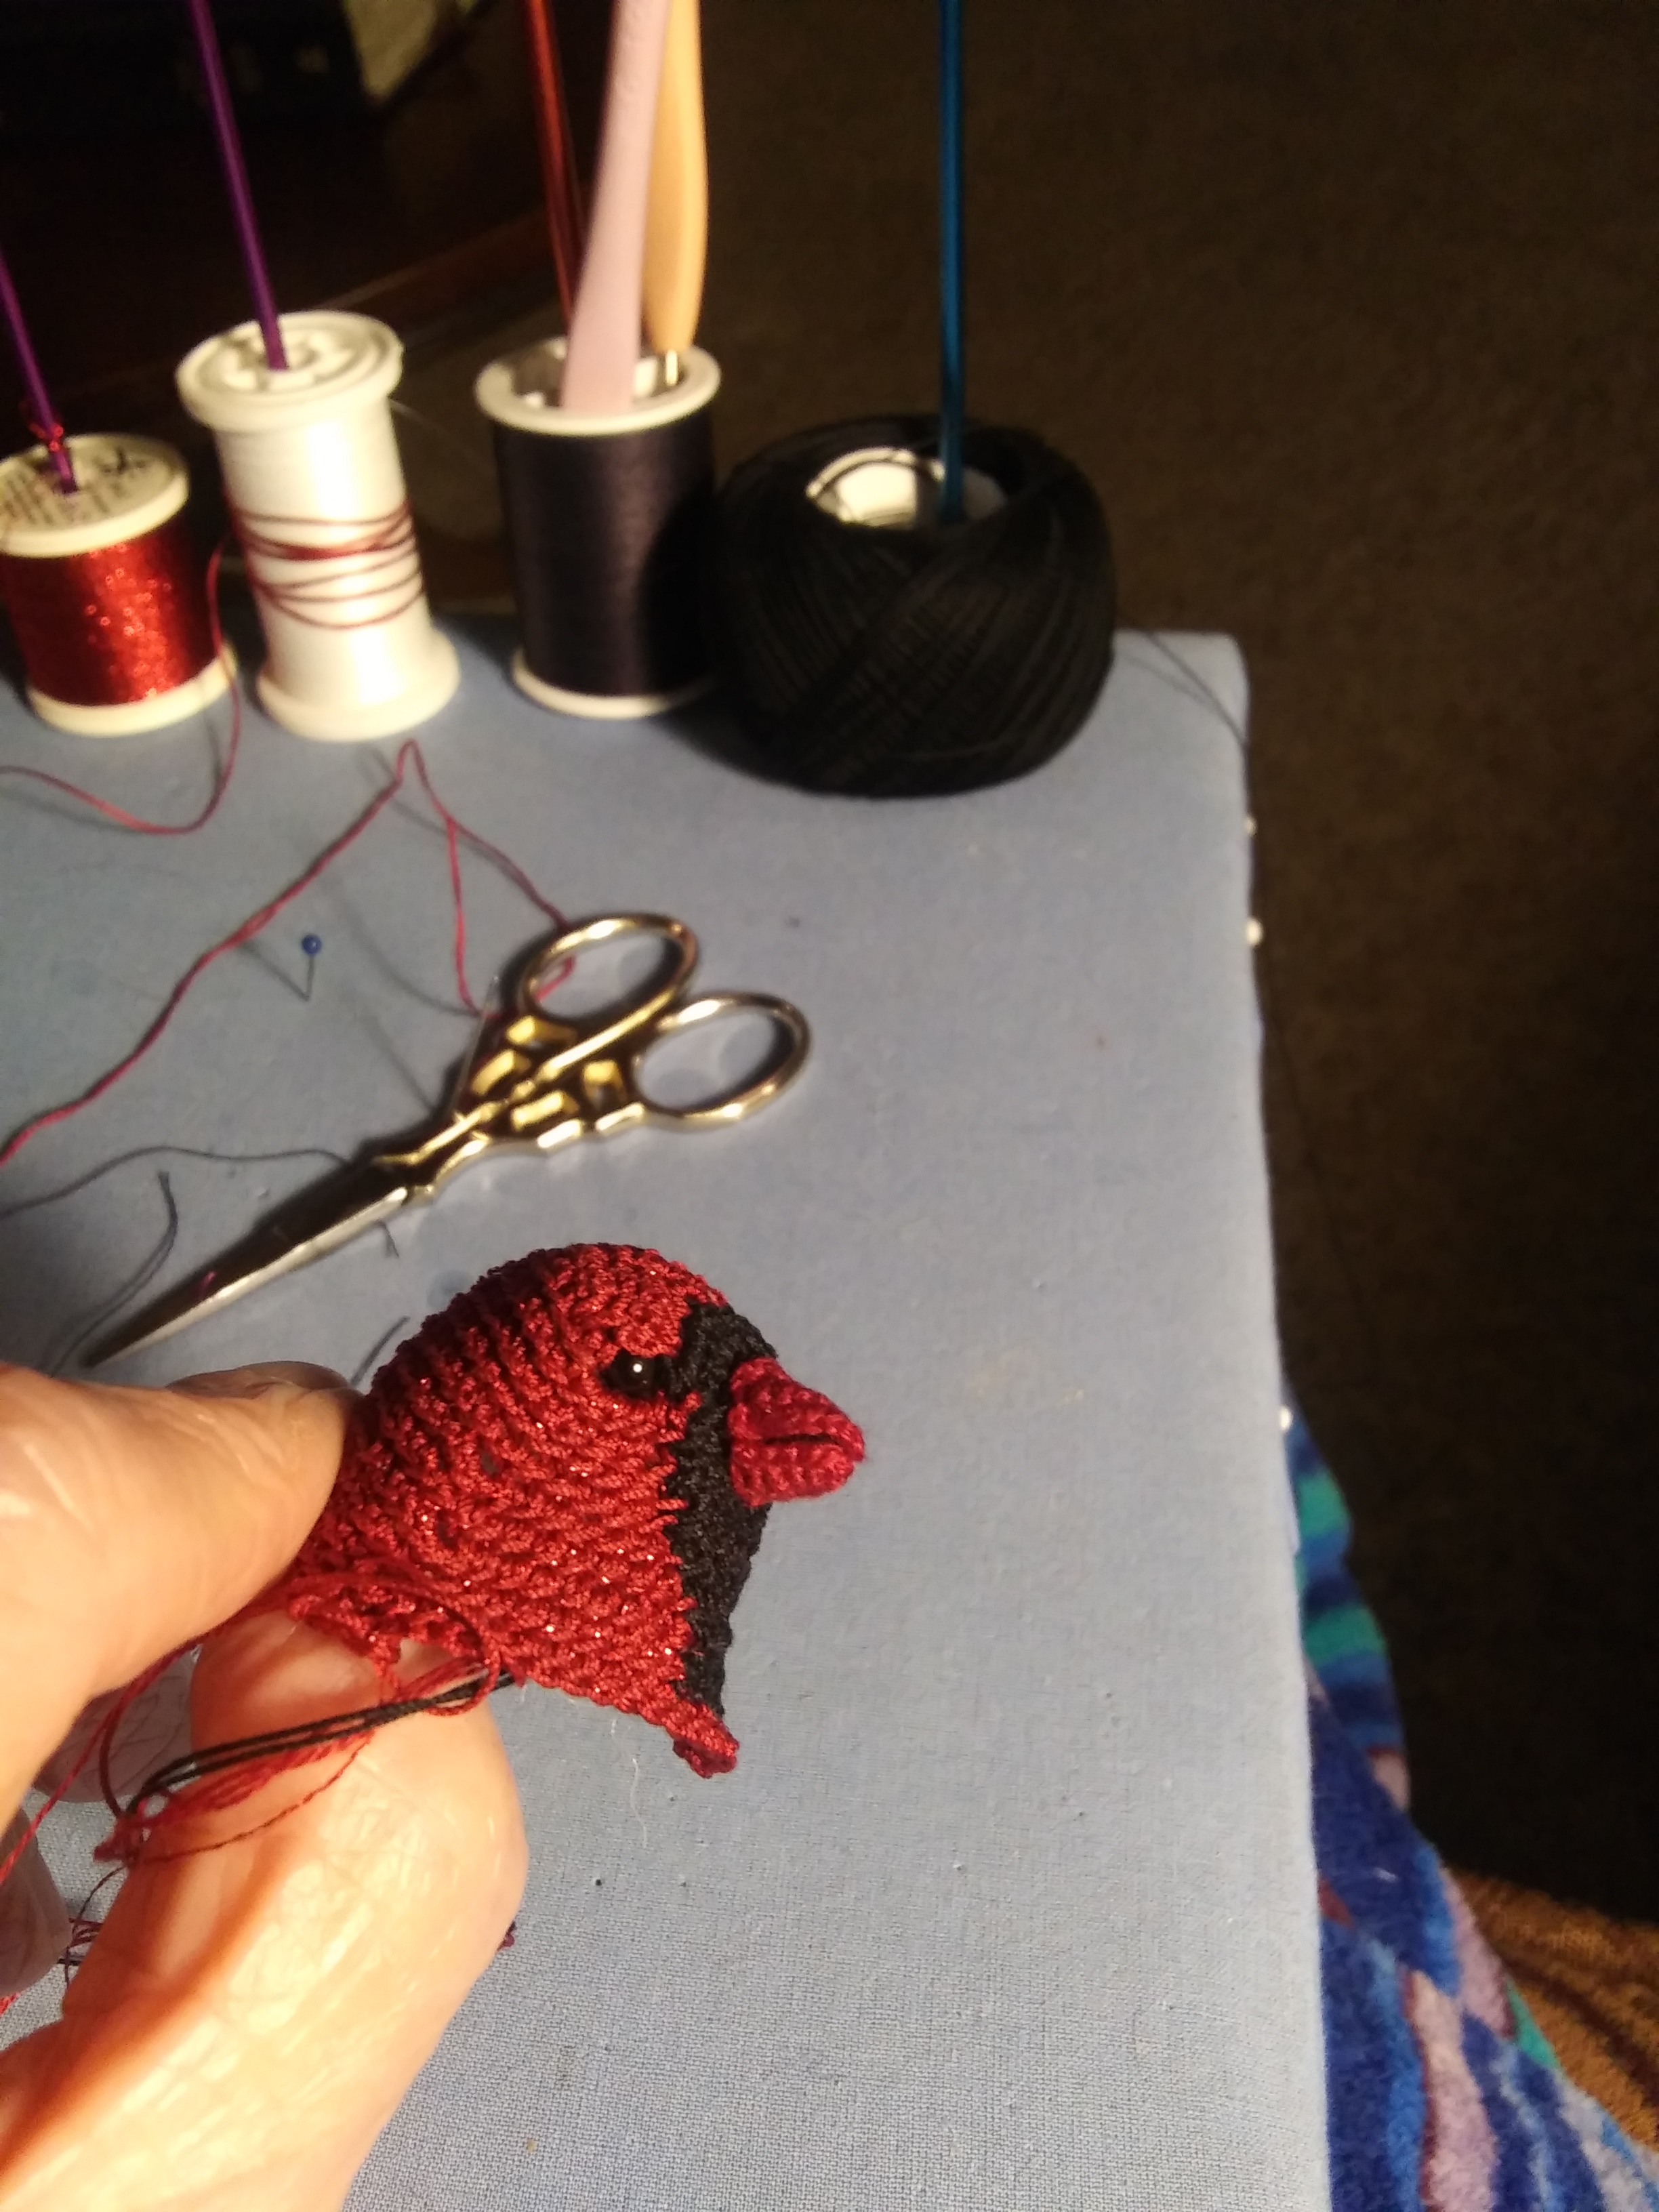
In this photo you can see the black pearls I inserted for eyes. I love the highlight in the black, The peak is constructed separately.

Fun! Fun! Fun!

Merry Christmas to ALL!!!

KT

Read Full Post »

This project has been developing as a possibility for some time, but I finally got my act in gear and just went for it.  This evening bag is knitted with “Navy Lindy Chain” yarn (Knitpicks) and combines both a Honeycomb stitch, with a bead inserted in the middle of each diamond formation. The casing for the facile hex purse frame is knitted in Stockinette.  The dazzling strap is beaded spiral rope construction of  .06 multi iris transparent beads and Curio crochet thread, both from Knitpicks.

beaded purse- night shot

The evening bag is 9 by 5, with a 42 inch spiral beaded strap.

beaded purse finished


Each of these photos were taken with different setting of the camera, because shiny beads are hard to capture.  The “night” and sunset” modes seem to do the best.


037

In the above photo, you can see the inside of the bag.  You will notice that I put a zipper pocket in the inside purse.   I made a complete purse with lining in a nice cotton fabric, then hand stitched the knitted purse over the top.  This gave me great stability, and as you can see, it even stands by itself.

There are “D” rings on each end, which hold the strap in place, yet don’t interfere with the hinge.

Beaded Honeycomb Purse

I have created a pdf instructional guide/pattern for you to use if you like.  Caution! This is not a quick knit, and it takes patience, but I think it was well worth it.

I will be working on various alternative straps and will upload the instructions as each one is completed.

This has been great fun, and definitely has gotten all kinds of “oo’s and ah’s” from everyone who has seen it.

I have never worked with beads before I designed the bathroom curtain that I shared in my recent post, but now that I have-look out!

Happy Knitting- KT

Read Full Post »

black hand bag

The Gallileo yarn from Knitpicks really brings out the beauty of this stitch, even in black.  This particular purse measures 9 by 5.  Unlike the one I posted before, I chose to finish the flap edge with single crochet, stopping at mid point to chain up a loop for the button closure before moving on to the main body of the purse.  I similarly joined the lining and main body together, slipping in the strap ends before closing.  It worked great.  No sewing.

The button was worked on a plastic ring, single crocheting around the circumference, then adding an additional round (with increases) to make it a bit larger.

The strap on this particular purse is 40 inches long, worked as a single I-cord.  I contained the stretch ( to 45 inches)by inserting a strand of yarn through the tube and fastened it to the main body of the purse.  Once set, it seems to hold it’s length very well.  You could also insert a piece of any kind of piping or cording to accomplish the same thing.

I particularly like this length as I can wear it around my neck and drape my purse on the side of my hip, having it available at my finger tips.

black hand bag- lining

You will notice that I used the silver lining yarn as my main color in the two tone coin purse.  This is not as hard as it looks.  It comes down to setting up with the MC (in this case silver), knitting the knit rounds of the pattern in black, and the purl rounds in silver.  Yes, this is a magic loop knit, no seams in either item.

black hand bag and coin purse

 The companion coin purse measure about 4 by 3, and has a squeeze frame closure.

black hand bag coin purse-squeeze frame demo

I found the squeeze frames at “Hardware Elf.”   They have them in large and small for coin purses, and also have them for larger openings, as for the entire top of a purse.

 Everywhere I go with this purse I have had may compliments.  It only weighs 3.6 ounces.

I am working on the pattern and hope to have it available for you to upload soon.

This pattern includes working double knit on the flap, which give you the opportunity to connect the lining with the right side to avoid slippage.  By knitting a dotted lining pattern, your outside flap will hold it’s shape.  I didn’t do it on this one, but I have experimented and found I had better results with the double knitting.

This purse flap was simply stitched together by weaving in between the layers with one ply of the yarn and a sharp needle.  I did try to insert some light weight plastic mesh, but I didn’t like the results-to stiff.

Just sharing-

Happy knitting!

KT

Read Full Post »