I idea of having to taking out stitches because of a mistake you can’t live with, or maybe just changing you mind, can be a daunting task. However, it can also be an instructive one.
I have been sharing the process of knitting my English Rose tablecloth with you in the previous posts, so I thought I would share the “tinking ” lessons I learned when I decided to extend the double rose leaf portion of the pattern. I had to take out my extended rose leaves, and then about 12 rounds of the previous pattern to restart an additional set of the double leaves pattern. I also knew that I would have to adjust the pattern as there were only five sets of the double leaves in the original version.
Tinking Lessons– Lay your work on a table where it will have no stress on the stitches, especially if you have not done this before. As for me, I pulled my coffee table up to my favorite chair to share the weight of the work.
Take it out from the wrong side, working right to left, holding the thread/yarn in your right hand as you would for knitting English style(throwing the yarn).
- Use your left index finger and thumb to pinch just below the stitches or stitch groups to prevent them flying off the needle.
- Use the index finger of the right hand to gently lift the thread/yarn up to release the knitted stitches.
- Use a clockwise rotation of the right needle tip to pick off the stitches.
- Use smaller size circle needles. I knitted with a 2.75, so I used 2.0 or below to tink with because it allowed me to see the stitches and the path of the thread/yarn more easily.
- Remove the 2 legs of a “knit 2 together” by inserting the needle from back to front, lifting the index finger of the right hand slowly, as you pinch the base of the group of stitches with the left hand thumb and index finger. (See photo below)
- Stitch groups such as YO, Sl 1, K 2 tog, psso, are processed the same as a K 2 tog, except that when you release the stitch group you need to rotate you left have forward to pick up the third stitch of the group.
- Stitch groups as SSK, Sl, 1 K 1, psso; Sl 2, K 1, psso, (left leaning) just require you to insert the right needle from back to front before you lift the yarn with the right hand to release the group.
- Relax, don’t look at the clock. When you finish your project you will be proud of it.

In this photo I am getting ready to pick up a K 2 tog.
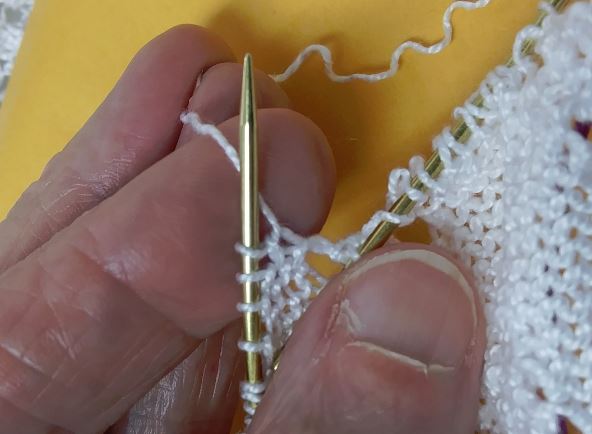
Above, I have identified a sl 1, K 1, psso.

In this photo, you can see that I inserted my needle from back to front. I will proceed by placing my thumb and index finger below the stitch group and then gently raise the yarn up with my right hand index finger.
- If for any reason the stitches come off out of order, you can simple keep the pressure on the “pinch” you have in your left hand, then fix the position of the stitches. As long as you have secured the base, the stitches are not going anywhere.
- If you are in double about the needles position, tip the area of concern toward you with the left hand. At a look at the right side.
Happy “Tinking” – KT
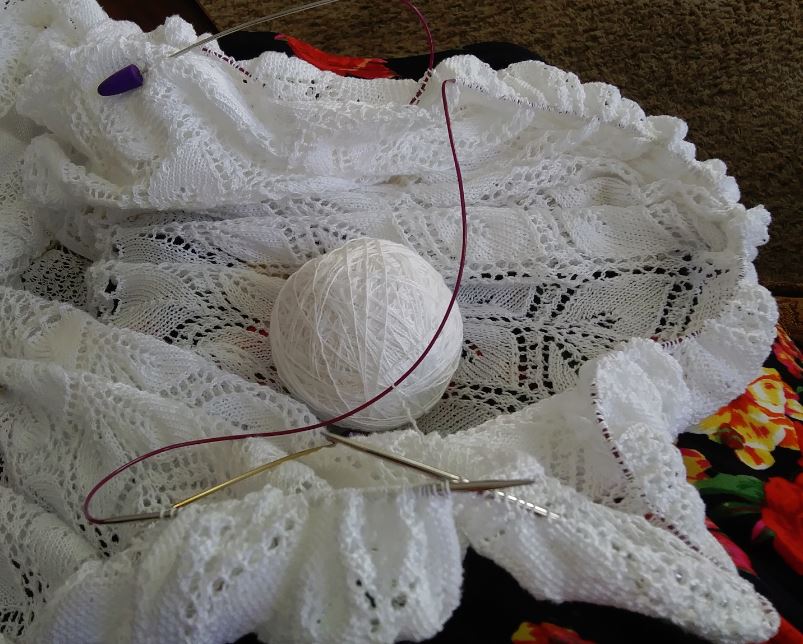
One more thing- I found that dividing my tablecloth into smaller segments and knitting my circles in rounds( knitting off one end to the other), allowed me to deal with less bulk at a time. Also, the stitches were not crammed together on one 60 inch needle. I now have the tablecloth on three 60 inch needles. It also gives me the opportunity to lay it out on the table to see the results of my additions to the pattern.
And, yes…… I am writing it down.

Gorgeous piece. So you are essentially using circular needles as if they were dpns and knitting around as such?
Yes. I actually use my DPN’s to hold my fine threads on my work station (a styro block covered with cotton). 🙂