Finishing up a project is very rewarding, and for me, is not a “get it done” thing, but more of a “see how neat you can make” thing. I have learned to take my time, concentrating on the details.
In the case of this Fair Isle design, this means securing those long floats we discussed in my previous posts. So before proceeding with this part of the task I have a couple of things to remember-
1) check to make sure that all my loose stitches have been secured
2) check the end stitches of the long float areas to see if they have become loose. If they have then I will pull the float in the back toward the center of the diamond to take up the slack and secure it close to the beginning or ending of the float first before attempting to secure the middle.
3) use only a single ply or 2 of the background color for stitching down the yarn floats. In the case of this sock yarn, I am using 2 plies of the red.
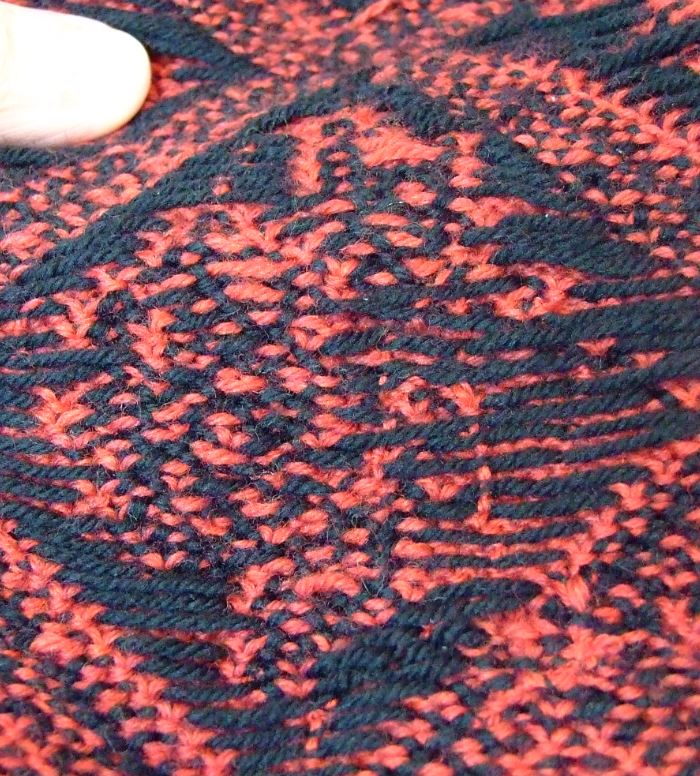
Below is a photo of one of the large rose sections that I am presently working on.

Using a sharp needle, I pick up a few thread of the red background yarn, then stick through the middle of the black float, repeating this move across the desired area, pulling the tie down strand just tight enough so it lays smoothly and stretches with the knitted fabric.
I usually begin at the bottom to the top of the diamond, working about 3/8 inch from the left edge. After weaving in the ends of my thread, I repeat the process for the right side. Once the sides are secure then I work on the center area if needed. Below is a photo of one diamond that I have finished.
You can see that it is very hard to see the tie down yarn, but every black float in the picture is tied down securely, yet will move freely with the stocking.
In step #2– if you find that after you have secured your floats about 3/8 inch in from its beginning and end, and still have loops in your float as in the photo below-

Here is what to do. First, if possible using a dp needle, carefully equal out the excess across the span. Next, lay the work across you leg, give it a bit of a stretch, then using your needle and single(or two) yarn ply begin weaving across the middle of the affected area, as in the photo below.

Repeat this process with with each span. You will notice that this time I am using the black yarn. Why? I ran out of red. 🙂 But I’m not concerned because I am only picking up a tiny bit of the red yarns in the background, so it will not show through.
Below is a picture of the finished diamond.

The extra yarn in the loops has been secured and will not be moving back to form loose stitches at the color change on the right side.
Happy Knitting-
KT
