One of my discoveries in dealing with the “yarn over” issue is the uneven holes that are created by the traditional method. If you are working in a lace pattern, it is not hard to see that the YO purls are a bit larger. Why, because they are really “not” a yarn over, they are in fact a “yarn around needle,” creating a full loop.
Since I am a bit picky about my knitting, I tried some experiments. The easiest answer, was to mirror the traditional yarn over. Yep, that fixed the problem. From that point on, when instructed to make a YO purl, I bought my yarn to the back, and purled the next stitch. Now, my holes in the lace pattern were the same.
Next, I experimented with the “yarn around ” needle. It works just as well. The key is to have the lengths of yarns creating the yarn overs, or around needle, the same.
I use the “yarn around needle” to increase stitches. It makes a very nice transition.
Below are some demos illustrating both methods on the knit side. For the purl side you would just reverse the process.
This first demo shows the yarn being brought forward in preparation to accomplish the , YO(yarn over) knit. This is the traditional method, but actually creates a half loop between the two stitches.
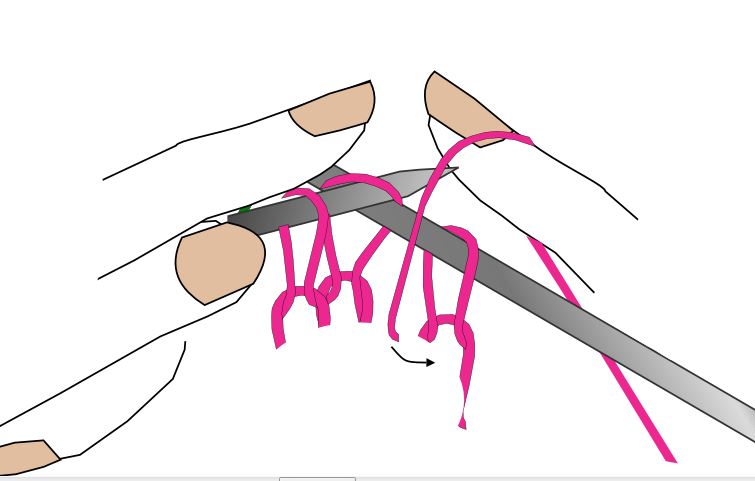
 The second demo illustrates creating a yarn around needle by bringing the yarn over the top of the needle and then again to the back in preparation to knit the next stitch. This method make a complete circle around the needle, creating a full stitch, or loop.
Either way, I get the best results by doing a swatch of each type of yarn over before getting into a complicate piece of work. The goal is always to make you stitches look even.
Hope this helps.
KT


